


F25230 (Rev. A, May 2008) © HOBART 2008Page 8 of 8
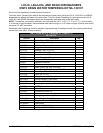
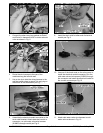
12. Slide strain relief bracket into the panel per Fig.
11.
13. Attach the strain relief bracket to dishwasher
with a #10 screw per Fig. 12.
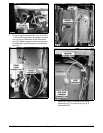
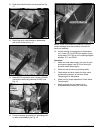
14. Make DWT2 cold water valve harness (919862)
connections with wiring harness (814267) per
Fig. 13.
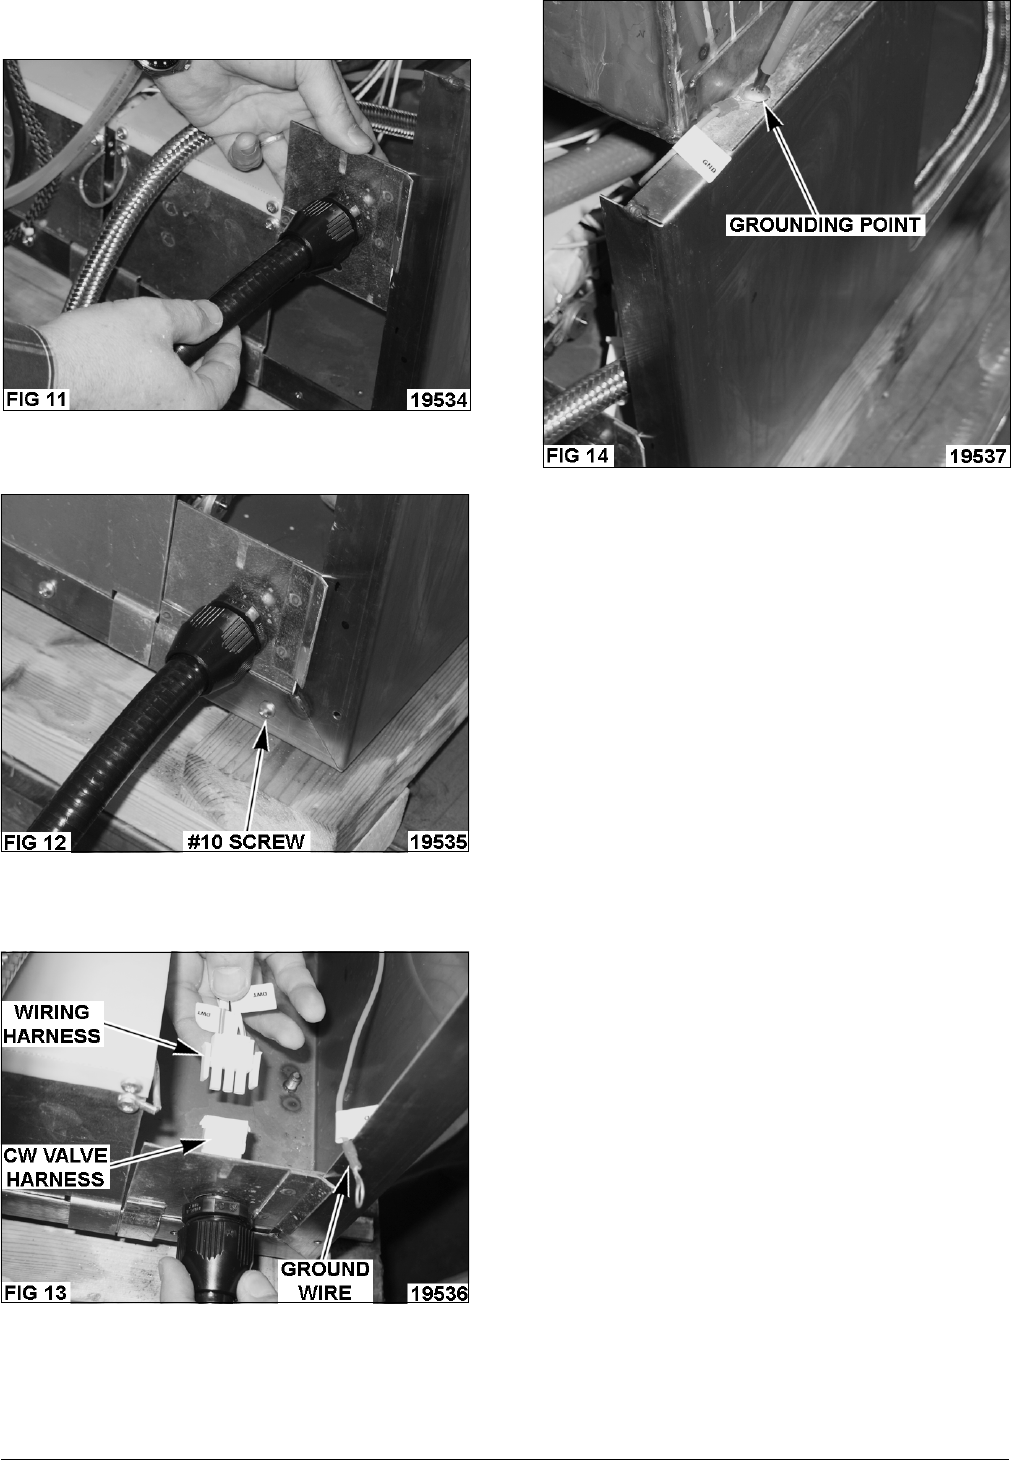
15. Connect harness ground wire to grounding point
on base of dishwasher per Fig. 14.
NOTE: Dress valve electrical conduit so it will not
sustain damage when the machine is moved for
service or cleaning.
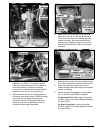
16. Locate existing wiring diagram on dishwasher
unit. Locate 1P-7and 2TB-N on diagram. Apply
wiring label F-33179 from kit to existing diagram
between 1P-7 and 2TB-N.
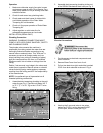
Operation
1. Make sure cold water supply line valve is open
and pressure gage is set to 20 psi flowing for
this drain water tempering kit.
2. Check for and correct any plumbing leaks.
3. Check water and drain hoses for kinks which
could hinder operation of the Drain Water
Tempering Kit or dishwasher.
4. Check unit for proper operation of Drain Water
Tempering Kit.
5. Adjust regulator on cold water line for
acceptable temperatures per local code.