3
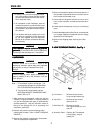
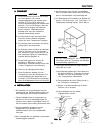
Fig. 2Fig. 2
Fig. 2Fig. 2
Fig. 2
CAUTIONCAUTION
CAUTIONCAUTION
CAUTION
Before operating the icemaker, the Bin Control
Thermostat must be installed correctly.
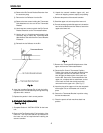
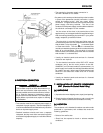
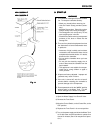
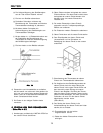
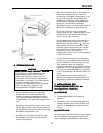
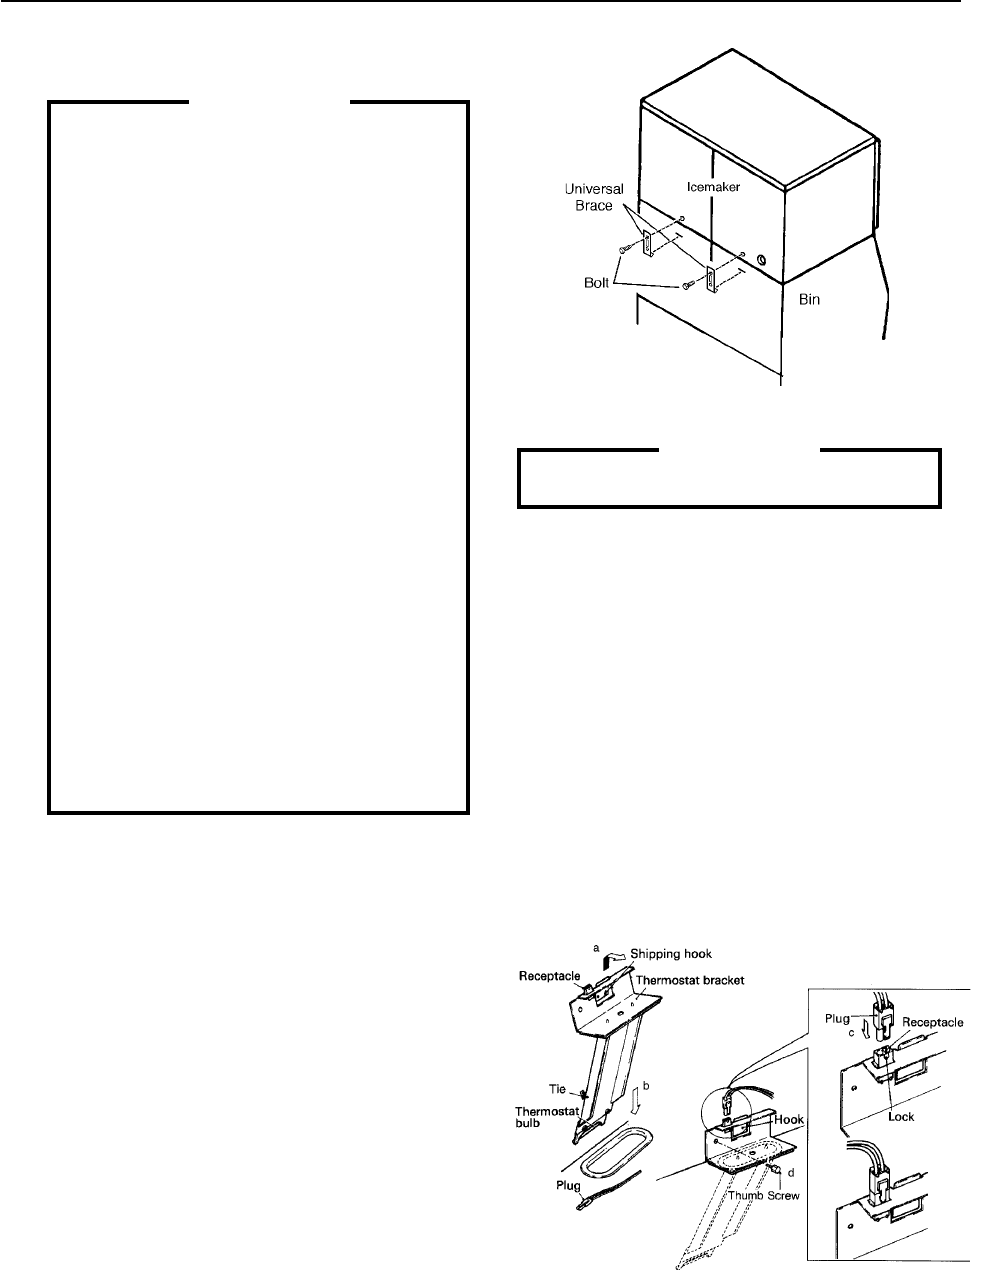
5) Install the Bin Control Thermostat as follows. See
Figures 3a and 3b.
(a) Remove the tie securing the Thermostat and
Bracket. Remove the Thermostat and the Bracket
from the Shipping Hook by lifting them up and
shifting them to the right.
(b) Lower the Thermostat Bracket through the hole
located at the bottom of the icemaker.
(c) Insert the Plug into the Receptacle on the Bracket
until it locks in place
(d) Secure the Thermostat Bracket in place with the
two thumbscrews.
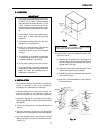
Fig. 3aFig. 3a
Fig. 3aFig. 3a
Fig. 3a
3. LOCATION3. LOCATION
3. LOCATION3. LOCATION
3. LOCATION
IMPORTANTIMPORTANT
IMPORTANTIMPORTANT
IMPORTANT
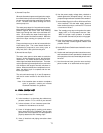
1. This icemaker is not intended for outdoor use.
Normal operating ambient temperature should
be within +7°C to +40°C. Normal operating
water temperature should be within +7°C to
+35°C. Operation of the icemaker, for ex-
tended periods, outside of these normal tem-
perature ranges may affect production capac-
ity.
2. The icemaker should not be located next to
ovens, grills or other high heat producing
equipment.
3. The location should provide a firm and level
foundation for the equipment.
4.
Allow 15 cm. clearance at rear, sides and top
for proper air circulation and ease of
maintenance and/or service should they be
required.
5. This appliance is not suitable for installation
in an area where a water jet could be used
and where dripping is not allowed.
6. Do not place anything in front of the Louver.
7. This icemaker will not work at subfreezing
temperatures. To prevent damage to the water
supply line, drain the icemaker when air
temperature is below zero.
4. INSTALLATION4. INSTALLATION
4. INSTALLATION4. INSTALLATION
4. INSTALLATION
•
The installation must be carried out by qualified per-
sonnel, in accordance with current regulations,
according to the manufacturer’s instruction.
•
Incorrect installation can cause harm to people, ani-
mals the icemaker, or the installation location, for
which the manufacturer cannot be held responsible.
1)
Unpack the Storage Bin, and attach the four adjust-
able legs provided (bin accessory) to the bottom of the
Storage Bin.
2) Position the Storage Bin in the selected permanent
position.
3) Place the icemaker onto the top of the Storage Bin
taking care not to damage the bin top sealing gasket.
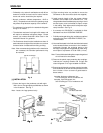
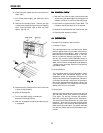
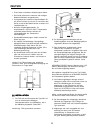
4) From the accessory pack, locate the two Universal
Braces and bolts to secure the icemaker to the Bin.
(See Fig. 2).
ENGLISH


