26
Rapid Proof
Rapid Proof is used to proof frozen or formed dough. The Rapid
Proof mode requires the oven be preheated.
To Use Rapid Proof:
1. From Mode, touch RAPID PROOF.
2. After touching RAPID PROOF, you will see the temperature
screen. The temperature is set at 200° (93°C) and cannot be
changed.
3. Press START to begin Rapid Proof.
4. When the cycle is complete, touch CANCEL (CANCEL LEFT
or CANCEL RIGHT on 48" [121.9 cm] models) to turn off the
oven.
Cook Timer
The Cook Timer allows the oven to cook for a programmed
length of time. The Cook Timer can be accessed by touching
COOK TIMER or TIMER NOT SET whenever available.
The Cook Timer countdown is started several ways:
■ Touching START TIMER starts the countdown immediately.
■ Opening then closing the door before preheat is complete
starts the timer as soon as preheat is complete.
■ Opening then closing the door when preheat is complete
starts the countdown immediately.
■ Cook timer countdown will automatically start 2 minutes after
the preheat signal if none of the above activities have
occurred.
The control will signal when 20% of the cook time remains.
To Use Cook Timer:
1. Touch COOK TIMER from the Home screen or touch TIMER
NOT SET whenever available.
2. Select the Cook Timer or Timer Not Set tab.
3. Select desired cook time by using the on-screen number
keyboard. The time length may not exceed 12:00:00.
4. Touch START to begin preheating oven.
5. (Optional) To keep food warm after cooking ends, turn Keep
Warm ON. See the “Keep Warm™ Option” section for
additional information.
6. (Optional) To set delayed start, touch DELAY START and set
desired time. See “Delay Start” section for additional
information.
7. Place food in the oven when preheat signal sounds. The
screen will also prompt you when to insert food. If a delay
start is programmed, place food in oven when setting the
mode.
NOTE: Do not use Delay Start for items that require a
preheated oven, such as cakes, cookies and breads. If food
is in the oven during preheat, it may become overcooked.
8. When the Cook Timer ends, if additional cook time is desired,
select ADD MORE TIME. Time can be added by selecting
Reset, which will reset the previously set time, or by selecting
ADD 1 MIN, ADD 5 MIN or ADD 15 MIN. Selecting ADD
1 MIN, ADD 5 MIN or ADD 15 MIN allows you to set time in
1-, 5- or 15-minute increments. If Keep Warm™ function is
desired and was not previously set, select Keep Warm when
Cook Timer expires.
Temperature Probe
The temperature probe accurately measures the internal
temperature of meat, poultry and casseroles and should be used
in determining the doneness of food. It can be used during Bake,
Convect Bake, Convect Roast. The oven will beep when the food
has reached the target temperature.
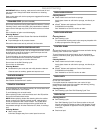
Always unplug and remove the temperature probe from the oven
when removing food.
To Use Temperature Probe:
Before using, insert the probe into the food item. For meats, the
probe tip should be located in the center of the thickest part of
the meat and not into the fat or touching a bone.
NOTE: Remove any racks above the food that are not in use.
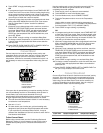
Place food in oven and connect the temperature probe to the
jack. Keep probe as far away from heat source as possible. Close
oven door.
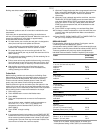
1. From the Home tab, touch the PROBE button.
2. Depending on whether or not the probe is inserted, the
display will read: “Probe: Not Inserted” or “Probe: Inserted.”
NOTE: Insert food and probe before heating the oven.
3. Touch CONVECT BAKE, CONVECT ROAST or BAKE.
Selecting these buttons will take you to the Probe
Temperature tab, with the method already selected
automatically as well as an appropriate default temperature.
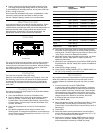
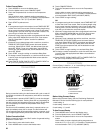
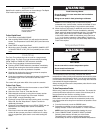
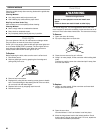
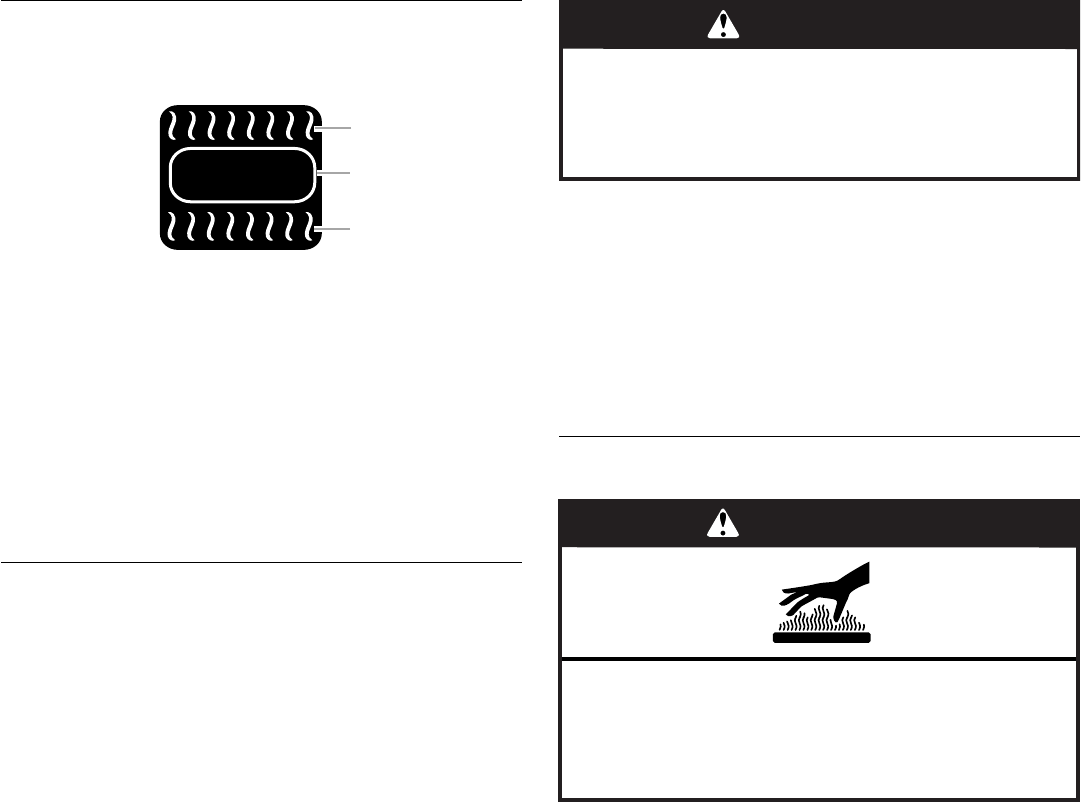
A. Broil element
B. Convection element
C. Bake element
A
B
C
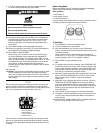
WARNING
Food Poisoning Hazard
Do not let food sit in oven more than one hour before
or after cooking.
Doing so can result in food poisoning or sickness.
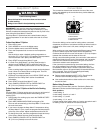
WARNING
Burn Hazard
Use an oven mitt to remove temperature probe.
Do not touch broil element.
Failure to follow these instructions can result in burns.


