11
Automatic ice maker
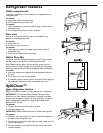
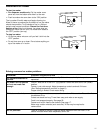
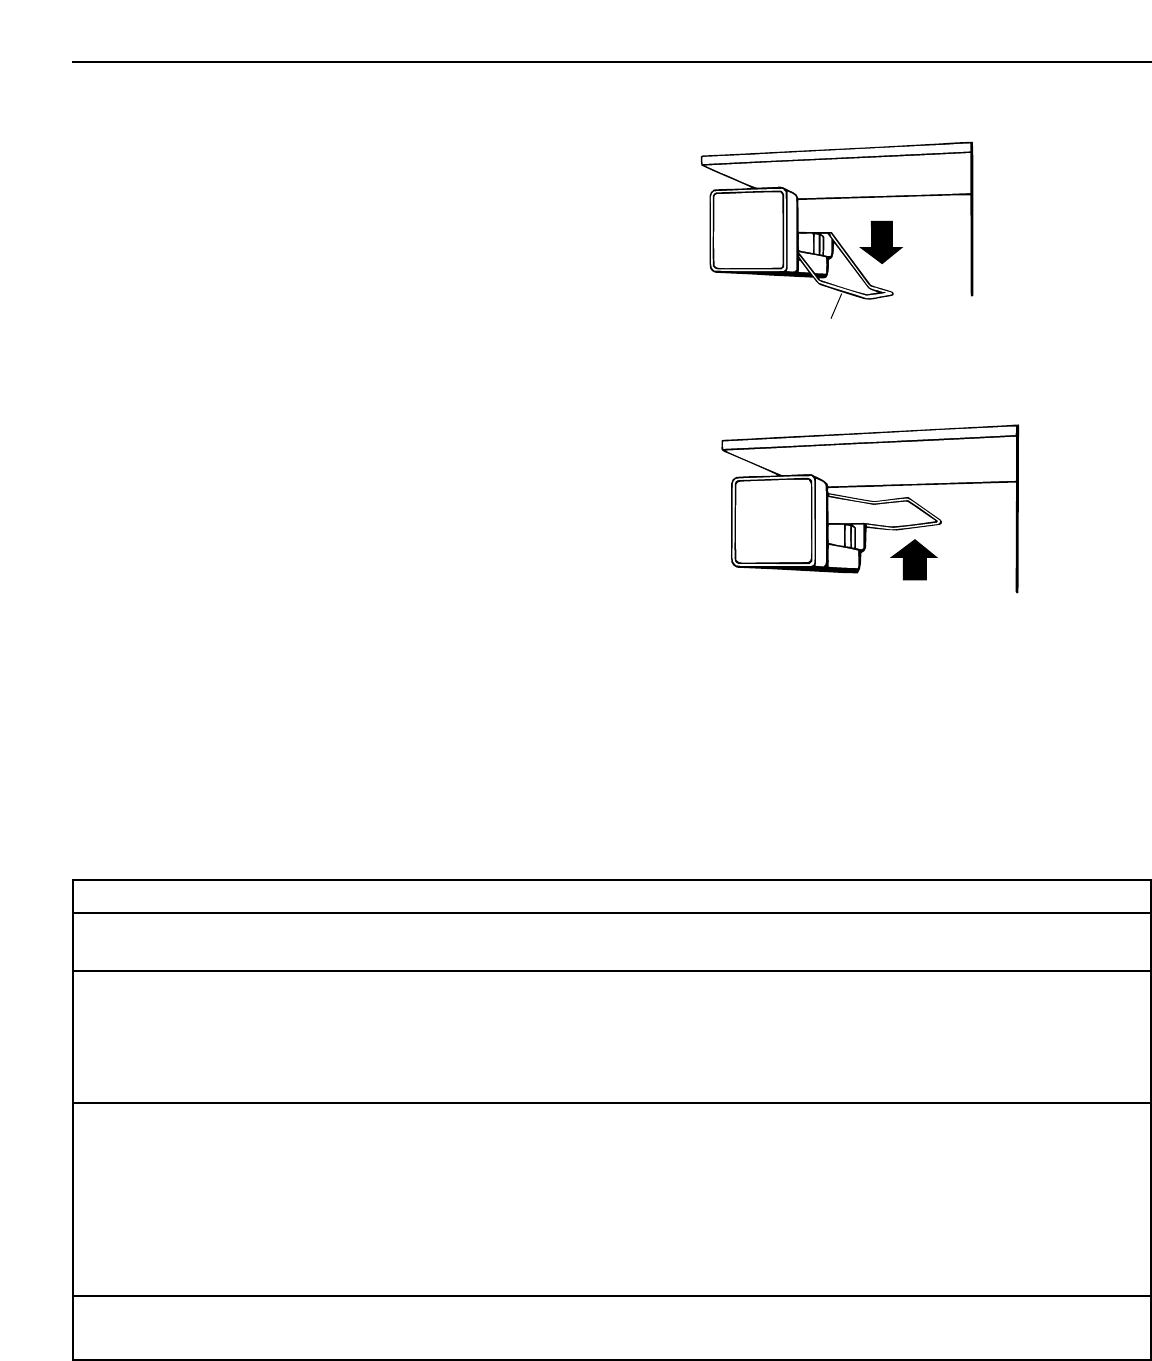
To start ice maker:
• For dispenser models only: Pull ice maker cover
panel out from the bottom and slide it to the rear.
• Push ice maker wire arm down to the “ON” position.
The ice maker fills with water and begins forming ice.
Allow 24 hours to produce the first batch of ice. Ice maker
should then produce 7 to 9 batches of ice in a 24-hour
period under normal conditions. Discard the first three
batches of ice. After ice is formed, ice cubes drop into
storage bin. When ice bin is full, ice maker arm raises to
the “OFF” position (arm up).
To stop ice maker:
• Lift the ice maker wire arm until you feel it click into the
“OFF” position.
• Do not force arm up or down. Do not store anything on
top of ice maker or in ice bin.
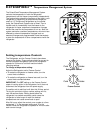
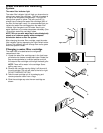
Wire arm
On
Off
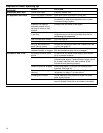
Solving common ice maker problems
POSSIBLE CAUSE/SOLUTION
This is normal. They break apart easily. Shake bin occasionally to keep cubes
separated.
ON/OFF wire arm is in the “OFF” (up) position. Lower wire arm to the “ON” (down)
position.
Freezer is not cold enough. Adjust temperature controls and wait 24 hours.
(See “Setting temperature controls” on page 6.)
Copper tubing is kinked. Check water tubing.
New plumbing connections can cause discolored or off-flavored ice. Discard the first
few batches of ice.
Cubes are stored too long. Throw them away and make a new supply.
Food is not wrapped properly. See page 20.
Freezer and ice bin need to be cleaned. See page 17.
Water may contain minerals (such as sulfur). A filter may be required to
remove them.
There is no water in the tank. Press the water dispenser lever and hold it in for
several minutes. When water dispenses, tank is full.
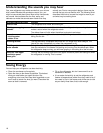
PROBLEM
Ice crescents attached at
corners
Ice maker will not operate
or ice is not made fast
enough
Off-taste or odor in ice
No ice produced


