29
6. If using the temperature probe, touch PROBE and enter the
desired food temperature using the numerical keys.
7. To change the level of browning, touch BROWNING. Touch
the + (plus) or - (minus) to increase or decrease to the desired
level. Touch OK.
8. Once a cooking setup function is complete, the Start key will
light up.
9. When settings are correct, touch START.
A message will appear telling you to Place Food in Oven.
Place the food in the oven and touch OK. Connect the
temperature probe if appropriate.
10. During the cooking cycle an Adjust Settings key appears on
the lower right hand corner of the display. Touch ADJUST
SETTINGS to change the desired time, temperature, probe
and/or Browning settings. Touch START to enter new
settings.
11. If the Cook Time has been set or the temperature probe has
been used, the Check Food message will appear at the end
of the cook time or once the set temperature has been
reached.
If enabled, end-of-cycle tones will sound, then reminder
tones will sound every minute. Touch OK to clear the
message, stop reminder tones, and continue the current
cooking cycle.
12. Touch OFF when finished cooking.
NOTE: For breads, if the oven temperature is below the set
temperature, the Preheat Bar will be displayed showing the
status of the preheat cycle. When preheat is complete, a tone will
sound and message telling you to Place Food in Oven will
appear.
Manual Steam
Manual steam allows you to set the temperature, cook time,
preheat cycle, browning level, and the amount of steam used
during the cooking process.
To Cook with Manual Steam:
Before baking and roasting, position racks according to the
“Positioning Racks and Bakeware” section.
1. From the Main menu, touch STEAM COOK.
2. Touch MANUAL STEAM.
3. Touch the Manual Steam setting.
4. To change the temperature, enter the desired temperature
using the numerical keys.
5. To change the cook time, touch COOK TIME. Enter the
desired cook time using the numerical keys.
6. If using the temperature probe, touch PROBE and enter the
desired food temperature using the numerical keys.
7. To preheat, touch PREHEAT. Touch ON. Touch OK.
8. To change the level of browning, touch BROWNING. Touch
the + (plus) or - (minus) to increase or decrease to the desired
level. Touch OK.
9. To change the level of steam intensity, touch STEAM. Touch
the + (plus) or - (minus) to increase or decrease to the desired
level. Touch OK.
10. Once a cooking setup function is complete, the Start key will
light up.
11. When settings are correct, touch START.
A message will appear telling you to Place Food in Oven.
Place the food in the oven and touch OK. Connect the
temperature probe if appropriate.
12. During the preheat (if used) and cooking cycle an Adjust
Settings key appears on the lower right hand corner of the
display. Touch ADJUST SETTINGS to change the desired
time, temperature, probe and/or Browning settings. Touch
START to enter new settings.
13. If the Cook Time has been set or the temperature probe has
been used, the Check Food message will appear at the end
of the cook time or once the set temperature has been
reached.
If enabled, end-of-cycle tones will sound, then reminder
tones will sound every minute. Touch OK to clear the
message, stop reminder tones, and continue the current
cooking cycle.
14. Touch OFF when finished cooking.
NOTE: Preheating when cooking with steam is generally only
recommended for breads. If preheat is selected and the oven
temperature is below the set temperature, the Preheat Bar will be
displayed showing the status of the preheat cycle. When preheat
is complete, a tone will sound and message telling you to Place
Food in Oven will appear.
Keep Warm
IMPORTANT: Food must be at serving temperature before
placing it in the warmed oven.
The steam-assisted Keep Warm function adds moisture into the
oven to keep food from drying out, keeping food warm and moist
before serving.
■ Do not use Keep Warm to heat cold food. Use only cooked,
hot foods with Keep Warm.
■ Follow manufacturer's recommendations when warming
empty serving bowls and plates.
■ For best results, do not cover food with foil or lids during the
first hour. After that, check food occasionally and cover if
necessary.
■ Use rack positions 1-4. Do not place food on top rack.
■ For best results, hold food in Keep Warm for no longer than
4hours.
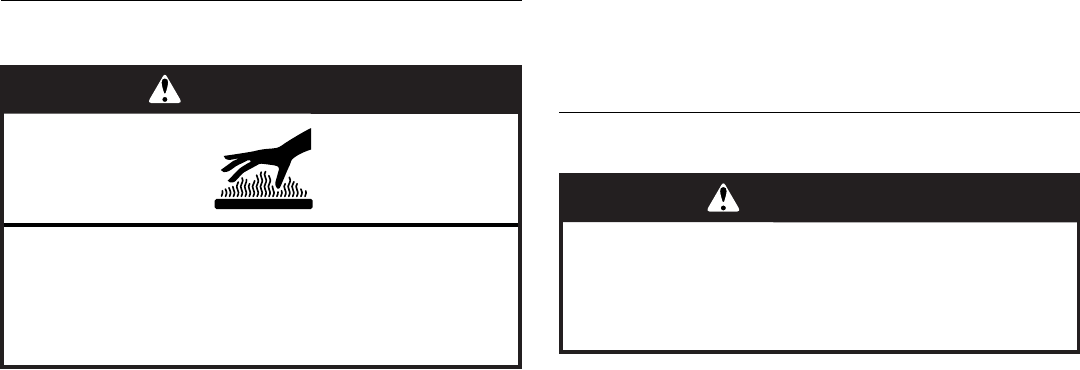
WARNING
Burn Hazard
Use an oven mitt to remove temperature probe.
Do not touch broil element.
Failure to follow these instructions can result in burns.
WARNING
Food Poisoning Hazard
Do not let food sit in oven more than one hour before
or after cooking.
Doing so can result in food poisoning or sickness.


