


A delight in freshness
WFI1051 / EWTN 2956
22
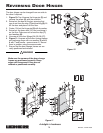
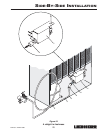
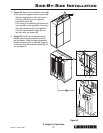
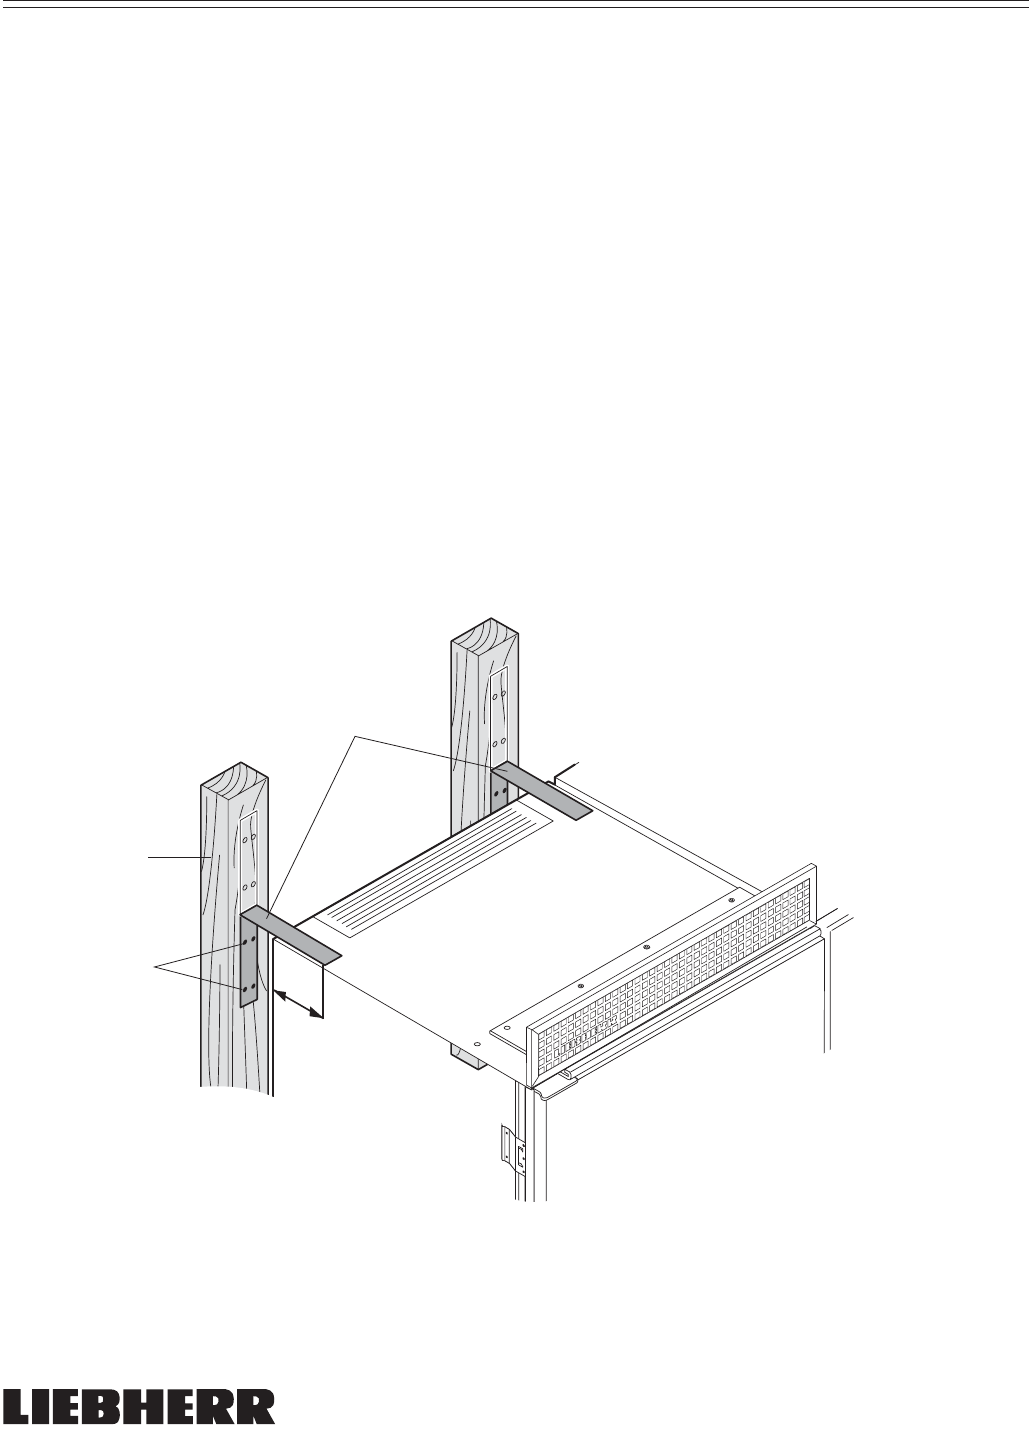
BLOCKING FOR SAFETY
min 3"
1
2
3
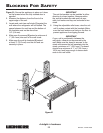
Figure 21
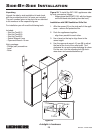
IMPORTANT
The anti-tip brackets can be installed in either
direction or closer together. Always position
the anti-tip brackets as wide apart as pos-
sible, but make sure they are anchored to two
studs.
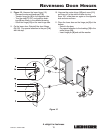
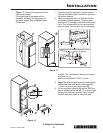
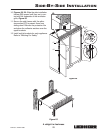
6. Using the adjustable roller base, raise the unit
until it makes contact with the brackets. Make
sure the front levelers are firmly on the floor to
prevent appliance from tipping forward.
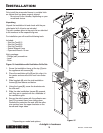
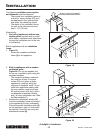
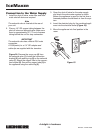
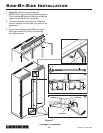
IMPORTANT
If your unit is positioned in between the
wall studs, a board can be secured to the
wall. Make sure the board is secured to the
studs with screws that will penetrate into the
studs a minimum of 1" (25.4 mm). The board
should be a minimum of 1" x 6" (25.4 mm x
152.4 mm) and long enough to secure both
ends to the wall studs.
Figure 21: Secure the appliance in place so it does
not tip forward when the fully stocked door is
opened.
2. Measure the distance from the floor to the
upper edge of the unit.
3. Locate and mark two wall studs (1) against the
wall where the refrigerator will be located. The
space between the unit top and the bottom of
the brackets must not be more than
1/4" (6.4 mm).
4. Make sure the screws (2) extend a minimum of
1" (25.4 mm) into each of the wall studs.
5. Make sure the anti-tip brackets (3) extend
at least 3" (76.2 mm) over the unit and are
securely in place.