


OPERATION
16 L20-294, rev. 0 (1/06)
Tank Capacity
Model Capacity
PG14D 12 Gal. (45.5 Liters)
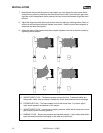
2.2. FILLING THE APPLIANCE
2.2.1. FILLING THE COOKER TANK
It is recommended that the cooker tank is filled with hot water. This will greatly decrease the time
it takes for the appliance to reach operating temperature. Refer to the following procedure to fill
the cook tank prior to operation.
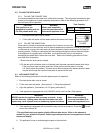
1. Ensure that the drain valve is closed.
2. Fill the tank with water until the water reaches the water level line(s).
2.2.2. FILLING THE RINSE TANK
Once pasta is cooked to the desired doneness it will continue to cook after
being removed from the cook tank until its internal temperature is lowered. Submerging the pasta
in cold water or rinsing it with cold water will lower the pasta’s internal temperature and stop the
cooking process. Rinsing or submerging will also prevent sticking and remove dissolved starch.
If the appliance is equipped with a rinse tank, it may be filled with cold (or ice) water for
submerging the pasta after it leaves the cook tank. Refer to the following procedure to fill the
cook tank prior to operation.
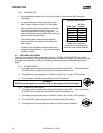
1. Ensure that the drain valve is closed.
2. Fill the tank with cold water (and ice if desired) until the water reaches the water level line(s).
If the rinse tank does not have level lines, fill the tank so that the water is 4 inches
(10.16cm) below the overflow. The tank can be filled up beyond the desired level but water
may be lost through the overflow once pasta is placed into the tank.
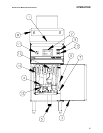
2.3. APPLIANCE START UP
Refer to the following procedure to start the appliance prior to operation.
1. Ensure that the drain valve is closed.
2. Fill the cook tank with water. (See section 2.1 “Filling the Appliance”)
3. Light the appliance. (See section 1.8.2 “Lighting Instructions”)
4. If the appliance is equipped with a I/0 (ON/OFF) switch, turn it to the I (ON) position.
5. If the appliance is equipped with a controller it may need to be turned on. Press the
*
button
to turn the controller on.
*The specified button may appear slightly different then shown. Refer to the operator’s
manual for your appliance’s specific control type to determine the exact appearance of each
button and display.
6. The appliance is now on and heating the water in the cook tank.
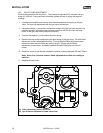
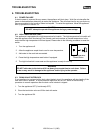
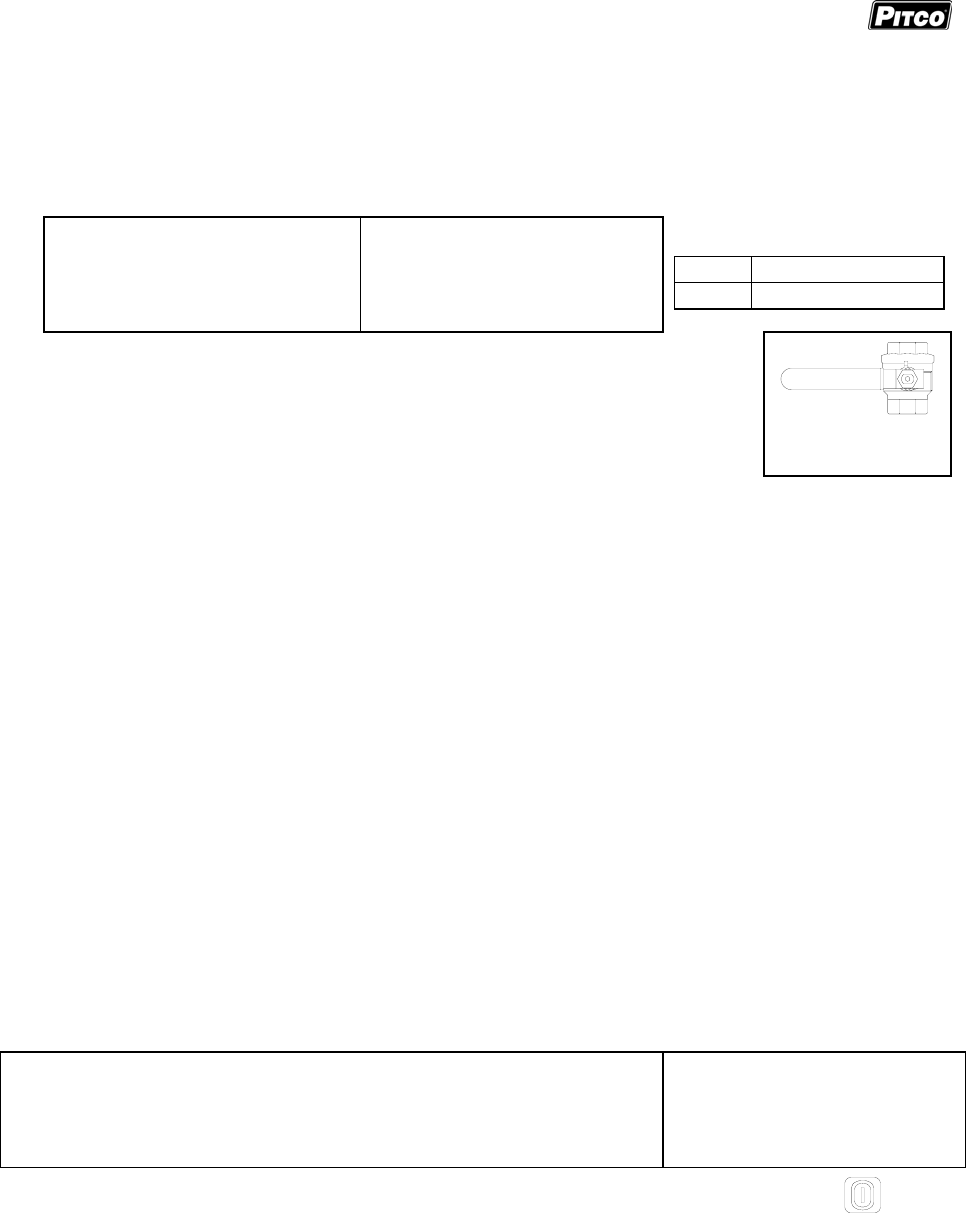
DRAIN VALVE
CLOSED
CAUTION
This appliance is not
designed for cooking with oil.
Fill with potable water only.
WARNING
Water must completely
cover the heat tubes at all
times while appliance is on.
WARNING
Water must completely
cover the heat tubes at all
times while appliance is on.
WARNING
NEVER operate the appliance with an empty cook tank. It may
void the warranty. Adding water after the heat tubes have been
heated may cause injuries from hot splattering liquids and steam.