61
6.1.2. Electric supply
The machine is supplied ready for connection
according to the required electrical specifications.
Before connecting the machine ensure that the
plate details (fig. 1) comply with those of the electric
distribution network.
The electrical connection cable must be directly
connected to the connection provided according to
current legislation. Ensure that the earthing system
is efficient and in compliance with current legal re-
quirements.
The earthing system and the lightening protection
system must be realized in accordance with the
provisions of current legislation.
For the supply network use a cable in compliance
with standards with protective conductor (earthing
wire).
For three-phase power use a cable with 5 conduc-
tors ( 3 phases + neutral + earth).
For single phase power supply use a cable with 3
conductors (phase + neutral + earth).
In both cases it is necessary to provide an auto-
matic differential switch (Fig. 6) at the start of the
power cable, complete with magnetic release ele-
ments in accordance with the identification plate
details (Fig. 1). The contact opening must be
equivalent or over 3 mm.
Remember that each machine must be fitted with
its own safety elements.
WARNING:
Should the power supply cable be damaged
it is to be replaced by the manufacturer or by
its technical assistance service or by person
with equivalent qualification, in order to pre-
vent any risks.
6.3. Positioning
z Place the machine on the horizontal surface
previously prepared.
Before connecting, thoroughly wash the mains water
pipes:
z Leave the water supply taps running at full pressure
for several minutes.
z Connect to the mains water supply.
z Connect the machine to the socket.
z Connect the gas pipe (model SYSTEM)
Thoroughly wash all the water pipes of the machine:
z Leave the water supply taps running at full
pressure.
z Switch on main switch 1: wait until the boiler fills
up to the level set.
z Switch on main switch 2 to begin heating the water
in the boiler.
z Operate each unit in order to allow the water to
escape for about one minute; repeat the operation
twice.
z Deliver steam from the steam jets for about one
minute.
z Deliver hot water for about one minute; repeat the
operation twice.
z Switch off switches 1 and 2.
z Empty the water from the boiler: see point 10.3
IMPORTANT
Should the machine not deliver water for over
24 hours, wash the internal components be-
fore beginning work, repeating the operations
as described above
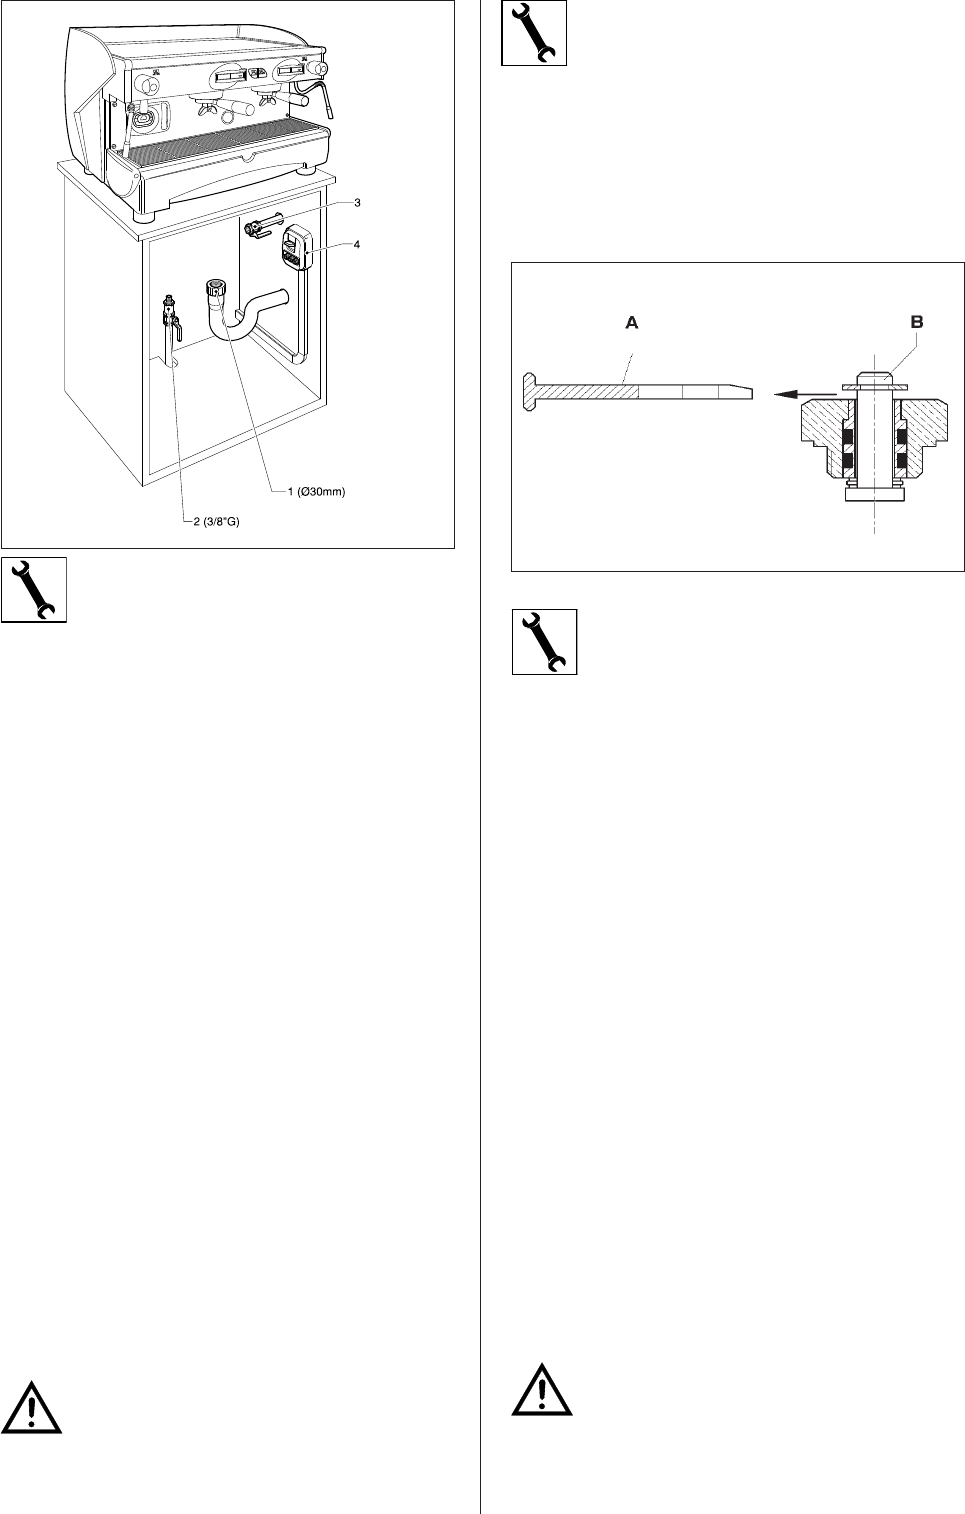
Fig. 6
6.2. Preliminary operations
ANTISUCTION VALVE INSTALLATION
On the top of the boiler there is the antisuction valve.
When installing the machine make sure to remove
the plastic fork “A” and check that the pin ”B” is
not blocked.
This operation is very important for the correct working
of the machine.
Fig. 7


