


19 U108910
INSTALLATION
Check the appliance is electrically safe when you have finished.
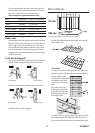
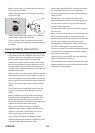
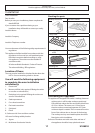
A left rear roller, B right rear roller, C centre roller
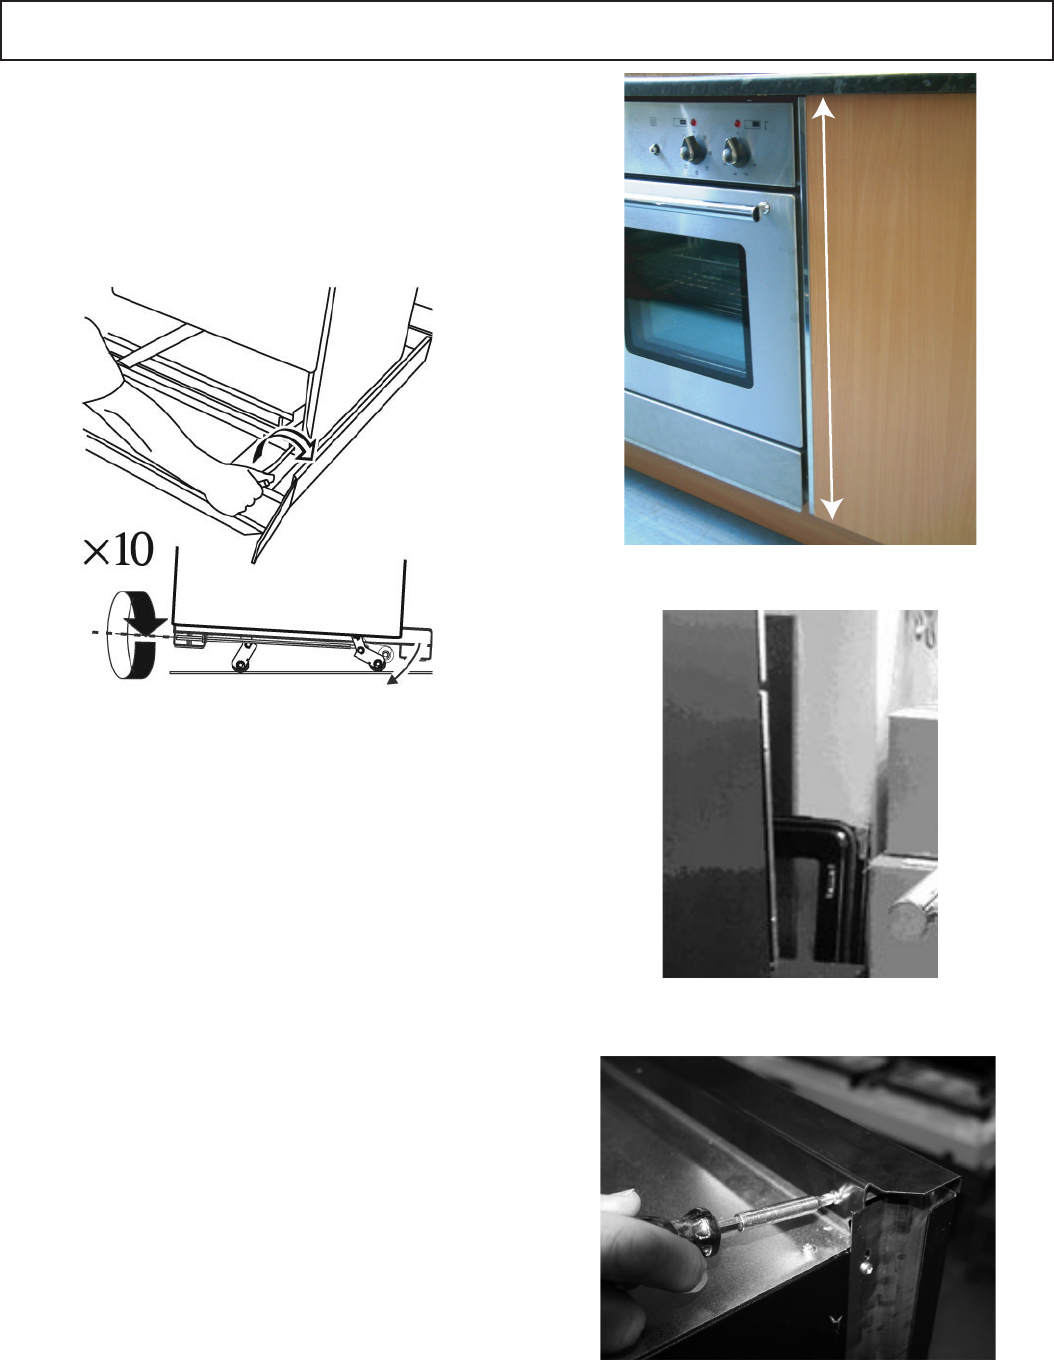
LOWER THE FRONT ROLLER until the front of the appliance
starts to rise using the Allen key supplied.
Now LOWER THE TWO REAR ROLLERS so that they contact
the floor, by fitting the levelling tool (or 8mm socket)
on the hexagonal adjusting nut as shown below and
turning clockwise.
Make sure you lower BOTH REAR ROLLERS. There are two
adjusting nuts, one for each roller, at both the front
bottom corners of the cooker.
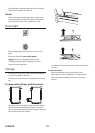
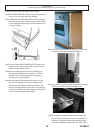
Unfold the rear edge of pack base tray. Carefully push
the appliance backwards into position. Push the
appliance close to its final position, leaving just
enough space to get behind it.
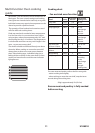
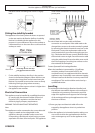
Measure the height of the cabinet the ovens are lining
up with (see diagram below), this will determine
whether the top in fill trim needs to be fitted. The
majority of units will be around 720mm and will not
require the in fill trim, for those between 730 and 735
the trim should be fitted. See diagram.
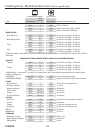
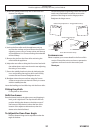
Fit the side trims to the appliance using the three screws
for each trim that are included. See diagram.
Fit the top in fill trim where needed, lining the front edge
with the front of the side trims at either side.
Adjust the height of the front roller with the Allen key
so that the top of the ovens unit ( with in fill trim if
required ) is just below the height needed to slide
under the worktop and adjust the rear rollers with