12
Water Supply Connection
It is recommended to have this product installed by
a qualified technician.
Cut the water pipe according to need and avoid bending the
water pipe too much. Usually, the pipe length should be less
than 5 m. If the water pipe is too long, the ice and cold water
content will be affected because there may be insufficient
water pressure.
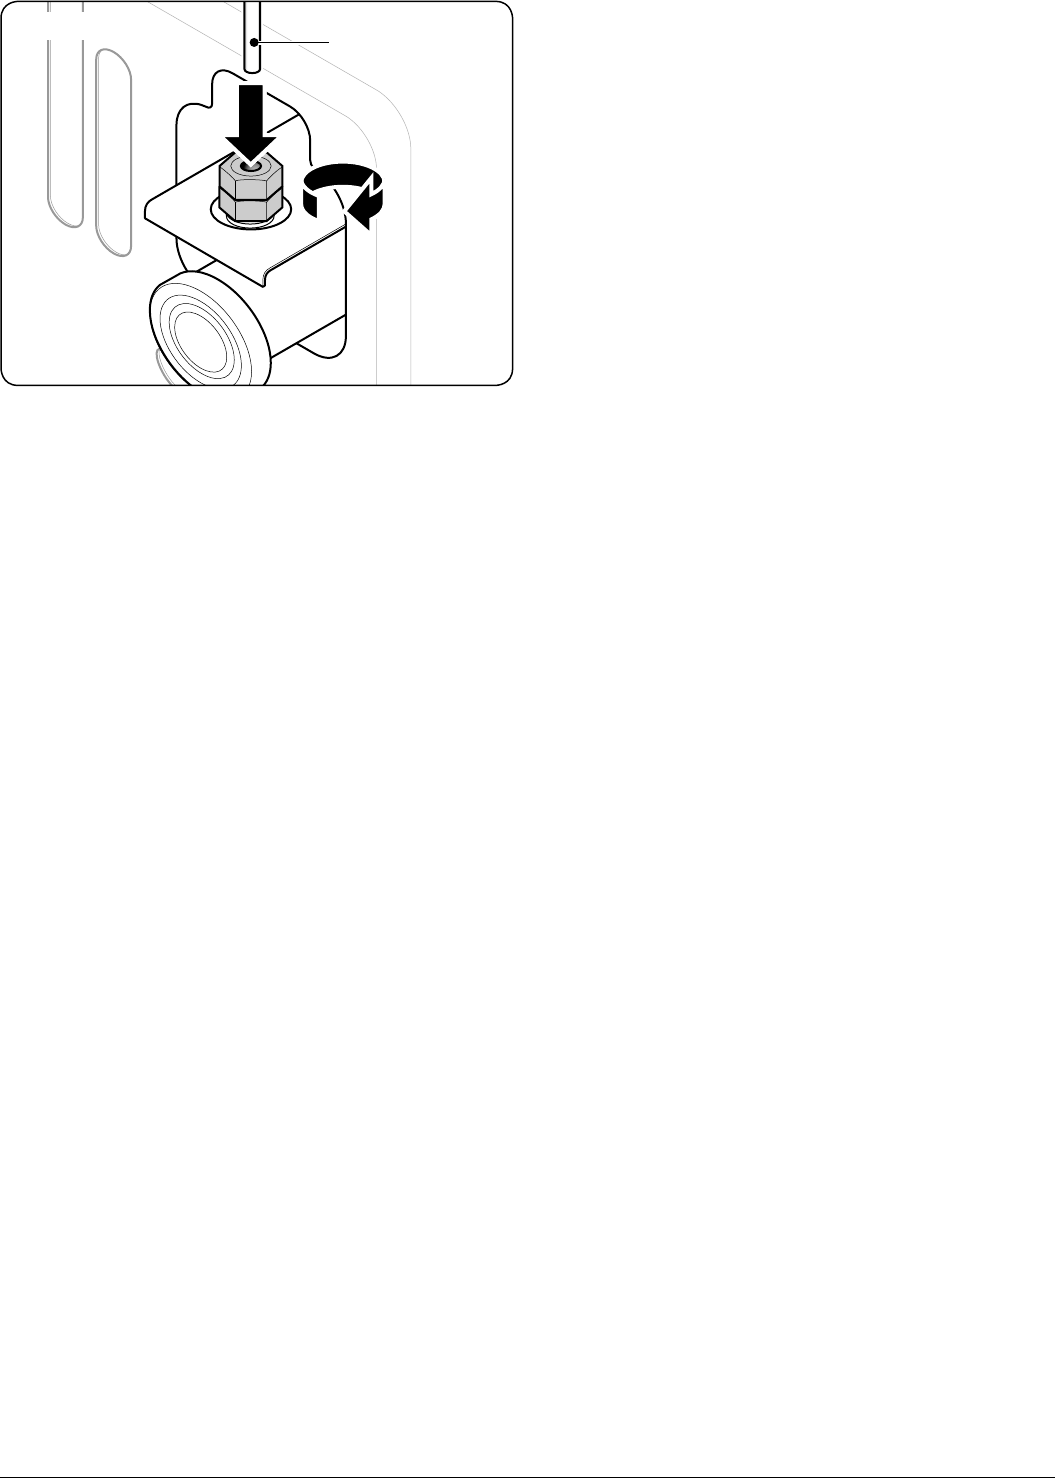
Insert one end of the water supply pipe into the water inlet
on the rear of the appliance (Fig.4-12).
Connect the other end into the plastic adaptor. Screw the
adaptor onto a suitable ½” BSP connector water outlet.
The water pressure should be between 207–827 kPa
(21–123 psi) for correct operation of the cold water dispenser
and ice maker.
Open the water valve to flush the pipe, check leakage in the
water pipe joints and allow the water to run until it is clear.
The water pipe cannot withstand heat. Keep it away from all
heat sources.
Before first use, press the water dispenser pad several times
for 1 minute. Do not press for more than 1 minute to prevent
overheating of the pad activator solenoid. Cold water will
begin to flow from the outlet.
The water filter is there to filter impurities in the water, and to
make ice clean and hygienic. It cannot sterilise or destroy
anything, so be certain to connect the water pipe to a
drinkable water source.
• To prevent the pipe from freezing, do not install the
water pipe in a space below 0 °C.
When the temperature of the ice maker is equal to or below
–15 °C the ice maker will begin to make ice.
• Throw out the first few batches of ice cubes if you are
making ice for the first time or have not made it for a
long time.
• After the refrigerator is installed, put the water supply
pipe in a suitable place to prevent crushing and
damage.
• If the cubed ice becomes smaller, this may suggest that
the filter is blocked from the impurities.
ArtNo.600-0045 - Fitting the water pipe 1
Fig.4-12


