


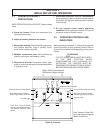

13
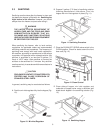
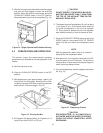
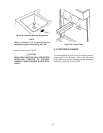
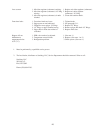
C. Remove rosette cap. Push the spigot body through
the bottom of the front door and remove the spigot
body (Fig. 22).
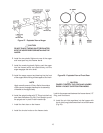
Figure 21. Removing Front Door
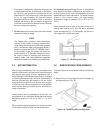
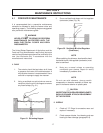
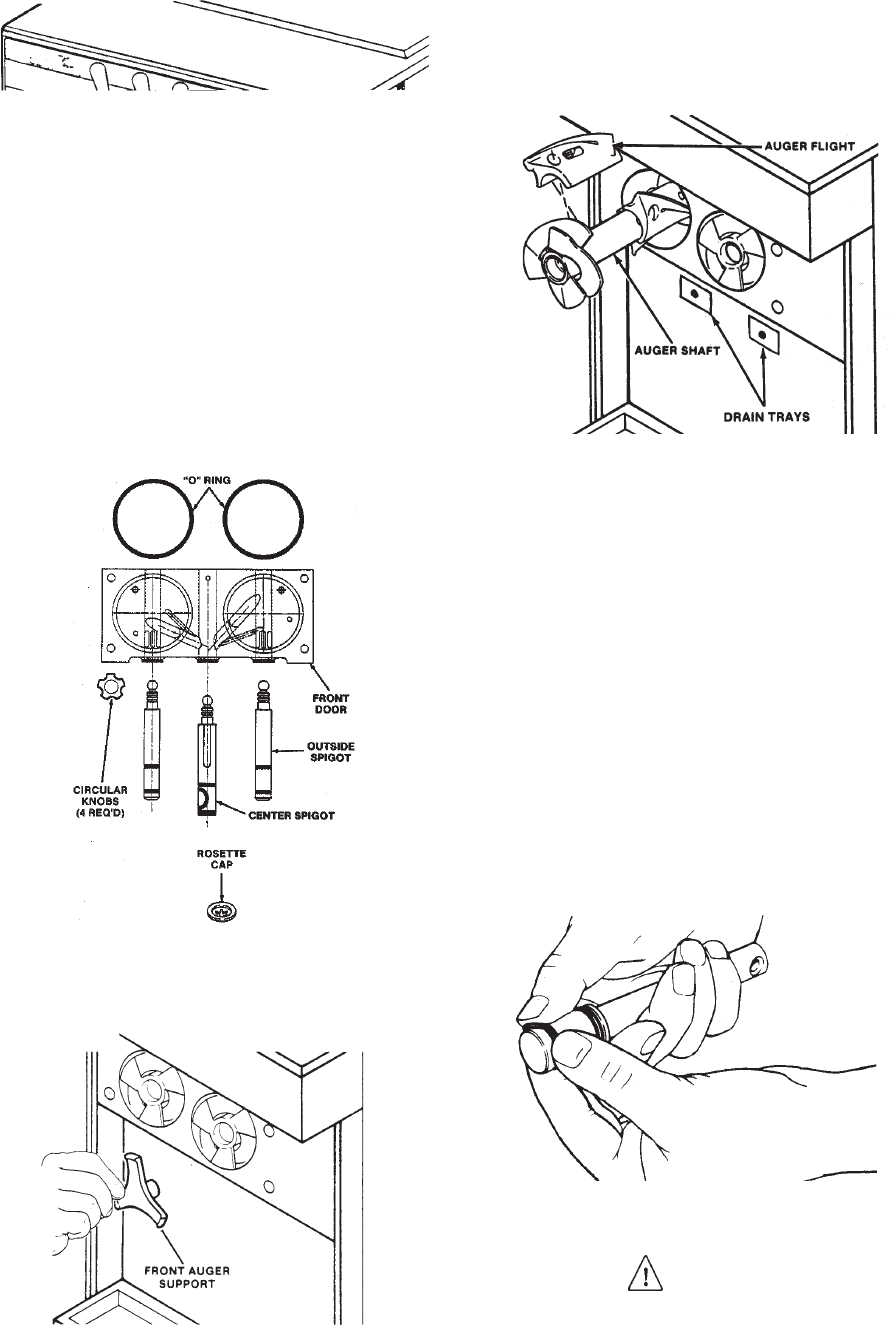
D. Remove the front auger supports and bearings (Fig.
23).
Figure 22. Removing Spigot
Figure 23. Removing Auger Supports
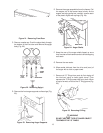
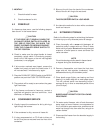
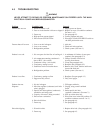
E. Remove the auger assemblies from the freezer. Pull
the augers out of the freezer barrel slowly. As the
augers are being pulled out, carefully remove each
of the plastic flights with springs (Fig. 24).
F. Keep the rear of the auger shafts tipped up once
they are clear of the freezer barrels to avoid dropping
rear seals.
G. Remove the rear seals.
H. Wipe socket lubricant from the drive end (rear) of
the auger with a cloth or paper towel.
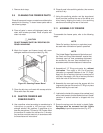
I. Remove all “O” Rings from parts by first wiping off
the lubricant using a clean paper towel. Then
squeeze the “O” Ring upward with a dry cloth. When
a loop is formed, roll out of the “O” Ring groove (Fig.
25).
Figure 24. Auger Shafts
WARNING
DO NOT USE ANY TYPE OF SHARP OBJECT
TO REMOVE THE “O” RINGS.
Figure 25. Removing O-Ring