


Model WS-30 Installation 42
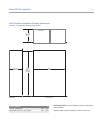
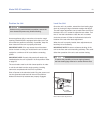
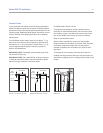
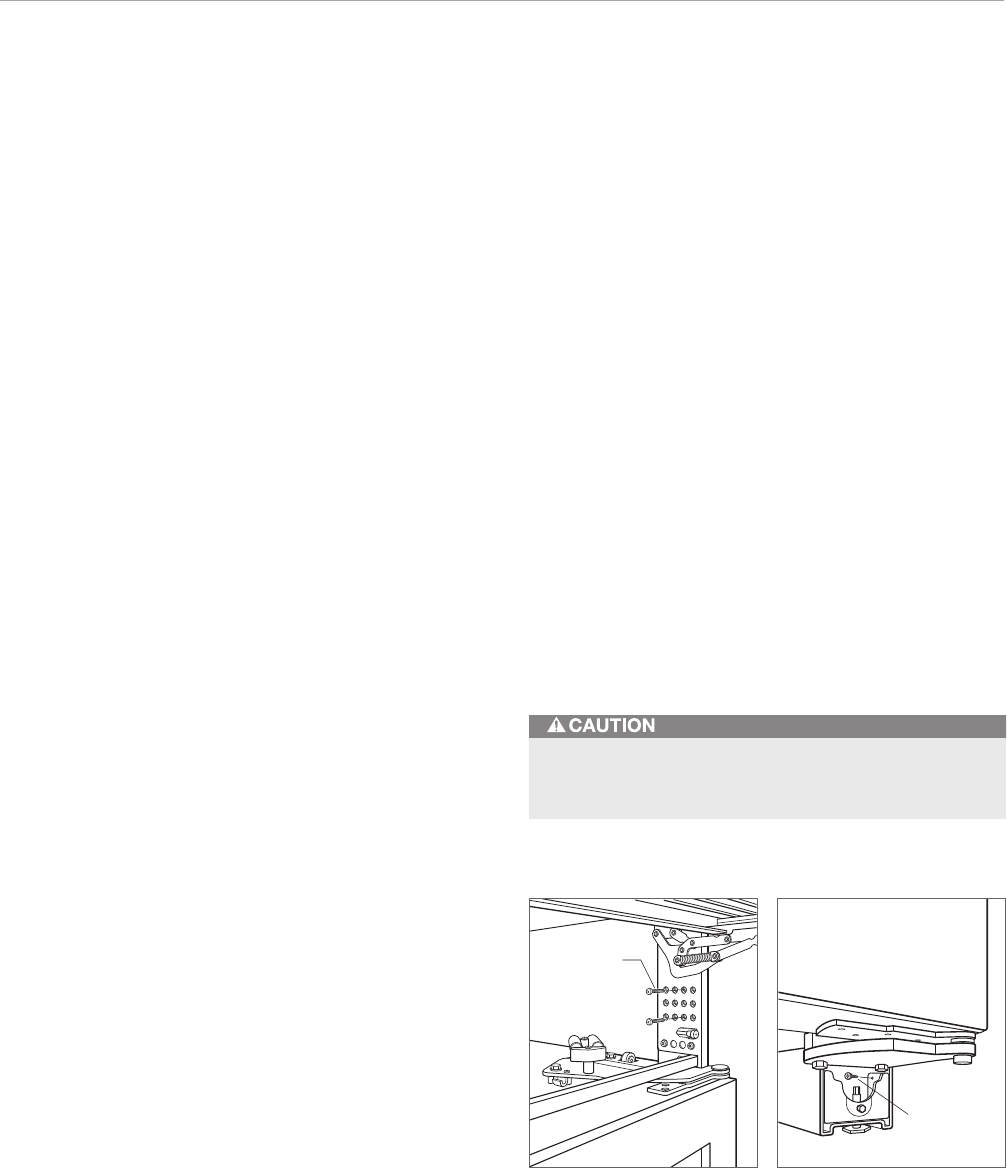
ANCHORING
SCREWS
Top anchoring. Bottom anchoring.
ANCHORING
SCREW
Complete the Installation
ANCHORING
After door and side panels have been installed, the unit
has been leveled and door adjustment completed, anchor
the wine storage unit to the opening. This will assure a
proper fit and a secure installation.
IMPORTANT NOTE: Be sure to level and square the unit
before anchoring it.
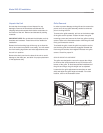
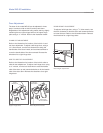
To anchor the top of the unit to cabinetry, open the grille,
and install the screws provided through the grille frame
into the cabinetry. There are several hole locations
provided. Check for proper door clearance by fully
opening the door. Refer to the illustration below.
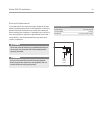
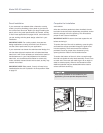
To anchor the bottom of the unit, drive a screw through
the side hole inside the roller base assembly. There is one
on each side. The screw will need to go in at an angle in
order to attach properly. Refer to the illustration below.
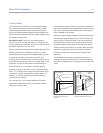
Additional material may be needed behind the cleat to
ensure sufficient anchoring.
Panel Installation
I
f your customer has ordered either a framed or overlay
model, you will be installing a door panel to give the unit
the custom Sub-Zero look. Before you begin installing the
panel, refer to the panel specifications for framed, overlay
or flush inset applications on pages 44–52, and make sure
you are working with the panel design called for in your
installation.
IMPORTANT NOTE: For overlay models, there are two
design applications, overlay and flush inset. Be sure to
use the correct panel sizes for your application.
If your customer has chosen the stainless steel design, the
unit has been shipped complete with a finished stainless
steel look. It will not be necessary to install a door panel or
handle hardware. In your final preparation for stainless
steel units, use a stainless steel cleaner to remove any
marks. Abrasive cleaners should not be used, as they may
scratch the surface.
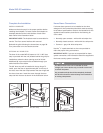
IMPORTANT NOTE: Side panels, if used, will need to be
installed before the unit is placed in its final position. Refer
to page 53.
If the screws provided are not suitable for your
application, you must provide adequate screws.