16
Changing Cooktop
and/or Oven Lights
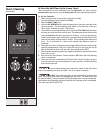
The upper and lower oven lights work together. When the oven light switch,
located below the control panel, is turned on, both oven lights will come on.
Both lights will come on if the lower oven door is opened.
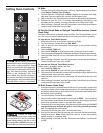
To Change the Upper Oven Light
The oven light is located at the right side of the upper oven.
To Replace the Upper Oven Light:
1. Turn electrical power off at the main source or unplug the range.
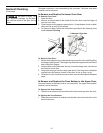
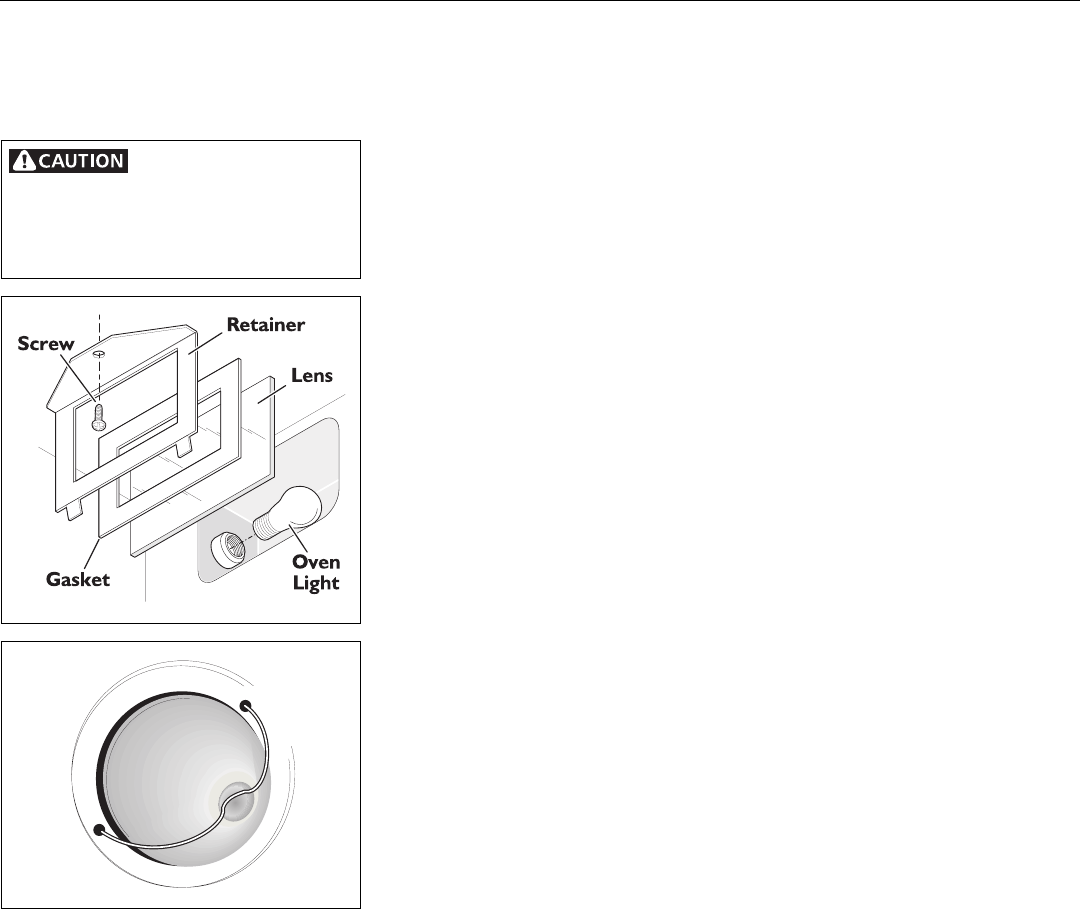
2. Remove the screw holding the oven light lens retainer in place.
3. Tilt the oven light lens retainer away from oven side wall and lift up to
release the bottom flanges. Be careful not to allow the glass lens to fall and
break.
4. Remove retainer, gasket and lens.
5. Replace bulb with a new 40 watt appliance bulb.
6. Replace lens, gasket, retainer and screw.
7. Turn power back on again at the main source (or plug the range back in).
8. The clock will then need to be reset. To reset, see Setting the Clock and
Minute Timer in this Owner's Guide.
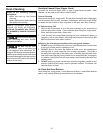
To Change the Lower Oven Light
The oven light is located at the rear of the oven.
To Replace the Lower Oven Light:
1. Turn electrical power off at the main source or unplug the range.
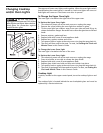
2. Press wire holder to one side to release the glass shield.
3. Replace bulb with a new 40 watt appliance bulb.
4. Replace glass shield over bulb and snap wire holder into place.
5. Turn power back on again at the main source (or plug the range back in).
6. The clock (if equipped) will then need to be reset. To reset, see Setting the
Clock and Minute Timer in this Owner's Guide.
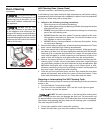
Cooktop Light
A switch, located on the upper control panel, turns the cooktop light on and
off.
The cooktop light is located behind the rear backsplash glass and must be
replaced by a service technician.
Be sure the range is
unplugged and all parts are COOL before
replacing the oven lights. Wear a leather-
faced glove for protection against
possible broken glass.


