


20
Operating Procedures
Models 382/RC25
Disassembly
BE SURE THE CONTROL SWITCH IS IN
THE “OFF” POSITION.
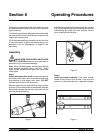
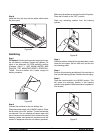
Step 1
Remove the torque arm, handscrews, freezer door ,
beater assembly, scraper blades, torque rotor , and the
drive shaft, and take these parts to the sink for
cleaning.
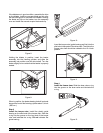
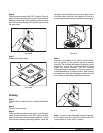
Step 2
Remove the front drip tray and splash shield and take
them to the sink for cleaning.
Brush Cleaning
Step 1
Prepare a sink with a n approved cleaning s olution.
USE WARM WATER AND FOLLOW THE
MANUFACTURER’S SPECIFICATIONS. Make sure
all brushes provided with the freezer are available for
brush cleaning.
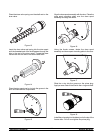
Step 2
Remove the:
S seals from the drive shaft.
S o-ring and front bearing from the freezer
door.
S door spout from the freezer door.
S draw valve and spring from the door spout.
S o-ring from the draw valve.
S o-ring and guide bearing from the torque
rotor.
S prime plug and prime plug o-ring.
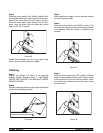
Note: To remove o-rings, use a single service towel to
grasp the o-ring. Apply pressure in an upward direction
until the o-ring pops out of its groove. With the other
hand, push the top of the o-ring forward and it will roll
out of the groove and can be removed easily .
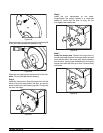
Step 3
Thoroughly brush clean all disassembled parts in the
cleaning solution making sure all lubricant and mix film
is removed. Place all the cleaned parts on a clean dry
surfacetoairdry.
Step 4
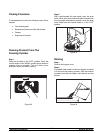
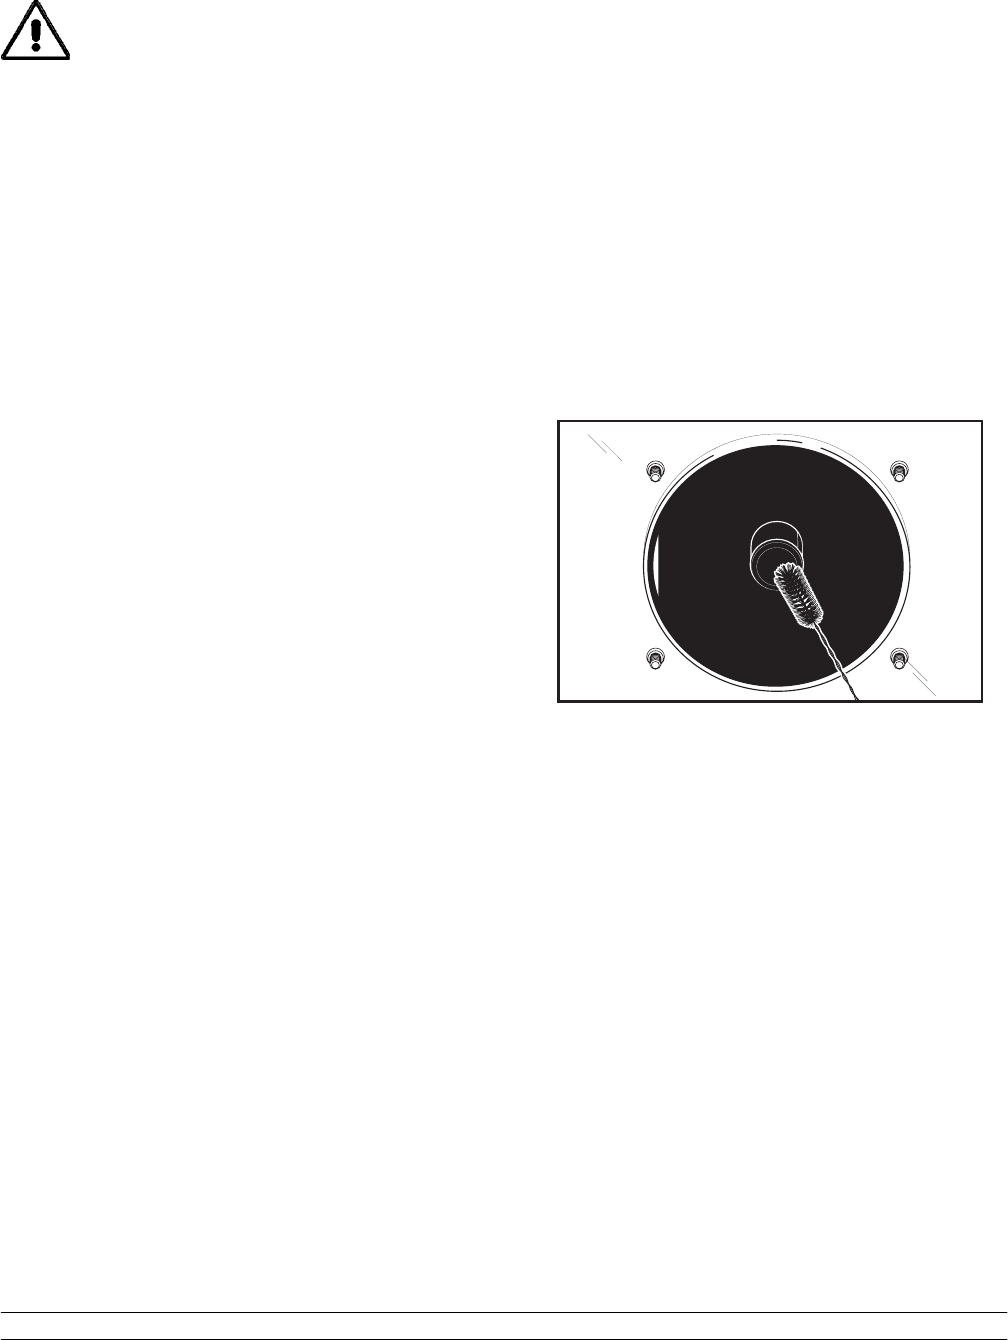
Return to the freezer with a small amount of cleaning
solution. Brush clean the rear shell bearing with the
black bristle brush.
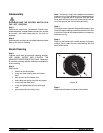
Figure 39
Step 5
Wipe clean all exterior surfaces o f the freezer.