


19
Models RD30/RC25 Operating Procedures
140721
Rinsing
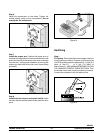
Step 1
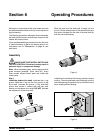
Remove the upper rear cover , and open the hopper
cover.
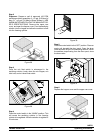
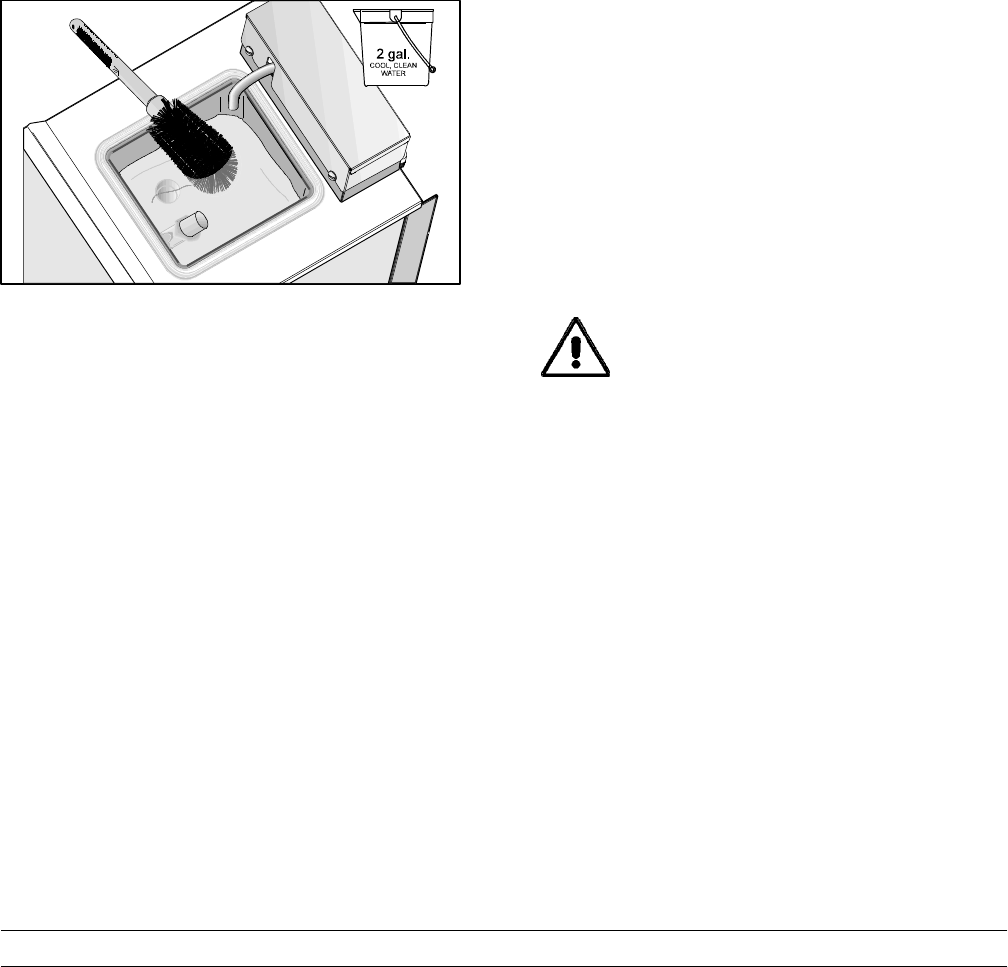
Step 2
Pour cool, clean water into the mix hopper and allow
it to flow into the freezing cylinder. With t he brushes
provided, s crub the mix hopper, mix inlet hole, and mix
level float switch.
Figure 35
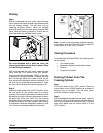
Step 3
Place the control switch in the “WASH” position. With
a pail beneath the door spout, open the draw valve.
Drain all the rinse water from the freezing cylinder .
When the rinse water stops flowing from the door
spout, close the draw valve and place the control
switch in the “OFF” position.
Repeat this procedure until the rinse water being
drawn from the freezing cylinder is clear.
Cleaning
Step 1
Prepare a pail of approved 100 PPM cleaning solution
(examples: 2- 1/2 gal. [9.5 liters] of Kay- 5R or 2 gal.
[7.6 liters] of Stera- SheenR). USE WARM WATER
AND FOLLOW THE MANUFACTURER’S
SPECIFICATIONS.
Step 2
Pour the cleaning solution into the hopper and allow it
to flow into the freezing cylinder.
Step 3
Once the mix float switch is submerged in the cleaning
solution, brush c lean the mix hopper, mix inlet hole,
and mix level float switch.
Step 4
Place the control switch in the “WASH” position. This
will cause the cleaning s olution in the freezing cylinder
to be agitated. Allow the solution to agitate for five
minutes.
Step 5
Place the control switch inthe“OFF” position. Place an
empty pail beneath the door spout. Open the draw
valve and draw off all of the cleaning solution. When
the solution stops f lowing from the door spout, close
the draw valve.
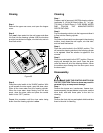
Disassembly
MAKESURETHECONTROLSWITCHISIN
THE OFF POSITION. Failure to do so may result in
personal injury or component damage.
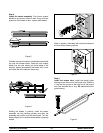
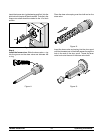
Step 1
Remove the torque arm, handscrews, freezer door,
beater assembly, scraper blades, torque rotor, and the
drive shaft, and take these parts to the sink for
cleaning.
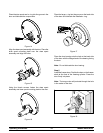
Step 2
Remove the front drip tray and splash shield and take
them to the sink for cleaning.