


English 8
Remove all packaging materials and
temporary labels from oven and cooktop.
Please, recycle the packaging material as all
THERMADOR
®
packaging is recyclable.
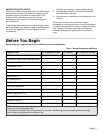
1. Check that you have the items listed in Table 1.
2. Record the Model and Serial number on page 41.
See “Data Rating Labels” found on the Rating Label
Plate. Rating Label Plate is located on the right side of
the range between the oven cavity and side panel (see
Figure 35 on Page 41). These may be used for any
future contacts with Customer Service. Enter this
information on the Product Registration Card included
with this product then mail it to the indicated address.
3. Optional Accessories: Grill Plate, Chopping Board,
Griddle Cover, Wok Support Ring, Toe Kick, and other
accessories are available from your THERMADOR
®
dealer.
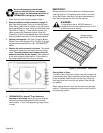
4. Position the racks correctly in the oven. The correct
rack position depends on the recipe and the cooking
mode. The rack positions are numbered from the
bottom of the oven, like an elevator. Rack position 3
is the most frequently used position. Place rack(s) in
the proper position before turning on the oven.
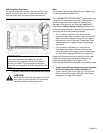
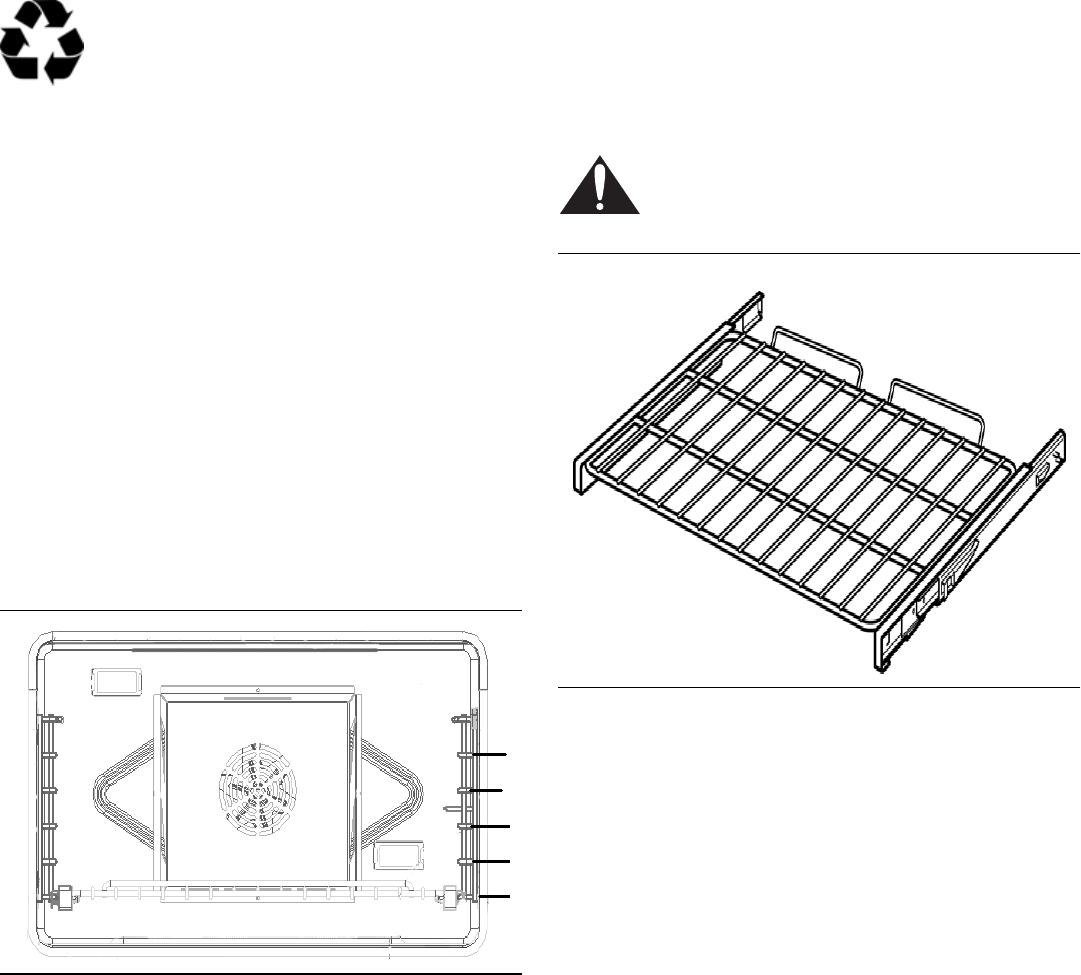
5. THERMADOR Full Access
®
Oven Racks are
standard on all models. Each gliding oven rack can
be pulled out and pushed back into the oven with
minimal effort — even while supporting a large turkey
or roast.
IMPORTANT:
Always remove the Full Access
®
oven racks before self-
cleaning the oven. If the gliding racks remain in the oven
during Self-Clean, lubricants in the glide mechanisms of
each rack will be lost and the finish will discolor.
WARNING:
To help prevent burns, NEVER remove or
reposition the oven racks while the oven is ON
or while the oven is cooling.
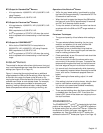
Placing Rack In Oven:
To insert a rack in the oven, hold the rack with the back rail
up toward the back. Place the safety hooks under the front
of the rail guides. Push the rack into the oven, lifting the
rack stops over the front of the rail guides. Slide the rack
into position.
When placing food on a rack, pull the rack out to the stop
position. The racks are designed to lock and not tilt while in
fully-extended position.
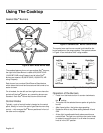
Figure 1: Main Oven Rack Positions
5
4
3
2
1
Figure 2: Full Access
®
Oven Rack
Always remove
before Self Clean