


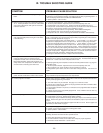
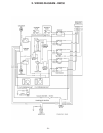
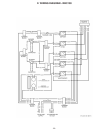
-15-
VII. OPERATING THE BLAST CHILL CONTROL (cont’d)
VII. j - CONTROL PANEL CONFIGURATION:
INTRODUCTION - The Traulsen Blast Chiller Unit is
preset and tested at the factory to be fully functional
using default settings programmed into the unit.
Therefore, it is advised that the following procedures
should be performed by an experienced blast chill op-
erator, or an approved blast chill technician.
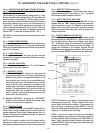
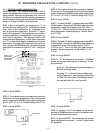
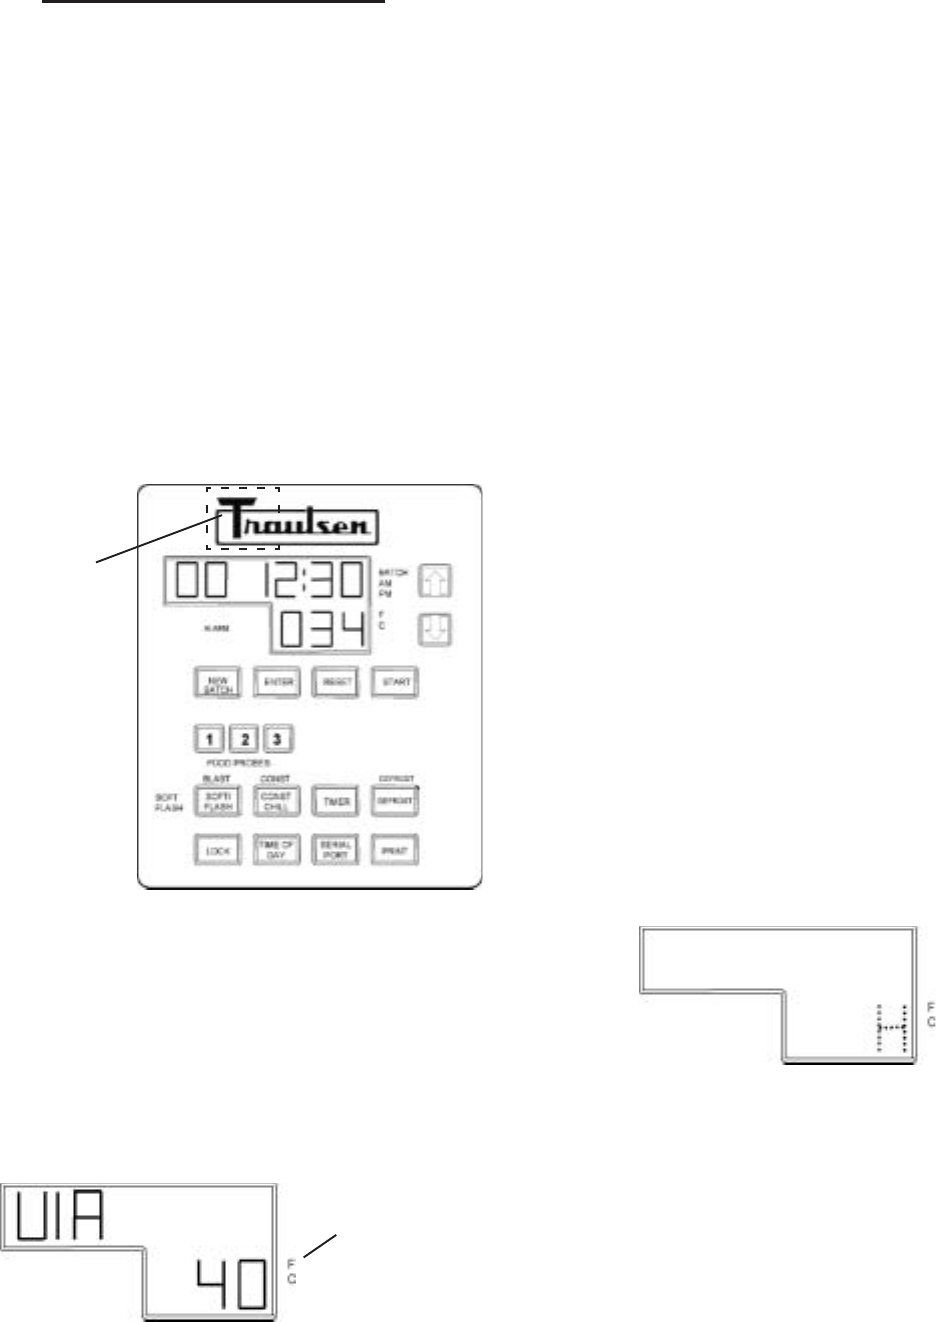
STEP 1: Start configuration by pressing the “T” on
the Traulsen logo (see figure 34). The display will show
U1A, which is the maintenance air temperature, 34-
38°F is typical during operation. Press the “T” again,
now U1E1 is displayed. This displays the current main-
tenance evaporator coil temperature. Press again, no-
tice U1E2 is displayed. This displays current chill
evaporator coil temperature. Press again, and notice
the “F” for Fahrenheit begins to flash next to the dis-
play screen. You have now accessed the first set func-
tion. Using the UP/DOWN arrows, you can change the
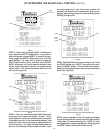
settings for Fahrenheit to Celsius (F
° to C°, see figure
35).
STEP 2: Press ENTER.
STEP 3: The display shows the temperature flashing.
This is the cut out air temperature of the maintenance
mode. Using the UP/DOWN arrows, adjust setting from
30°F to 34°F (-1°C to 1°C). Default setting is 34°F (1°C).
STEP 4: Press ENTER.
STEP 5: The display shows the temperature flashing.
This is the cut out air temperature of the maintenance
mode. Using the UP/DOWN arrows, adjust setting from
37°F to 41°F (-3°C to 5°C). Default setting is 38°F (3°C).
STEP 6: Press ENTER.
STEP 7: The word “BLAST” is flashing above the SOFT/
FLASH button. Using the UP/DOWN arrows, adjust the
temperature range in the display from 35°F to 41°F
(-2°C to 5°C). This is the blast chill and soft chill end
point temperature. Default setting for “BLAST CHILL”
is 41°F (5°C).
STEP 8: Press ENTER.
STEP 9: The word “FLASH” is flashing above the SOFT/
FLASH button. Using the UP/DOWN arrows, adjust the
temperature range in the display from 0°F to 5°F
(-18°C to -15°C). This is the flash chill end point tem-
perature. Default setting for “FLASH CHILL” is 5°F
(-15°C).
STEP 10: Press ENTER.
STEP 11: “H” will display on the screen. UP/DOWN
arrows will change solid display to flashing “H” dis-
play and back.
Solid “H” = Normal factory setting to support a
HACCP operating mode.
Flashing “H” = Allows Continuous Batching
mode of operation. See Continuous Batching
for Blast Chill and Flash Chill Modes (cannot
be used with Soft Chill, see figure 36).
STEP 12: Press ENTER.
STEP 13: Number 1,2 or 3 will appear on the screen.
use the UP/DOWN arrows to select the desired num-
ber of Printed Batch Data copies.
STEP 14: Press ENTER. This completes the control
panel configuration process. The unit is now ready
for operation.
Fig. 35
Fig. 36
Fahrenheit
Fig. 34
Press “T” on
logo to start
configuration
and unlock.