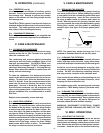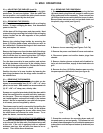
III. i - PLACING EQUIPMENT ON TOP OF UNIT:
Equipment may be placed on top of your Traulsen full-
size undercounter or equipment stand. However,
please be aware that a stainless steel worktop is re-
quired on cabinets being used to support equipment
weighing in excess of 100 lbs. or producing heat in
excess of 140°F to the top surface. Optional stainless
steel tops are available from Traulsen.
IV. OPERATION
IV. a - REFRIGERATORS:
Both refrigerators and freezers do not require manual
defrosting. During normal operation, a refrigerator
continuously circulates above freezing cabinet air
through the coil. A compressor “OFF” cycle occurs
every hour to melt any frost which may accumulate
on the coil during the compressor “ON” cycle. The
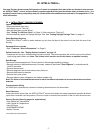
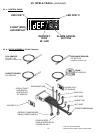
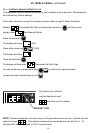
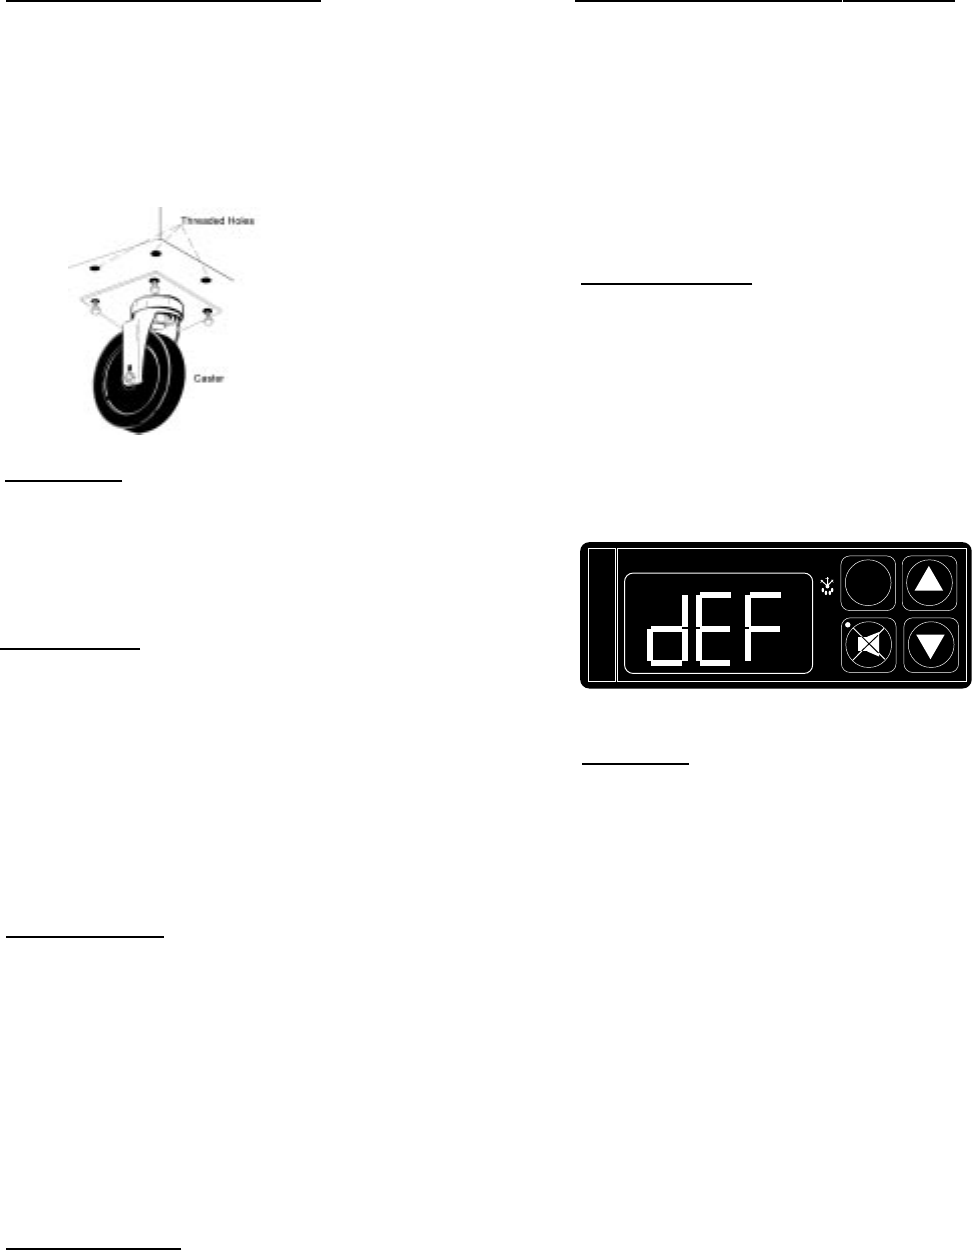
control will read “dEF” when this occurs (see figure
4). With standard holding refrigerators, high relative
humidity is also maintained to prevent dehydration of
stored product.
IV. b - FREEZERS:
During normal operation, a freezer continuously cir-
culates below freezing cabinet air through the coil. The
coil requires a periodic defrosting for proper opera-
tion. This is accomplished by an automatic, time acti-
vated, temperature/time terminated, defrost program,
utilizing hot gas from the refrigeration system. The
controller is preset at the factory for six equally spaced
defrost cycles within each 24-hour period.
At the start of a freezer defrost cycle, both the com-
pressor and evaporator fans are OFF. The INTELA-
TRAUL control will read “dEF” (see figure 4). When a
temperature device affixed to the coil senses 70°F, the
coil is fully defrosted and the compressor operation
is resumed. The coil fans are delayed from starting at
the termination of a defrost cycle. Fan operation is
automatically resumed, they can also be started by a
time or temp delay (whichever comes first). In case of
temp delay, it uses the same coil sensor and starts at
32°F. The total refrigeration system operation is then
resumed.
During freezer defrost operation, heat is confined to
the coil enclosure to prevent any significant rise in
temperature within the food zone. The fan delay con
-3-
III. INSTALLATION (continued)
III. d - INSTALLING LEGS OR CASTERS (cont’d):
Please note that Traulsen units are not designed to be
moved while on legs. If the unit requires moving, a
pallet jack or forklift should be used to prevent dam-
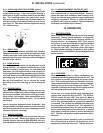
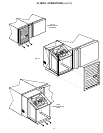
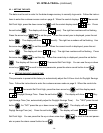
age. For installing casters, the casters are “plate”
type, and require the use of four (4) bolts each to se-
cure them firmly to the cabinet bottom at each corner
(see figure 3). The caster bolts are tightened using a
1/2” socket wrench.
III. e - SHELF PINS:
The unit ships with shelves and shelf pins installed.
Check all shelf pins to assure they are tightened down
as they may have come loose during shipping. Ro-
tate the pins clockwise until they are secured against
the side of the cabinet.
III. f - CORD & PLUG:
Most self-contained models are supplied with a cord
& plug attached. It is shipped coiled at the rear of the
cabinet, secured by a nylon strip. For your safety and
protection, all units supplied with a cord and plug in-
clude a special three-prong grounding plug on the ser-
vice cord. Select only a dedicated electrical outlet with
grounding plug for power source. NOTE: Do not un-
der any circumstances, cut or remove the round
grounding prong from the plug, or use an extension
cord.
III. g - POWER SUPPLY:
The supply voltage should be checked prior to con-
nection to be certain that proper voltage for the cabi-
net wiring is available (refer to the serial tag to deter-
mine correct unit voltage). Make connections in ac-
cordance with local electrical codes. Use qualified
electricians.
Use of a separate, dedicated circuit is required. Size
wiring to handle indicated load and provide necessary
overcurrent protector in circuit (see amperage require-
ments on the unit’s serial tag).
III. h - WIRING DIAGRAM:
Refer to the wiring diagram for any service work per-
formed on the unit. Should you require one, please
contact Traulsen Service at (800) 825-8220, and pro-
vide the model and serial number of the unit involved.
Fig. 3
Fig. 4
FREEZER
SET
INTELA-TRAUL
°F °C


