


3-62
Section 3 - Service and Repair
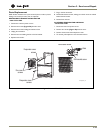
Figure 70
3. Your U-Line icemaker requires a drain connection. This unit can be
purchased with or without a factory-installed drain pump.
If a
pump is not installed in the appliance you must use the
gravity drain style installation
OR install a pump per the
installation instructions found on www.U-Line.com.
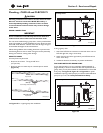
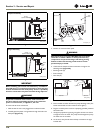
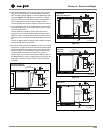
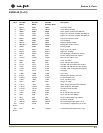
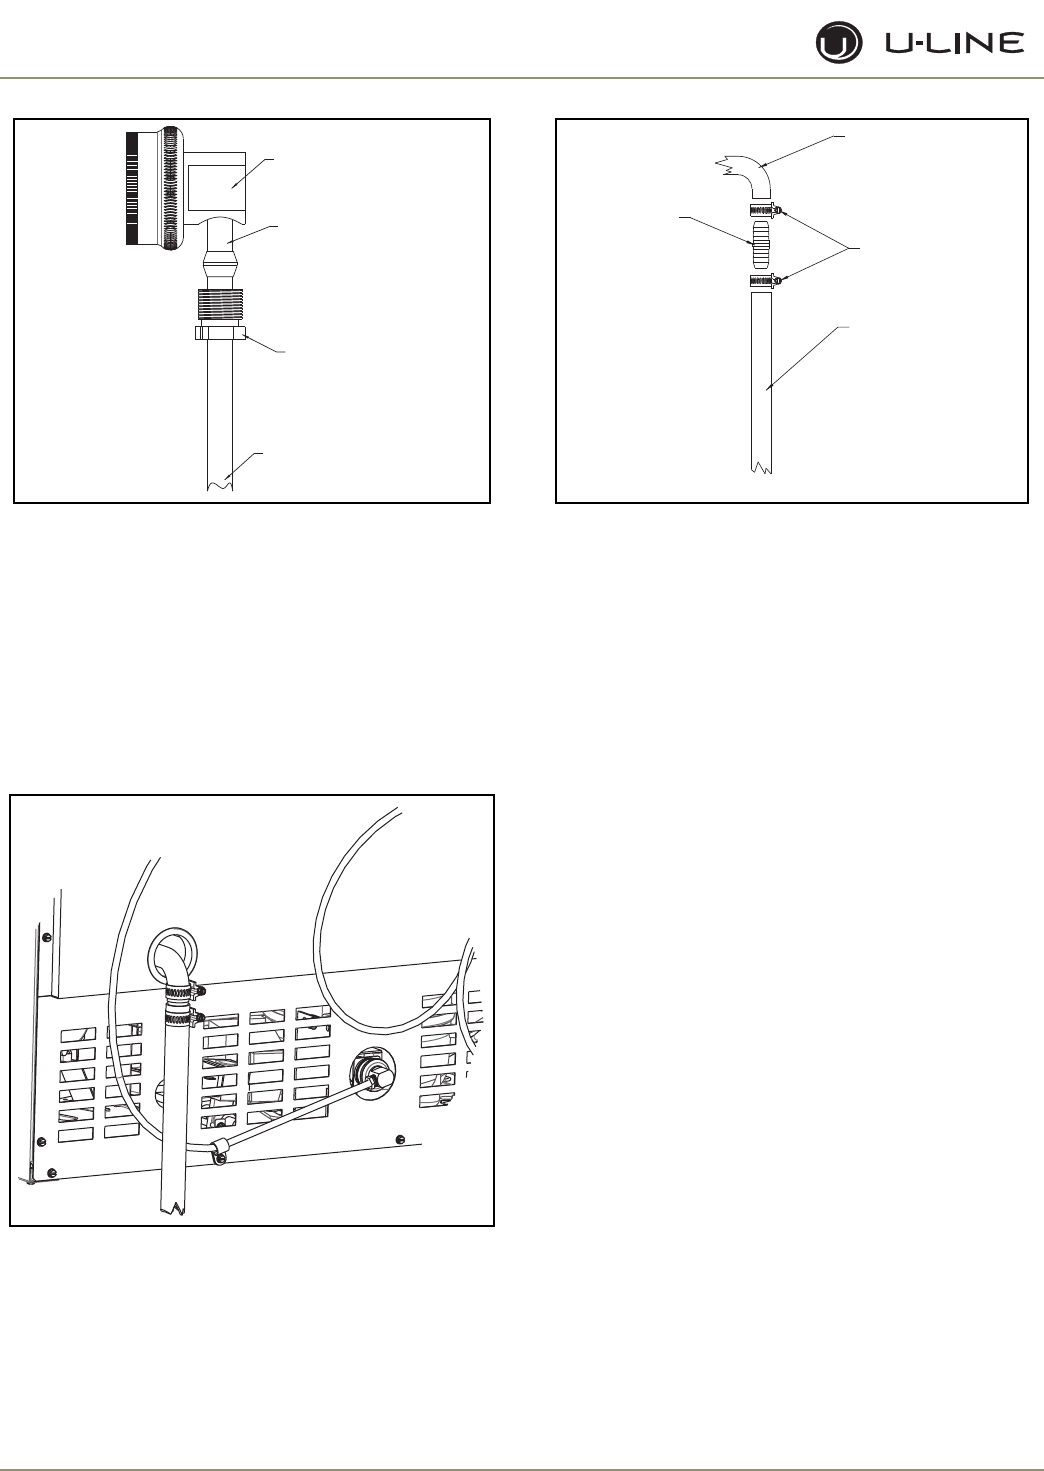
4. Slide two hose clamps onto the drain connection on the rear of the
appliance. Insert the barbed fitting half-way into this connection.
On the other end of the barbed fitting attach the 5/8" braided
tubing. Slide a clamp onto each side of the barbed fitting as shown
(Figure 71 & 70)
.
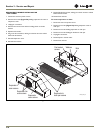
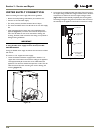
Figure 71
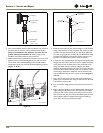
Figure 72
5. Determine the location of your drain and begin to route the drain
tubing in that direction. If using the gravity drain option you must
provide 1/4" drop every foot of line. For drain pump application
you must not go higher than 10 feet of lift. The lift should be made
vertically at the beginning of the drain line. After the lift try and
provide 1/4" drop every foot of line to the drain location.
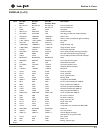
6. Connect the water supply fitting by screwing the brass garden hose
fitting to the water valve in the rear of the unit. Tighten this fitting
with a pliers. Do not use Teflon tape or joint compound on the
fitting. The rubber washer provides an adequate seal. Other
materials could cause blockage of the valve. The copper water line
should now be clamped to the rear of the unit to prevent rotation
when sliding in. Remove the clamp from the unit, slide the tube
into it and reattach using the 1/4" nut driver as shown
(Figure 71
and 70)
.
7. Plug in the unit and put the unit into OFF mode by holding the
power key for 10 seconds. Not doing this will cause the unit to fill
with water for three minutes.
8. Turn on the water supply and ensure the connections are free of
leaks.
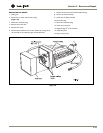
9. Begin to push the appliance into the desired cabinet opening. The
copper tubing should remain in two coils behind the unit. While
pushing the unit into the opening continuously reroute the drain
tube to avoid kinks. The most common installation pulls the slack
into an adjacent cabinet or basement area. Again, if installing a
gravity drain, ensure you provide proper slope
9/16" Wrench
1/4" Copper Water
Supply Line
7/16" Wrench
From Water Supply
to Ice Maker
ULIN_S_0168_A
ULIN_S_0166b1_A
Drain Fitting from
Back of Unit
Worm Clamps
Drain Line
5/8" x 5/8"
Barb Connector
ULIN_S_0166b2_A