


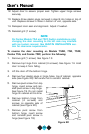

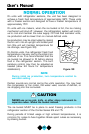
INITIAL START-UP
Once installation is complete, the unit is ready for initial start-up and
operation.
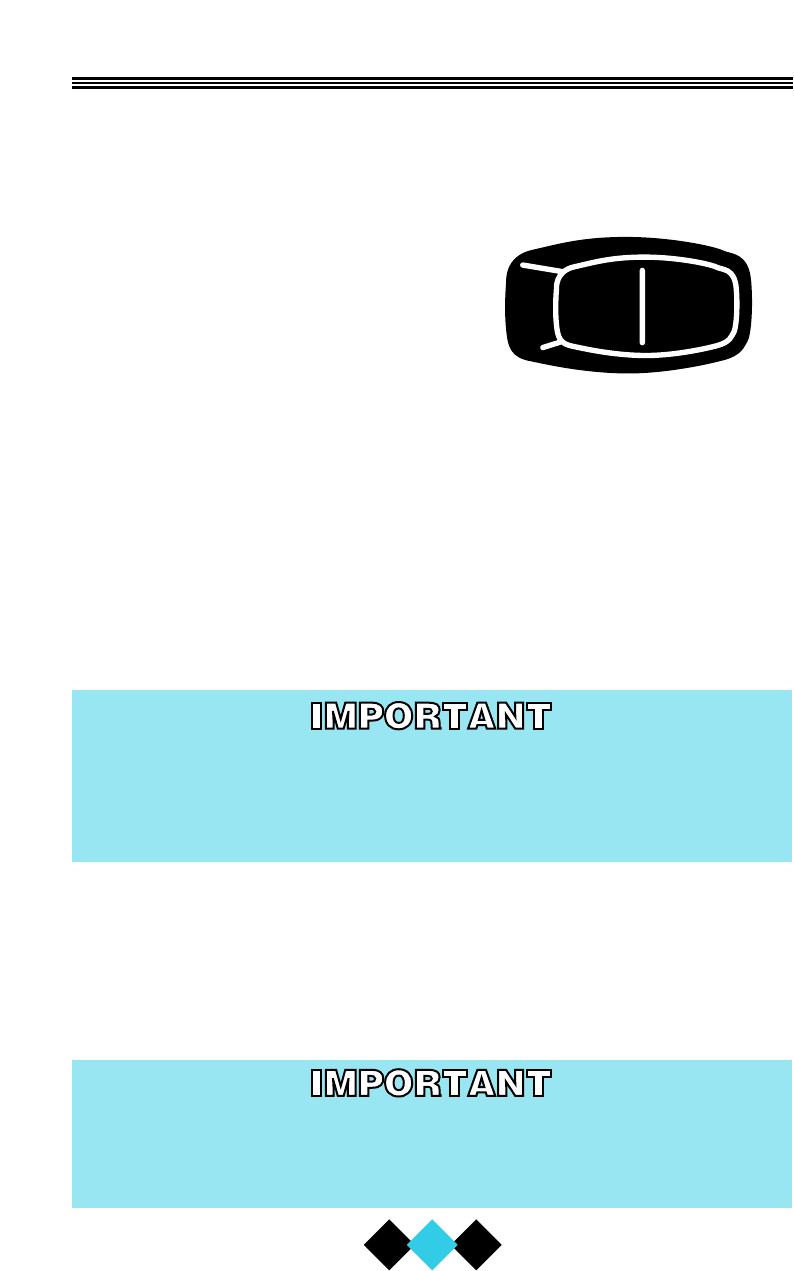
NOTE
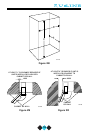
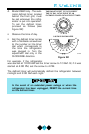
Models SP18, BI-15, BI-95,
BI-98, Combo 29A, Combo
29FF, Combo 75A, and Combo
75FF have the ON-OFF switch
recessed behind the front grill.
An opening is provided in the
grill to access the switch (see
Figure 31).
Models 15R, 29R, 29AD, 75R, 75RF and 75AD turn off when the
temperature control is turned all the way towards warmer until it stops
(counterclockwise).
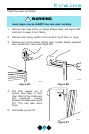
1. Plug the appliance cord into a 115V polarized and grounded elec-
trical outlet.
2. Put the ON-OFF switch in the ON position.
At this time, Model PBCM-98 should be in the desired loca-
tion and level. Rinse the 5-gallon reservoir thoroughly and
wipe clean. The reservoir may now be filled with tap or bot-
tled water.
3. Open the water supply valve in the main water source. As soon as
the ice maker mold reaches the proper temperature, the ice
maker mechanism will fill the mold with water. The first cubes may
be small because of air in the water line. Subsequent cubes will be
of standard size. Approximate time for the first cycle is 45 min-
utes. Allow 2 hours for any Frostfree models.
It is possible that dirt or scale will dislodge in the water line.
Always throw away all ice cubes made during the first two
to three hours of operation.
20
User’s Manual
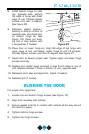
OFF
ON
UL127A
Figure 31