14
SSttaaiinnlleessss SStteeeell PPaarrttss
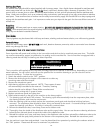
All stainless steel parts should be wiped regularly with hot soapy water. Use a liquid cleaner designed for stainless steel
when soapy water will not do the job.
DDoo nnoott uussee
bleach, steel wool, abrasive cloths, cleansers, or powders. Do not
permit citrus or tomato juice to remain on stainless steel surfaces, as citric acid will permanently discolor stainless steel.
Note: Under rare conditions, such as an extremely salty environment, small amounts of rust may accumulate on stainless
steel parts. These small amounts of surface rust can easily be removed by apply Soft Scrub® Gel to a damp sponge and
wiping with the stainless steel grain. It is important to make sure you wipe with the grain for the most efficient removal of
surface rust.
BBrraassss PPaarrttss
CCAAUUTTIIOONN::
All brass parts have an epoxy coating.
DDOO NNOOTT UUSSEE BBRRAASSSS OORR AABBRRAASSIIVVEE CCLLEEAANNEERRSS O
ONN TTHHEE BBRRAASSSS
PPAARRTTSS..
All brass parts should be wiped regularly with hot soapy water. When hot soapy water will not do the job, use
every day non-abrasive household cleaners.
DDoooorr GGaasskkeett
The vinyl gasket may be cleaned with mild soap and water, a baking soda and water solution, or a mild scouring powder.
PPaaiinntteedd SSuurrffaacceess
Wash with warm soapy water.
DDOO NNOOTT UUSSEE
steel wool, abrasive cleansers, ammonia, acids or commercial oven cleaners
which may damage the finish.
The ice machine will regularly (at the very least, annually) need to be cleaned of this build-up, depending on use and
water hardness. You can use an acid such as one specified for ice machine cleaning or you can use citric acid to
remove the build-up. To clean the ice machine:
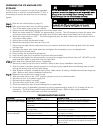
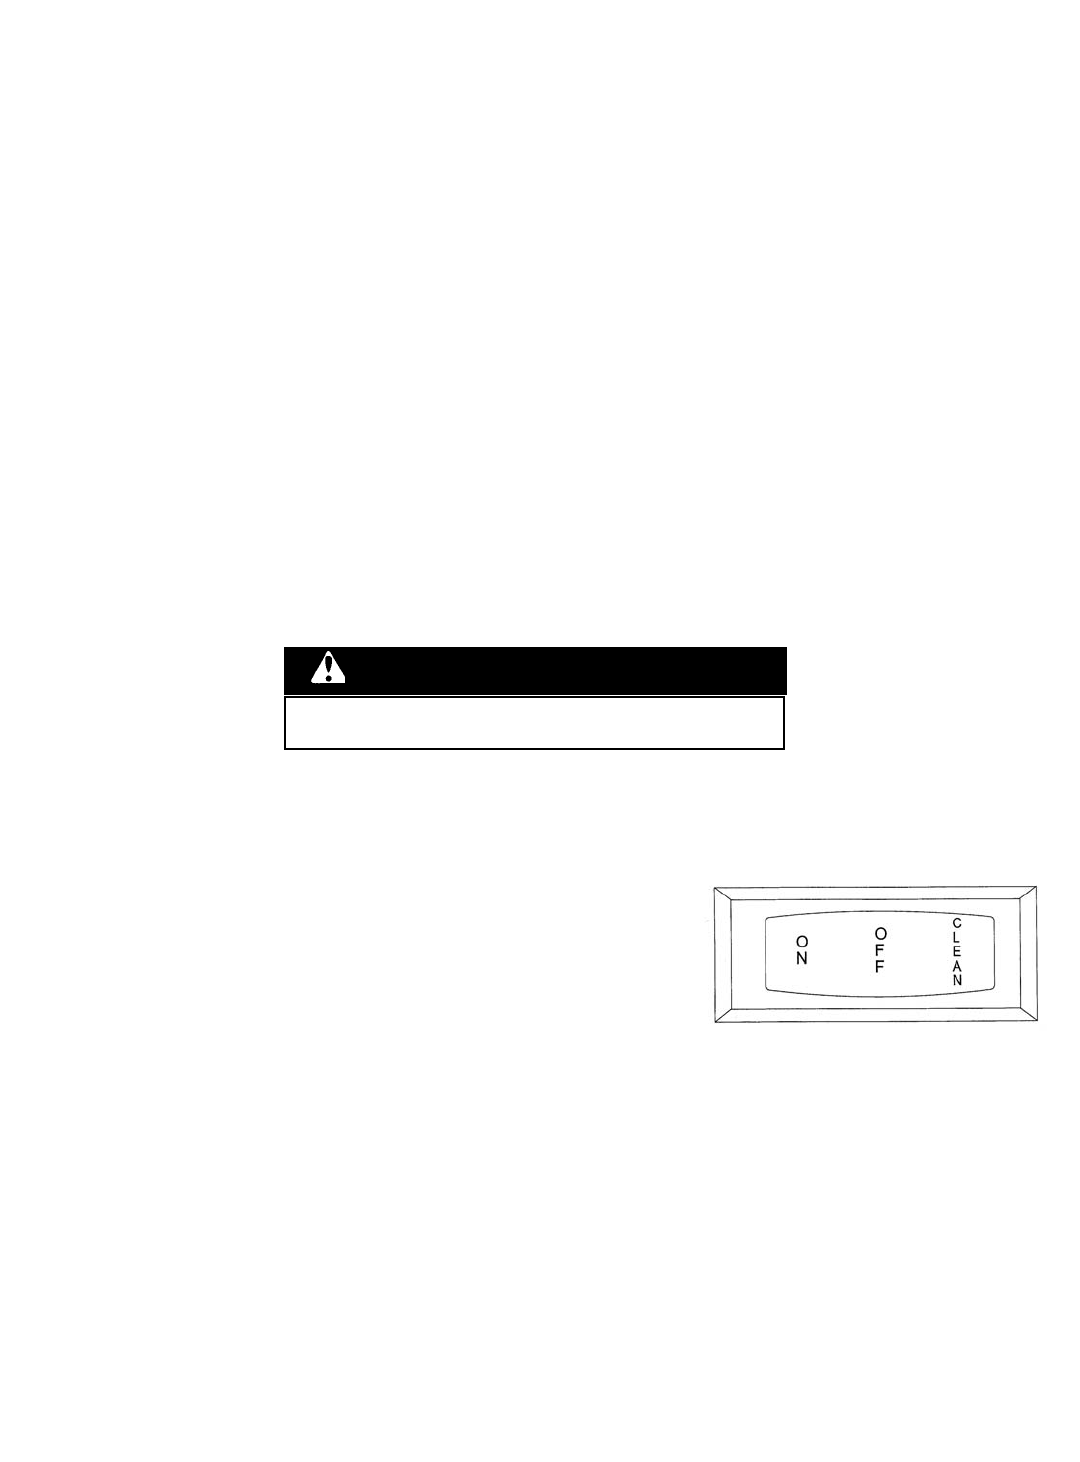
1. Switch the selector switch to the “OFF” position.
2. Remove the drain plug at the bottom of the reservoir to drain any
remaining water and then reinstall.
3. Remove the escutcheon panel.
4. Add cleaning solution to the reservoir. NOTE: Three quarts of water
will automatically be added to the reservoir. Therefore, cleaning
solution should not be diluted. Please follow manufacturer’s
instructions for mixing with 3 quarts of water.
5. Replace escutcheon panel and close door.
6. Switch selector switch on the grill of the machine to the clean position.
7. The cleaning cycle will end in 49 minutes. The cleaning cycle will automatically rinse the evaporator plate, drain
the cleaning solution, and rinse the components.
8. After the cleaning cycle has ended, remove the escutcheon panel again and check that build-up has been
removed. The evaporator plate should be clean, shiny, and smooth to the touch. If not and build-up is still visible,
repeat the cleaning cycle above. If build-up is removed, continue below.
9. Remove the distributor tube, hose clamp, hose and its rubber ends.
10. Thoroughly clean the inside of the distributor tube and the spray holes. You can use the same cleaning solution as
before and an old tooth brush to reach the inside of the distributor tube.
11. Reinstall the rubber end, hose, and hose clamp to the distributor tube and then reinstall the distributor tube to the
evaporator with the spray holes pointed to the bottom of the evaporator plate. Reinstall the escutcheon panel.
Your ice machine is now clean and sanitized. It can be placed back into operation by switching the selector switch to
the “ON” position. Please wait 48 hours for maximum ice production.
RReeaadd aanndd ffoollllooww mmaannuuffaaccttuurreerr’’ss wwaarrnniinnggss oonn iiccee
mmaacchhiinnee cclleeaanneerr pprroodduuccttss..
WARNING
CLEANING THE ICE MACHINE SYSTEM
Some impurities will remain and buildup in the ice machine and stick to the ice machine’s parts over time. This build-
up must be removed for proper ice production, ice quality, and ice machine life. Your ice machine is equipped with a
cleaning mode that will help in cleaning out these impurities.


