


— 6 —
4. Replace back top(s) and top castings on range.
5. After unpacking, remove the rack, drip pan and drip pan insert from the cheesemelter.
6. Make sure the mounting brackets are firmly attached to the top of the cheesemelter.
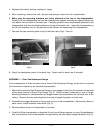
Carefully lift the cheesemelter so that the cheesemelter support brackets are approximately one
inch above the flue outlet of the back riser. Carefully guide the mounting brackets attached to the
cheesemelter over the mounting brackets on the top of the back riser. Lower the cheesemelter so
that all four brackets, two on top and two at the bottom, are supporting the cheesemelter.
7. Reinstall the two mounting bolts at top of the back riser (Fig's. 3 and 4).
8. Attach the backsplash panel to the back riser. Attach shelf to back riser if included.
ASSEMBLY — Over Gas Restaurant Range
If the cheesemelter is to be mounted over a Vulcan Gas Restaurant Range, a back riser is required
(furnished when ordered as an elevated cheesemelter).
1. Mount back riser onto Gas Restaurant Range so riser supports slide into the channels on the back
of the range (similar to Heavy Duty Range, Fig. 2). Attach screws to channels on rear of range.
Mounting brackets for cheesemelter and support beam are assembled onto the back riser at the
factory. Remove the two mounting bolts from top of support brackets on back riser.
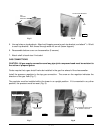
2. Assemble two support brackets to the top rear corners of the cheesemelter. Remove four bolts on
each corner; install brackets under bolts (Fig. 5).
3. Remove bottom cover of cheesemelter (8 screws).
4. Carefully lift the cheesemelter so brackets fit over the rail (beam support) on top of the backsplash
and so the bottom of the cheesemelter is supported by the two bottom support brackets (Fig. 6).
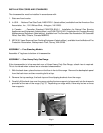
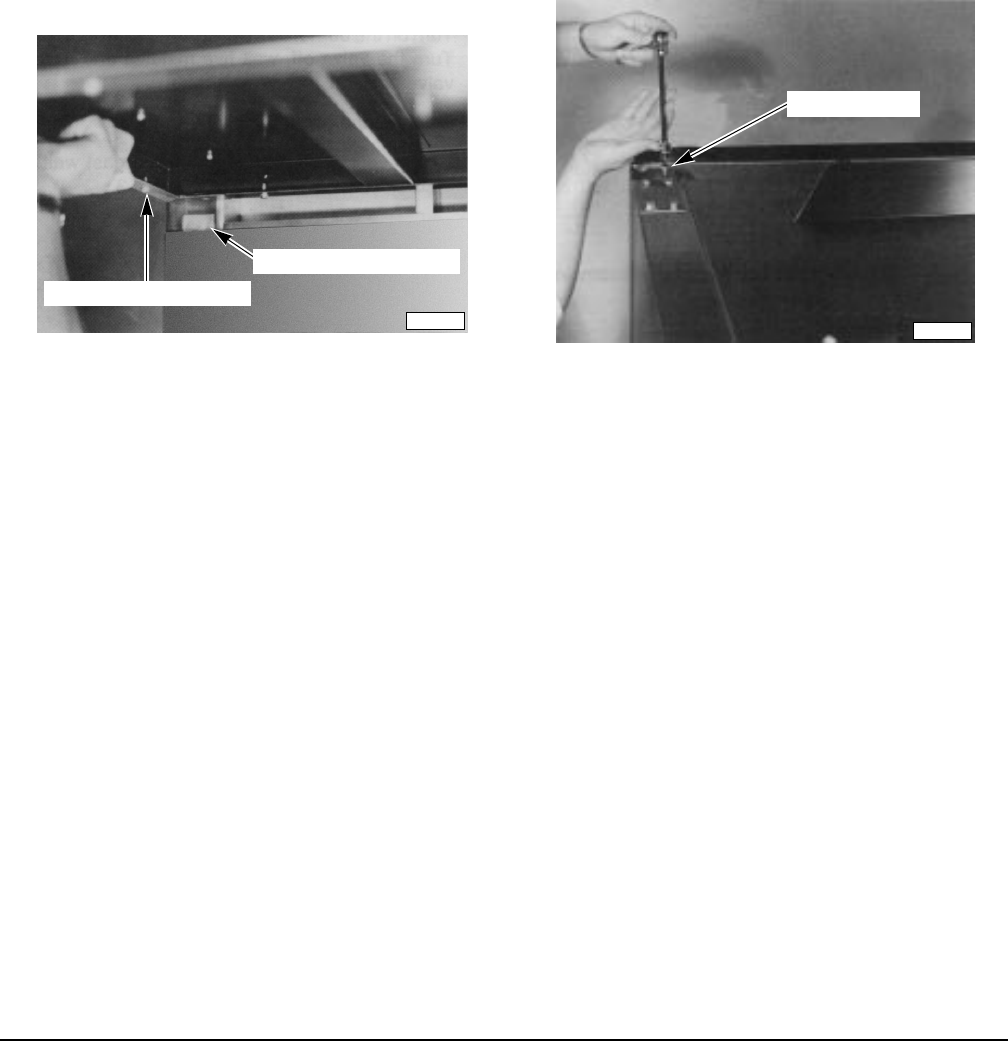
Fig. 3
Fig. 4
PL-40720-1
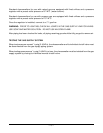
BOTTOM SUPPORT BRACKET
BOTTOM FRAME OF BROILER
PL-40721-1
MOUNTING BOLTS