— 7 —
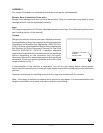
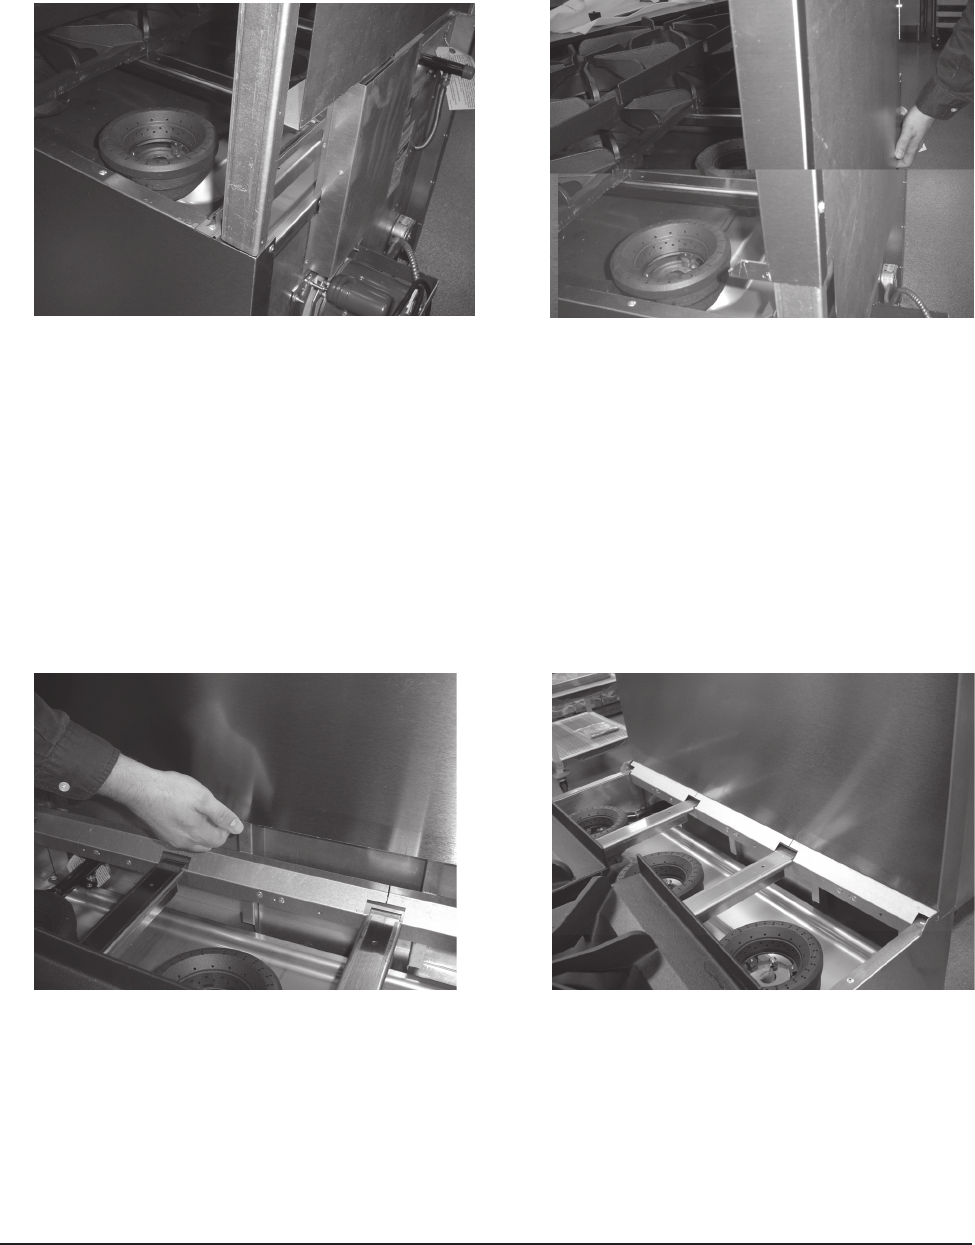
3. Lift backsplash up above the range and slide the channels evenly into the spaces provided at
the rear of the range (Fig. 3). Do not force the backsplasher channels down. Guide the
backsplasher evenly into place until it stops.
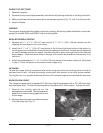
4. When the backsplasher comes to a stopping point, from the rear of the unit, reach down and
carefully pull the splasher back panel out away from the range (Fig. 4).
5. Resume sliding the backsplasher channels evenly down until it stops again. Do not force
backsplasher channels down.
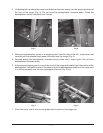
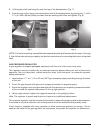
6. At the second stopping point, move to the front of the range and carefully pull the bottom of the
backsplasher front panel forward. Continue to slide the backsplasher down onto the range until
it is resting squarely over the rear top support channel (Fig. 5 & 6).
7. Place the entire row of rear burner grates back in place on the range top.
Fig. 3
Fig. 4
Fig. 5 Fig. 6


