ELECTRIC BRAISING PANS - REMOVAL AND REPLACEMENT OF PARTS
F35410 (May 2003)
Page 11 of 32
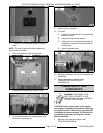
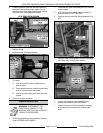
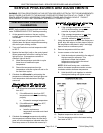
VE30 REAR VIEW SHOWN
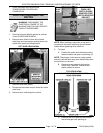
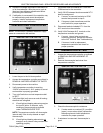
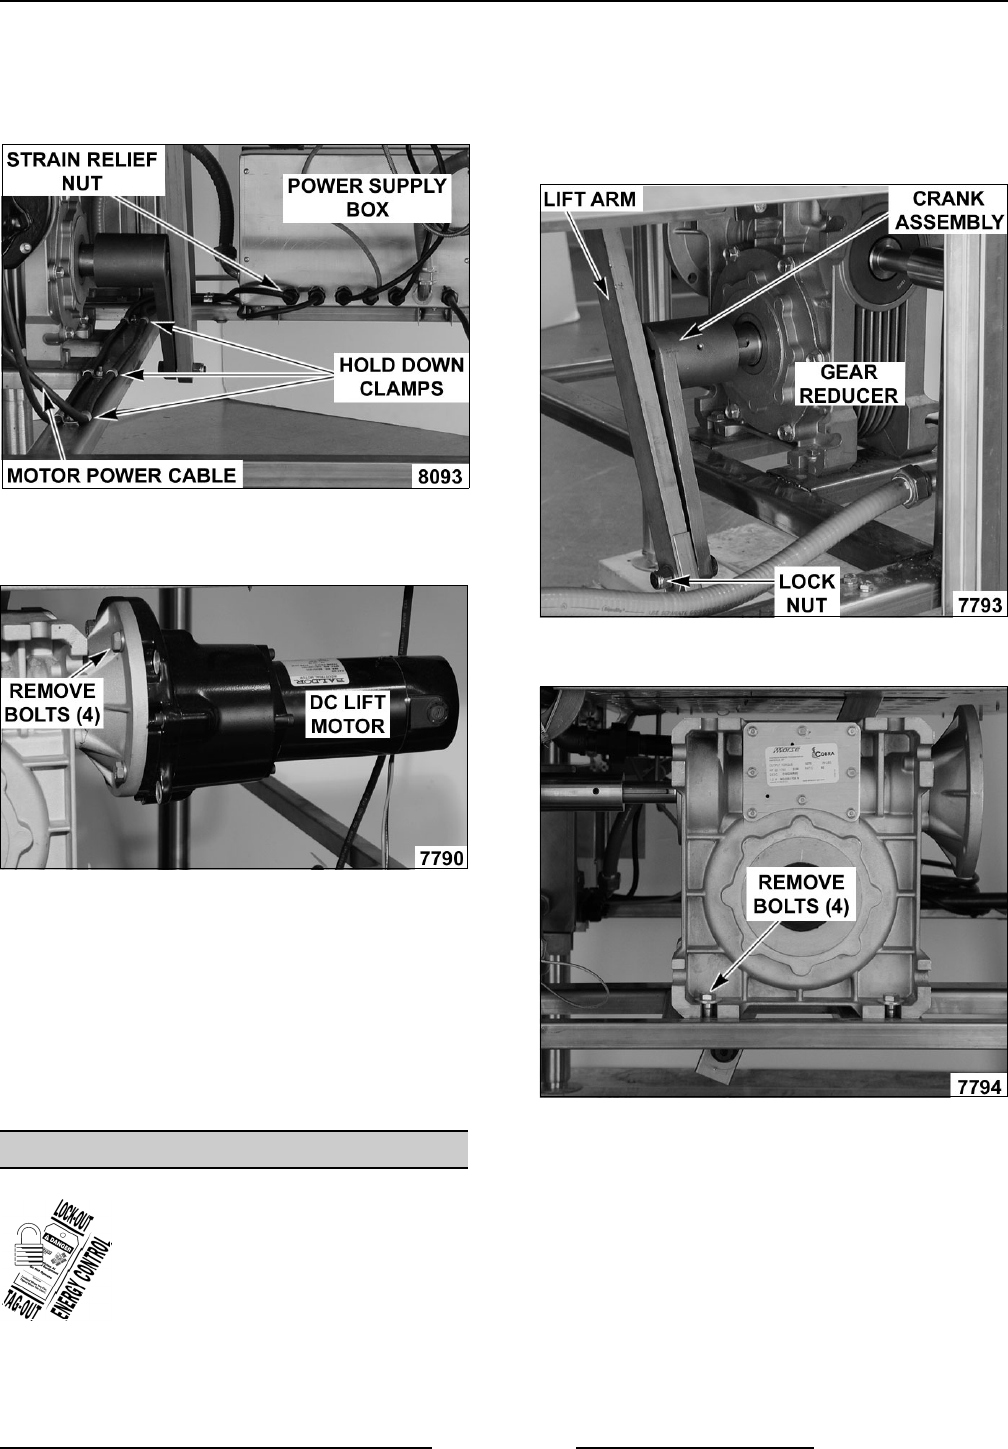
4. Loosen the strain relief nut and the hold down
clamps for the motors' power cable. Pull the
cable thru the strain relief opening and remove
the cable from underneath the clamps.
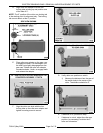
5. Remove motor mounting bolts from gear
reducer flange.
6. Remove motor from gear reducer.
7. To install:
A. With drive key on shaft, install motor to
gear reducer.
B. Route and secure the motors' power cable
and re-connect motor lead wires.
C. Replace power supply box cover and side
panels.
8. Check for proper operation.
GEAR REDUCER
WARNING: DISCONNECT THE
ELECTRICAL POWER TO THE
MACHINE AND FOLLOW LOCKOUT /
TAGOUT PROCEDURES.
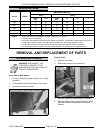
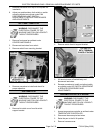
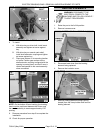
1. Remove right side and rear panels as outlined
under COVERS AND PANELS.
2. Lower the pan (use motorized pan lift or manual
crank handle).
3. If DC lift motor is installed, remove motor as
outlined under DC LIFT MOTOR.
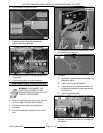
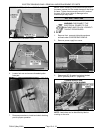
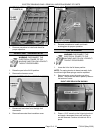
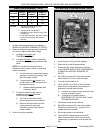
4. Remove lock nut securing crank assembly to lift
arm.
5. Remove bolts securing gear reducer to braising
pan frame then remove gear reducer.
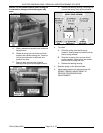
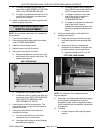
6. Loosen set screw on crank assembly and
remove the assembly from drive shaft.
7. Loosen set screw on shaft extension coupling
and remove the coupling from manual crank
shaft.


