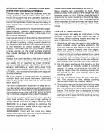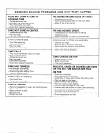
HINTS FOR SUCCESSFUL BROILING
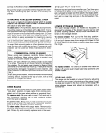
Before broiling, trim excess fat to prevent excessivespat- ings to allow fat to drip to pan below. The broiler tray is
tering and cut slashes around the outer edges of the meat designed to keep fat from being directly exposed to the
to prevent the meat from curling during cooking.
element to eliminate possible fire hazards.
Food must be placed on the broiler tray in the broiler pan
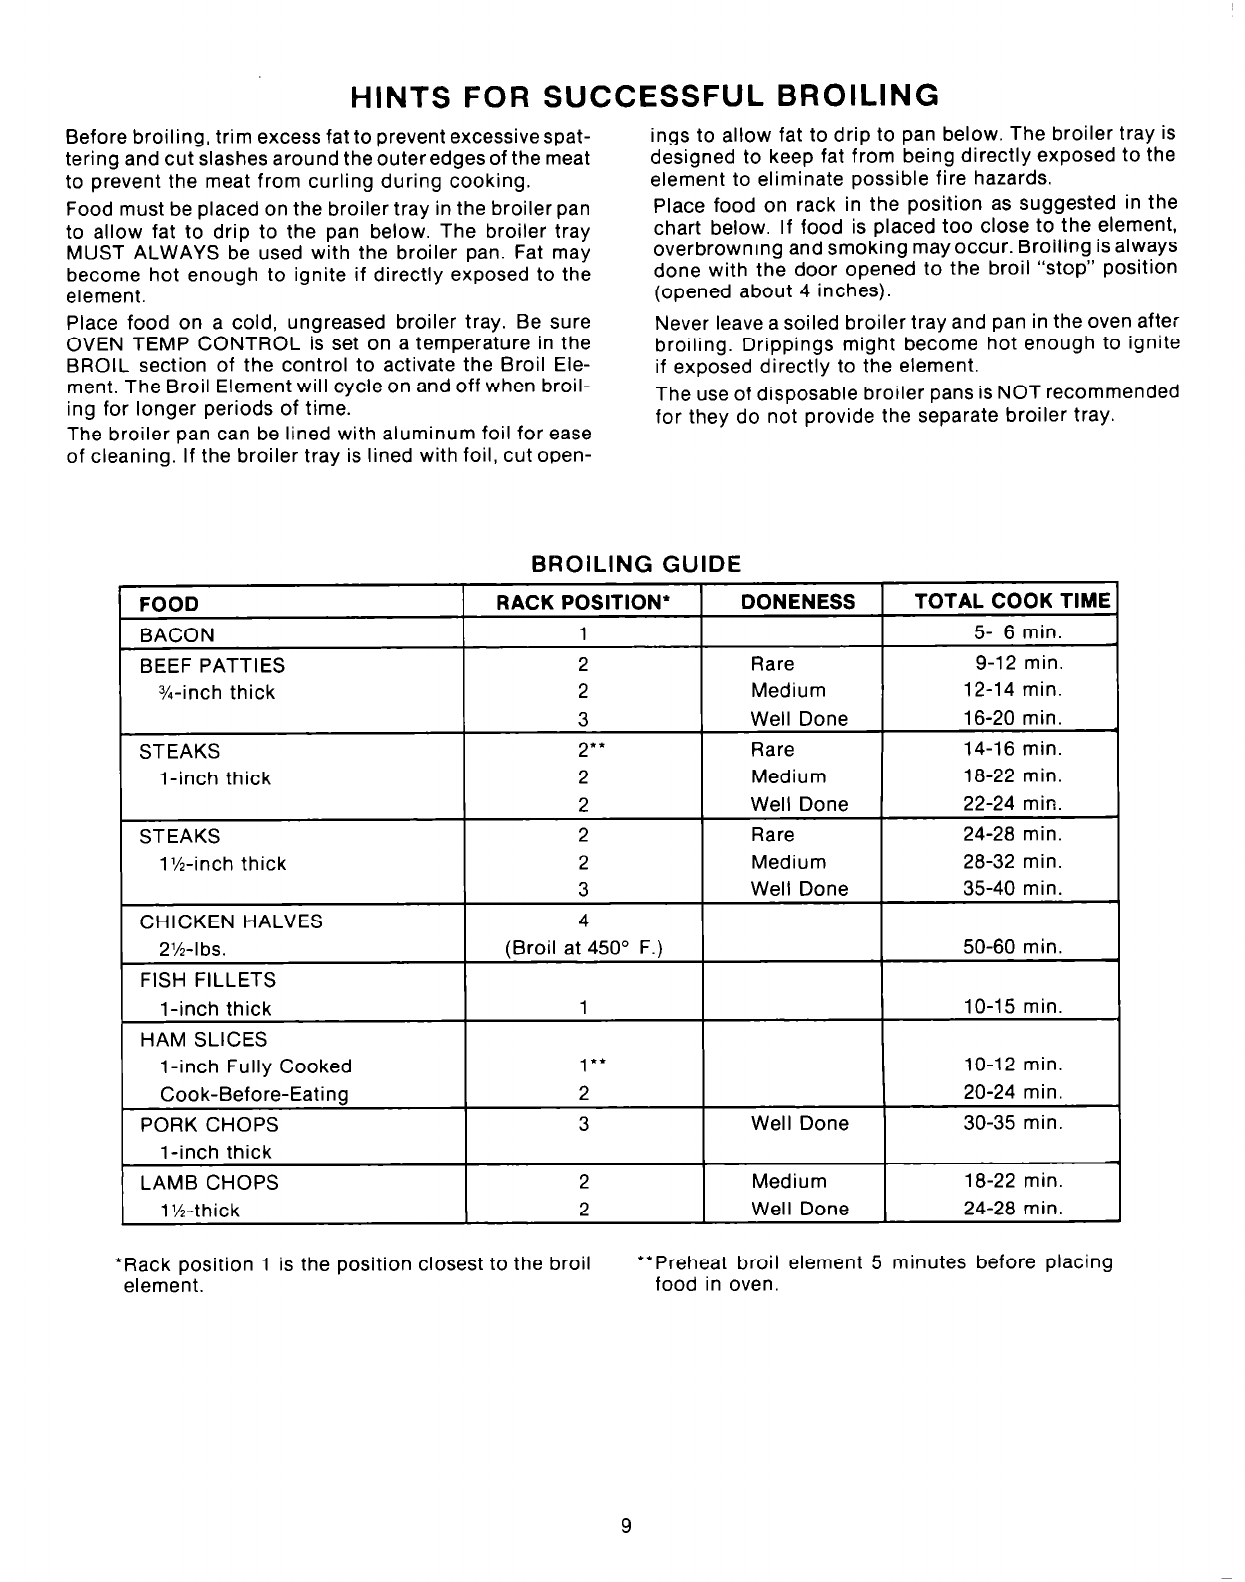
Place food on rack in the position as suggested in the
to allow fat to drip to the pan below. The broiler tray
chart below. If food is placed too close to the element,
MUST ALWAYS be used with the broiler pan. Fat may
overbrowning and smoking may occur. Broiling is always
become hot enough to ignite if directly exposed to the
done with the door opened to the broil “stop” position
element.
(opened about 4 inches).
Place food on a cold, ungreased broiler tray. Be sure
OVEN TEMP CONTROL is set on a temperature in the
BROIL section of the control to activate the Broil Ele-
ment. The Broil Element will cycle on and off when broil-
ing for longer periods of time.
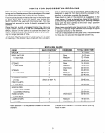
The broiler pan can be lined with aluminum foil for ease
of cleaning. If the broiler tray is lined with foil, cut open-
Never leave a soiled broiler tray and pan in the oven after
broiling. Drippings might become hot enough to ignite
if exposed directly to the element.
The use of disposable broiler pans is NOT recommended
for they do not provide the separate broiler tray.
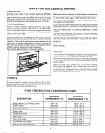
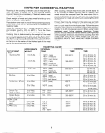
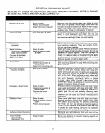
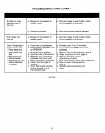
BROILING GUIDE
BEEF PATTIES
%-inch thick
l-inch thick
*Rack position 1 is the position closest to the broil
element.
*‘Preheat broil element 5 minutes before placing
food in oven.
9


