


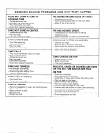

CARE INFORMATION -
Be sure the range is cool before removing parts for clean-
ing. After removing any part, be sure it is correctly re-
placed.
STANDARD PORCELAIN-ENAMEL OVEN
The oven is made of porcelain-enamel which Is a glass
material that has been fused to metal. Porcelain-enamel
will crack or chip with misuse.
To clean oven: 1) All spillovers, especially acid spillovers,
should be wiped up immediately with a dry cloth. To pre-
vent possible cracking or chipping of the porcelain, never
wipe off a warm or hot surface with a damp cloth. 2) Clean
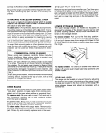
oven walls, bottom and door with soap and water. The
oven bottom is easily accessible for cleaning by raising
the lower bakeelement when element is cool. 3) Stubborn
soil is removed with cleansing powders, plastic pads or
a paste made of baking soda and water. Do not use metal-
lic soap-filled scouring pads or other abrasive scouring
pads for they will scratch the surface. Commercial oven
cleaners can be used but follow manufacturer’s direc-
tions
COMMERCIAL OVEN CLEANER
When using oven cleaners, carefully follow manufac-
turer’s directions. Wear rubber gloves to protect your
hands for the oven cleaner is caustic.
Never use oven cleaners on exterior finish or trim parts
of a range. These parts will be permanently damaged by
the cleaner. Do not apply oven cleaner to Bake or Broil
elements or to the electrical hook-up. These parts may be
permanently damaged if exposed to oven cleaners. Use
oven cleaners on standard porcelain-enamel lined ovens
ONLY.
After using oven cleaner, rinse oven wallsand thermostat
sensing device, located at the top of oven, with a mild
solution of vinegar and water.
OVEN RACKS
All ovens are equipped with two oven racks with a safety
“lock-stop” position to keep racks from coming com-
pletely out of the oven when adding or removing food.
To remove rack: Be sure rack is cool. Pull rack out to
the “lock-stop” position, tilt up and continue pulling
until the rack is released.
To replace rack: Place rack on rack supports, tilt up and
push to rear of oven. Pull rack out to “lock-stop” position
to be sure rack has been properly replaced.
To clean racks: Wash with soapy water. Remove stub-
born soil with cleansing powder or a soap-filled scouring
pad. Rinse, dry and correctly replace rack in the oven.
BROILER TRAY AND PAN
Remove tray and pan from oven after use. Cool, then pour
off grease and place a warm soapy cloth over tray and
pan. Let soak to loosen soil then wash in hot soapy water.
A soap-filled scouring pan can be used to remove stub-
born soil or clean tray and pan in the dishwasher if de-
sired.
LOWER STORAGE DRAWER
The lower storage drawer, on models so equipped, is
designed for storage of the broiler tray and pan as well
as other cooking utensils. NEVER store flammable ma-
terials in the storage drawer.
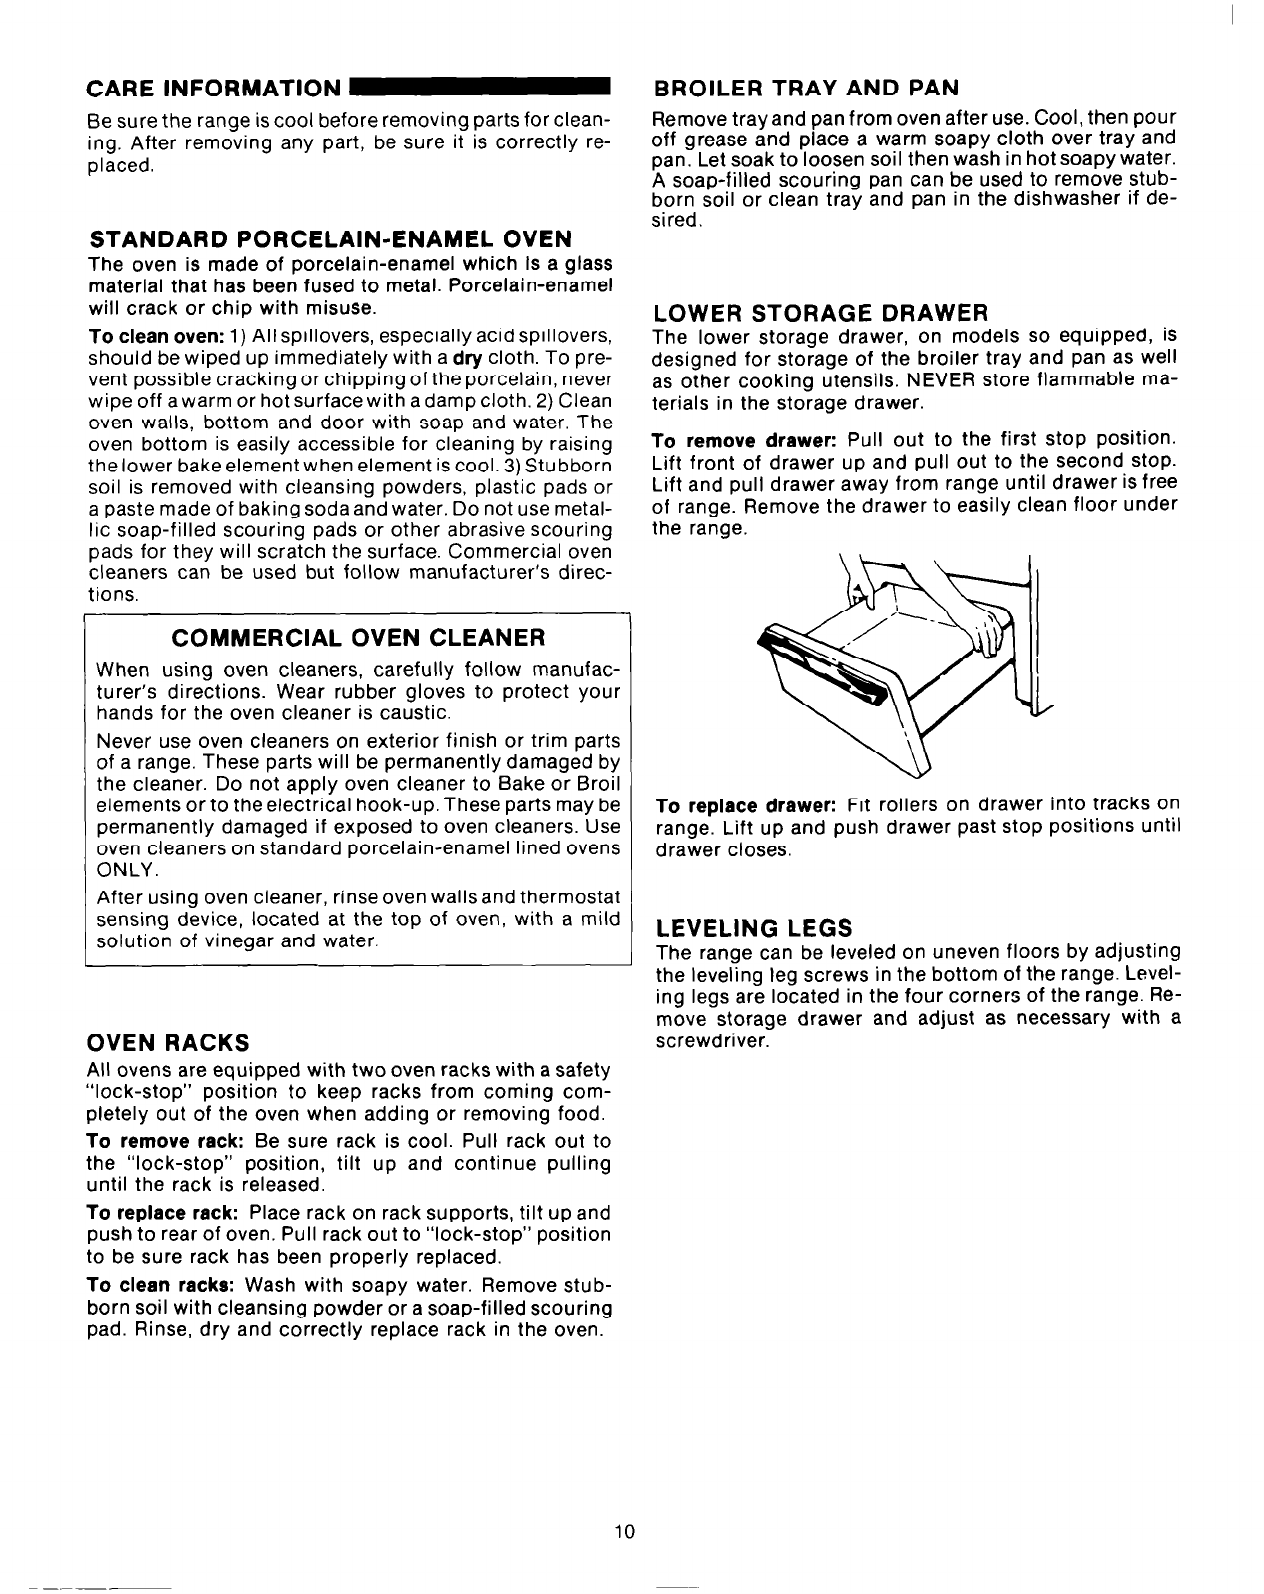
To remove drawer: Pull out to the first stop position.
Lift front of drawer up and pull out to the second stop.
Lift and pull drawer away from range until drawer is free
of range. Remove the drawer to easily clean floor under
the range.
To replace drawer: Fit rollers on drawer into tracks on
range. Lift up and push drawer past stop positions until
drawer closes.
LEVELING LEGS
The range can be leveled on uneven floors by adjusting
the leveling leg screws in the bottom of the range. Level-
ing legs are located in the four corners of the range. Re-
move storage drawer and adjust as necessary with a
screwdriver.
10