


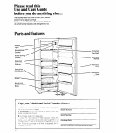
Optional automatic ice maker.. .
If you have ?he automatic ice maker accessory or
plan to add one later [Part No. ECKMF-83 and wiring
harness 1103831). there are a few things you will need
to know:
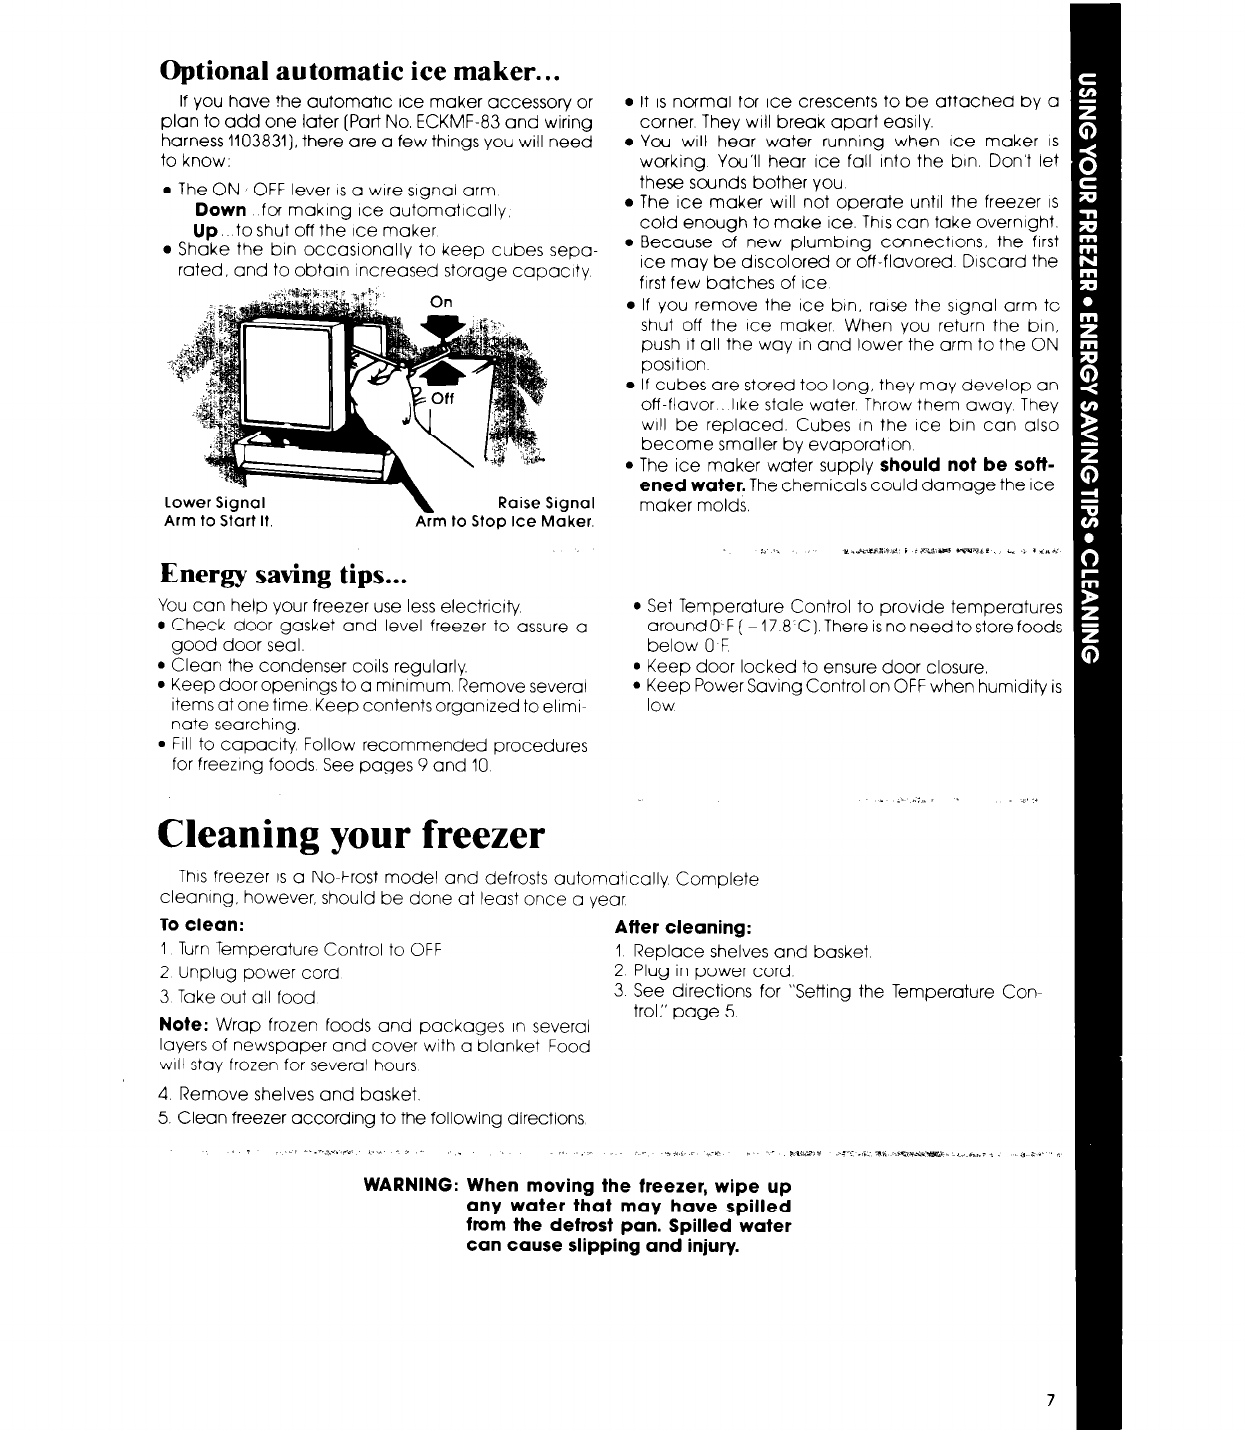
l
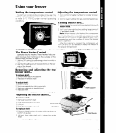
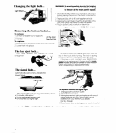
The ON I OFF lever IS a wire signal arm
Down for making Ice automatrcally.
Up. to shut off the Ice maker
l
Shake the bin occasionally to keep cubes sepa-
rated, and to obtain increased storage capacity
Lower Signal
Arm to Start It.
\
Raise Signal
Arm to Stop Ice Maker.
Energy saving tips...
You can help your freezer use less electrictty
l
Set Temperature Control to provide temperatures
l
Check door gasket and level freezer to assure a
around O-F ( ~ 17 8 Cl. There is no need to store foods
good door seal.
below 0 F
l
Clean the condenser coils regularly
l
Keep door openings to a mtnrmum Remove several
items at one time Keep contents organized to elrmi-
note searching.
l
Keep door locked to ensure door closure.
l
Keep Power Saving Control on OFF when humidity is
low
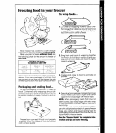
. Fill to capacity Follow recommended procedures
for freezing foods See pages 9 and 10
l
It IS normal for Ice crescents to be attached by a
corner. They will break apart easily.
l
You will hear water running when Ice maker IS
working You’ll hear Ice fall Into the bin. Don’t let
these sounds bother you
l
The Ice maker will not operate until the freezer IS
cold enough to make Ice. This can take overnight.
l
Because of new plumbing connections. the first
Ice may be drscolored or off-flavored Drscard the
first few batches of Ice
l
If You remove the Ice btn. raise the srgnal arm tc
shut off the Ice maker When You return the brn,
push it all the way In and lower the arm to the ON
posrtron
l
If cubes are stored too long, they may develop an
off-flavor llke stale water Throw them away. They
will be replaced. Cubes In the Ice bin con also
become smaller by evaporation
l
The ice maker water supply should not be sott-
ened water. The chemicals could damage the ice
maker molds,
. _- ,.:,.
F, -j
Cleaning your freezer
This freezer IS a No-Frost model and defrosts automatically Complete
cleaning. however, should be done at least once a year
To clean:
After cleaning:
1 Turn Temperature Control to OFF
1 Replace shelves and basket
2 Unplug power cord
2 Plug in power cord.
3 Take out all food
3 See directions for “Setting the Temperature Con
Note: Wrap frozen foods and packages In several
trol:’ page 5
layers of newspaper and cover with a blanket Food
will stay frozen for several hours
4. Remove shelves and basket.
5. Clean freezer accordrng to the following directions
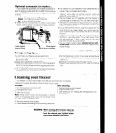
WARNING: When moving the freezer, wipe up
any water that may have spilled
from the defrost pan. Spilled water
can cause slipping and injury.