26
INSTALLING THE FLOOR MOUNTING KIT
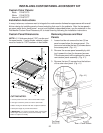
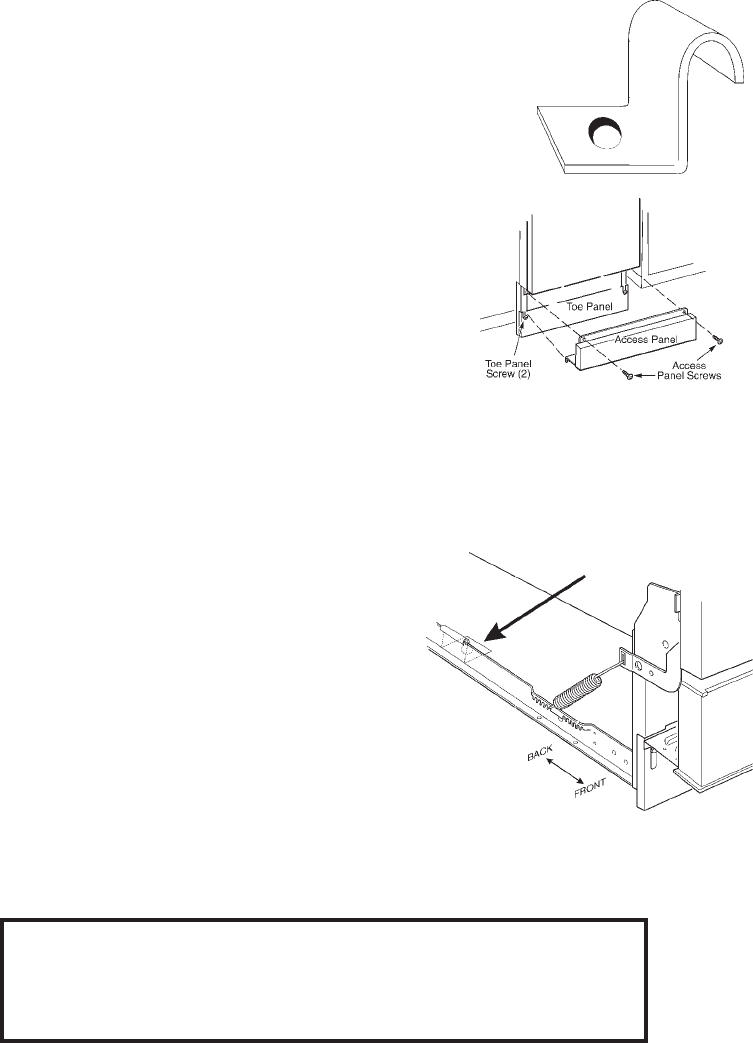
KIT CONTENTS (P/N 4378968):
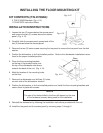
2 P/N 9743463 Brackets
(Fig. 4-12)
1 P/N 4378974 Instruction Sheet
INSTALLATION INSTRUCTIONS
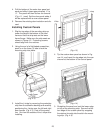
1. Loosen the two (2) screws below the access panel
and remove the two (2) screws above the access
panel.
(Fig. 4-13)
2. Carefully slide the access panel upward and off the
two (2) screws below the access panel.
3. Remove the two (2) lower screws securing the toe panel to remove the toe panel from the dish
washer.
4. Position the dishwasher in its final installed position. Refer to the dishwasher installation instruc-
tions for the proper installed position.
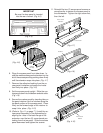
5. Place the floor mounting brackets
so the top of the bracket hooks over
the top of the dishwasher side brace
towards the back of the unit.
(Fig. 4-14)
6. Mark the location of the mounting holes
on the floor.
7. Remove the dishwasher and drill two (2) holes,
on each side of the dishwasher location.
8. Position the dishwasher in its final installed position and install the floor mounting brackets and
secure them in place with screws.
NOTE
The size of the holes drilled in the floor will depend on the size
of the hardware (screws) being used for the installation.
9. Reinstall the dishwasher by following the installation instructions provided with the unit.
10. Install the toe panel and the access panel by reversing steps 1 through 3.
Fig. 4-12
Fig. 4-13
Fig. 4-14
Floor
Bracket


