


39
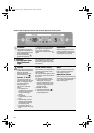
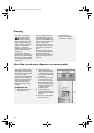
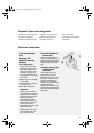
Automatic ice maker
Useful hints on the
automatic ice maker
To turn the ice maker on/off,
press the On/Off button .
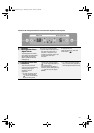
If the freezer compartment
door is open, make sure the
inside flap is not blocked as it
serves as lock sensor that
shuts off the transfer of ice
from the automatic ice maker
into the bucket installed in
the door.
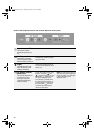
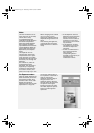
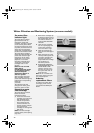
To remove and
replace the ice
bucket:
1.
Place four fingers in
bucket base opening and
rest thumb on the release
button.
2.
Holding the base of the
bucket with both hands,
press the release button
and lift the bucket up and
out. It is not necessary to
turn the ice maker control
to the OFF position. The
ice maker will not
produce ice without the
bucket installed in the
door.
Normal Ice Production
should produce
approximately 7 to 9
batches of ice in a 24-hour
period.
Ice bucket care:
1.
Empty the bucket. Use
warm water to melt the
ice if necessary.
Never
use anything sharp to
break up the ice in the
bouchet.
This can cause
damage to the ice bucket
and the dispenser
mechanism.
2.
Wash the ice bucket with
a mild detergent, rinse
well and dry thoroughly.
Do not use harsh or
abrasive cleaners or
solvents.
Note:
Do not turn the ice
maker on until it is connected
to the water supply.
It is normal for ice cubes to
be stick together at the
corners. They can be
separated easily.
The ice maker will not
operate until the freezer
compartment is cold
enough to make ice.
This can take overnight.
Good water quality is
important for good ice
quality. Water softener
chemicals such as salt can
damage the ice maker and
lead to poor quality ice.
4gb33015.fm Page 39 Wednesday, March 10, 2004 4:02 PM