0
A
. .
m
‘. .
1.
2.
3.
4,
5.
6.
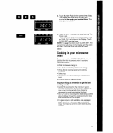
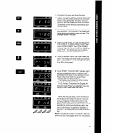
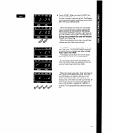
Put food in the oven and close the door.
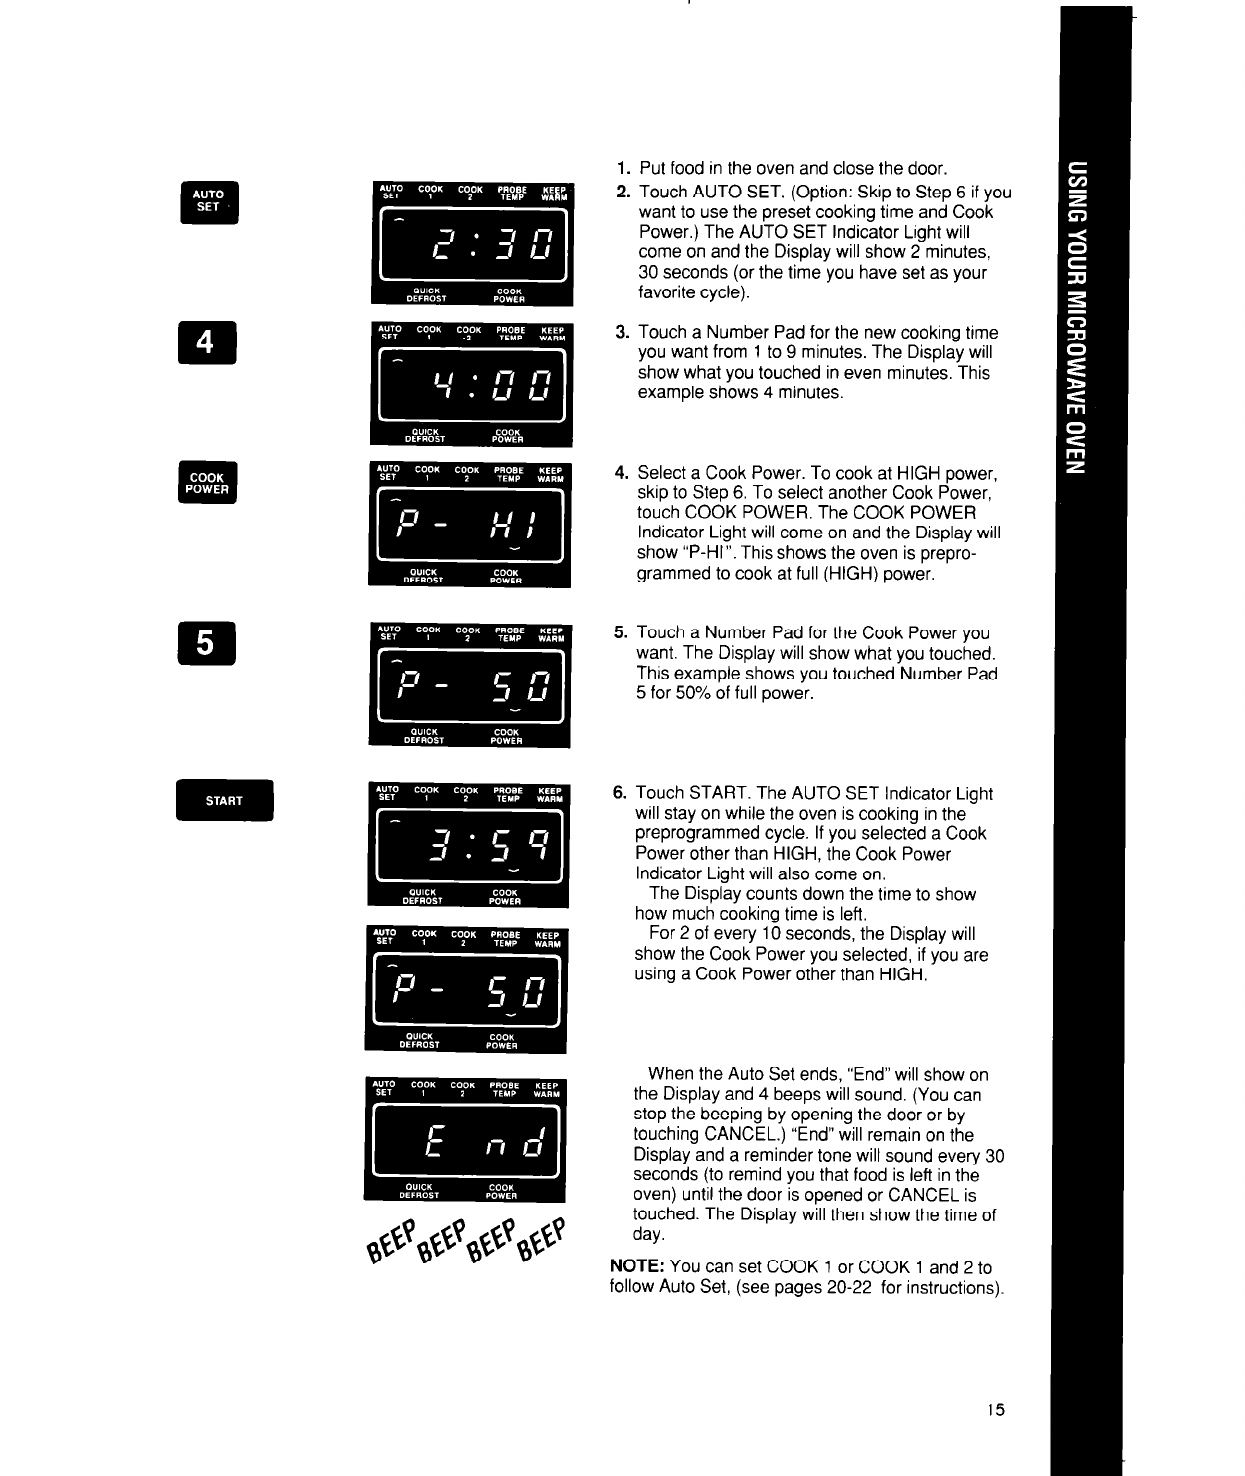
Touch AUTO SET. (Option: Skip to Step 6 if you
want to use the preset cooking time and Cook
Power.) The AUTO SET Indicator Light will
come on and the Display will show 2 minutes,
30 seconds (or the time you have set as your
favorite cycle).
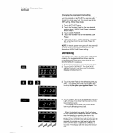
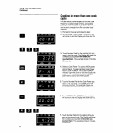
Touch a Number Pad for the new cooking time
you want from 1 to 9 minutes. The Display will
show what you touched in even minutes. This
example shows 4 minutes.
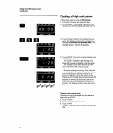
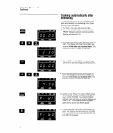
Select a Cook Power. To cook at HIGH power,
skip to Step 6. To select another Cook Power,
touch COOK POWER. The COOK POWER
Indicator Light will come on and the Display will
show “P-HI”. This shows the oven is prepro-
grammed to cook at full (HIGH) power.
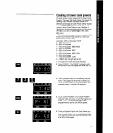
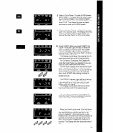
Touch a Number Pad for the Cook Power you
want. The Display will show what you touched.
This example shows you touched Number Pad
5 for 50% of full power.
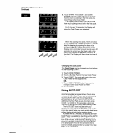
Touch START. The AUTO SET Indicator Light
will stay on while the oven is cooking in the
preprogrammed cycle. If you selected a Cook
Power other than HIGH, the Cook Power
Indicator Light will also come on.
The Display counts down the time to show
how much cooking time is left.
For 2 of every 10 seconds, the Display will
show the Cook Power you selected, if you are
using a Cook Power other than HIGH.
When the Auto Set ends, “End” will show on
the Display and 4 beeps will sound. (You can
stop the beeping by opening the door or by
touching CANCEL.) “End” will remain on the
Display and a reminder tone will sound every 30
seconds (to remind you that food is left in the
oven) until the door is opened or CANCEL is
touched. The Display will then show the time of
day.
NOTE: You can set COOK 1 or COOK 1 and 2 to
follow Auto Set, (see pages 20-22 for instructions).
15


