


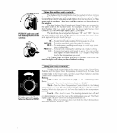
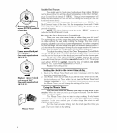
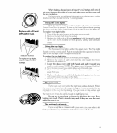
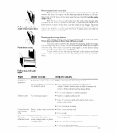
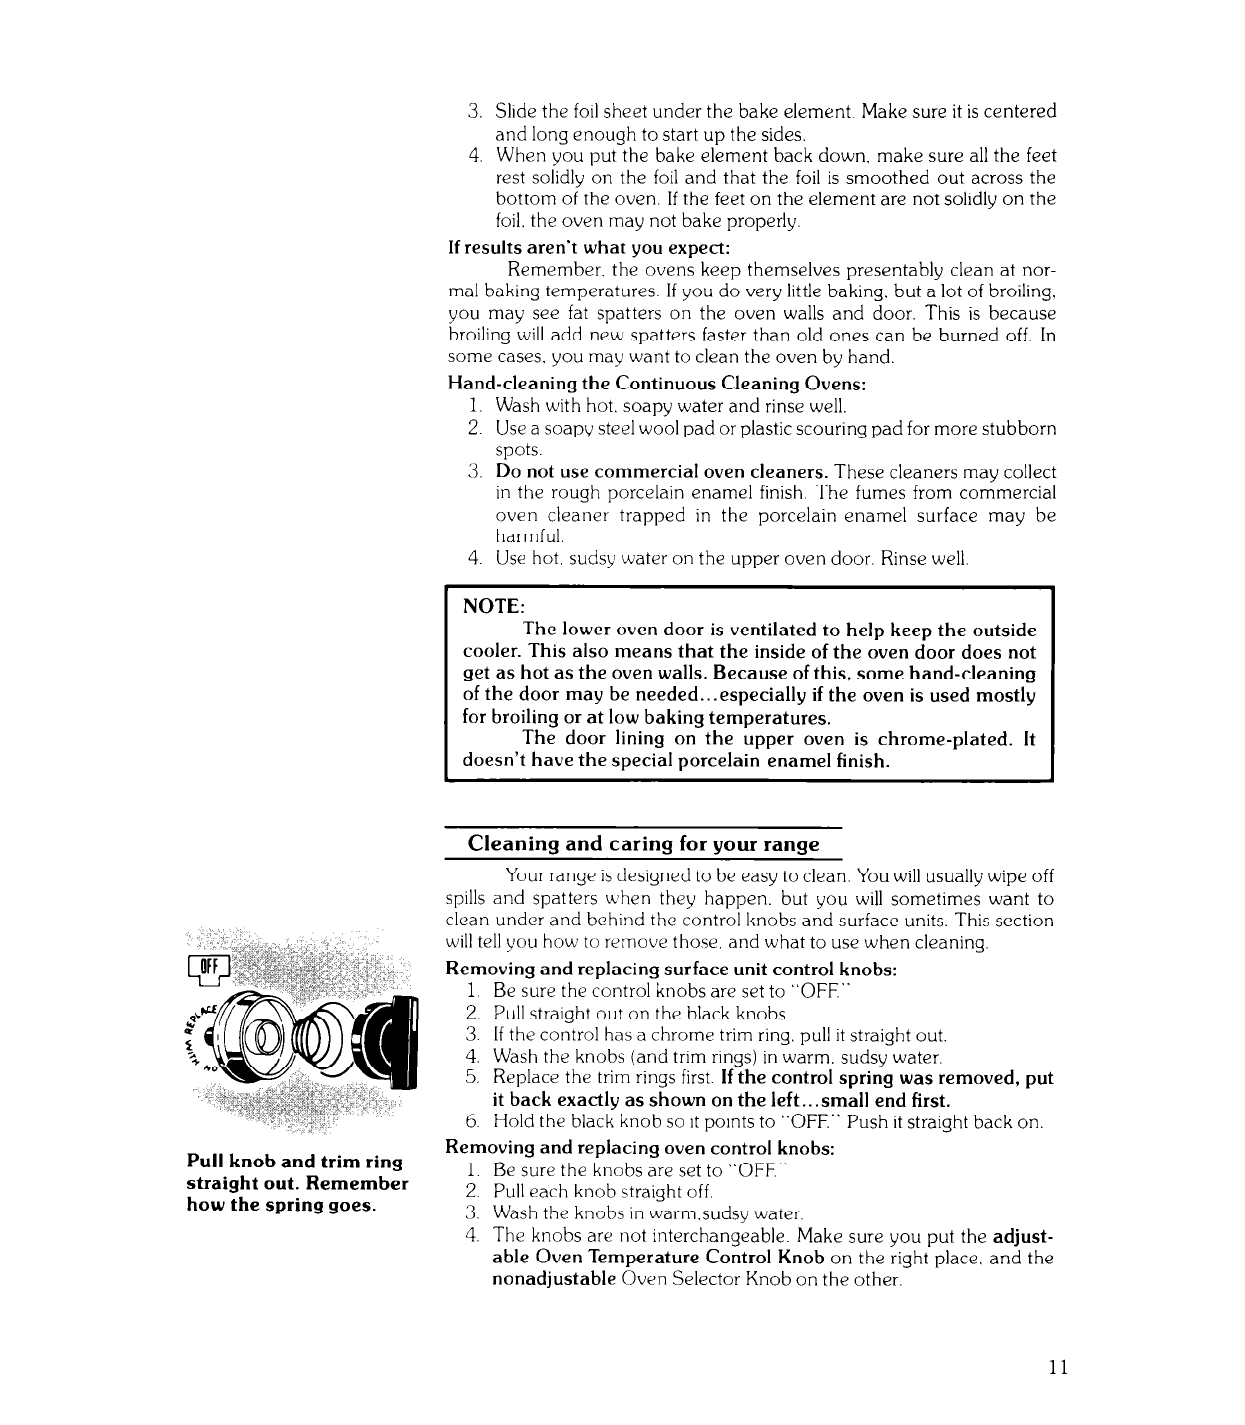
Pull knob and trim ring
straight out. Remember
how the spring goes.
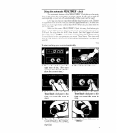
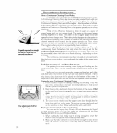
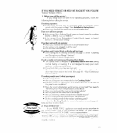
3. Slide the foil sheet under the bake element Make sure it is centered
and long enough to start up the sides.
4. When you put the bake element back down. make sure all the feet
rest solidly on the foil and that the foil is smoothed out across the
bottom of the oven. If the feet on the element are not solidly on the
foil. the oven may not bake properly.
If results aren’t what you expect:
Remember. the ovens keep themselves presentably clean at nor-
mal baking temperatures. If you do very little baking. but a lot of broiling,
you may see fat spatters on the oven walls and door. This is because
broiling will add new spatters faster than old ones can be burned off. In
some cases. you may want to clean the oven by hand.
Hand-cleaning the Continuous Cleaning Ovens:
1. Wash with hot. soapy water and rinse well.
2. Use a soapy steel wool pad or plastic scouring pad for more stubborn
spots.
3. Do not use commercial oven cleaners.
These cleaners may collect
in the rough porcelain enamel finish. The fumes from commercial
oven cleaner trapped in the porcelain enamel surface may be
harmful.
4. Use hot. sudsy water on the upper oven door. Rinse well
NOTE:
The lower oven door is ventilated to help keep the outside
cooler. This also means that the inside of the oven door does not
get as hot as the oven walls. Because of this, some hand-cleaning
of the door may be needed.. . especially if the oven is used mostly
for broiling or at low baking temperatures.
The door lining on the upper oven is chrome-plated. It
doesn’t have the special porcelain enamel finish.
Cleaning and caring for your range
Your range is designed to be easy to clean. You will usually wipe off
spills and spatters u’hen they happen. but you will sometimes want to
clean under and behind the control knobs and surface units. This section
will tell you how to remove those. and what to use when cleaning.
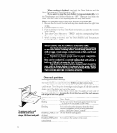
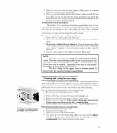
Removing and replacing surface unit control knobs:
1 Be sure the control knobs are set to “OFF”
2. Pull straight out on the black knobs.
3. If the control has a chrome trim ring. pull it straight out.
4. Wash the knobs (and trim rings) in warm. sudsy water.
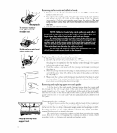
5. Replace the trim rings first.
If the control spring was removed, put
it back exactly as shown on the left...small end first.
6. Hold the black knob so it points to “OFF.” Push it straight back on.
Removing and replacing oven control knobs:
1. Be sure the knobs are set to “OFF”
2. Pull each knob straight off.
3. Wash the knobs in warm.sudsy water.
4. The knobs are not interchangeable. Make sure you put the
adjust-
able Oven Temperature Control Knob
on the right place, and the
nonadjustable
Oven Selector Knob on the other.
11