


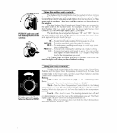
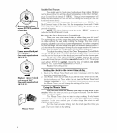
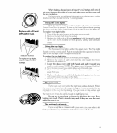
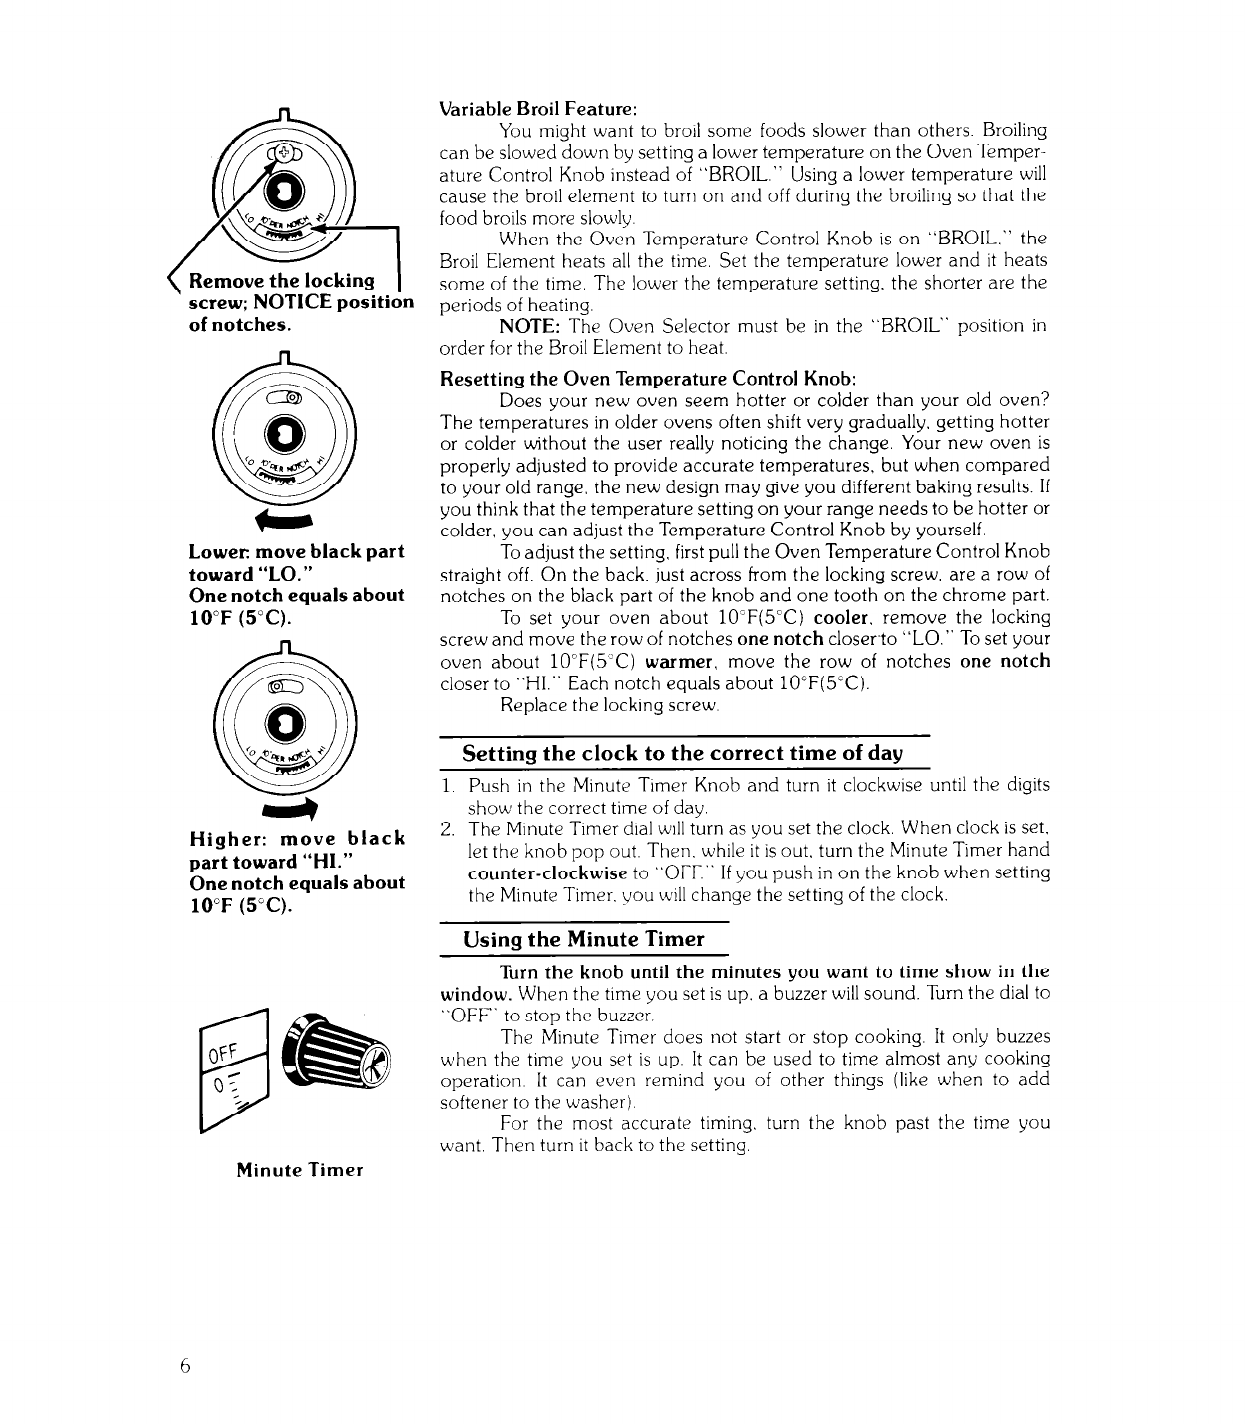
( Remove the locking
1
screw; NOTICE position
of notches.
Lower: move black part Lower: move black part
toward “LO.” toward “LO.”
One notch equals about One notch equals about
10°F (5°C). 10°F (5°C).
Higher: move black
part toward “HI.”
One notch equals about
10°F (S’C).
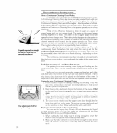
Variable Broil Feature:
You might want to broil some foods slower than others. Broiling
can be slowed down by setting a lower temperature on the Oven Temper-
ature Control Knob instead of “BROIL.” Using a lower temperature will
cause the broil element to turn on and off during the broiling so that the
food broils more slowly.
When the Oven Temperature Control Knob is on “BROIL.” the
Broil Element heats all the time. Set the temperature lower and it heats
some of the time. The lower the temperature setting. the shorter are the
periods of heating.
NOTE:
The Oven Selector must be in the “BROIL” position in
order for the Broil Element to heat.
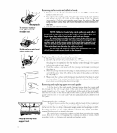
Resetting the Oven Temperature Control Knob:
Does your new oven seem hotter or colder than your old oven?
The temperatures in older ovens often shift very gradually. getting hotter
or colder without the user really noticing the change. Your new oven is
properly adjusted to provide accurate temperatures, but when compared
to your old range. the new design may give you different baking results. If
you think that the temperature setting on your range needs to be hotter or
colder, you can adjust the Temperature Control Knob by yourself.
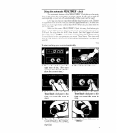
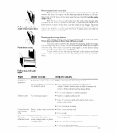
To adjust the setting, first pull the Oven Temperature Control Knob
straight off. On the back. just across from the locking screw, are a row of
notches on the black part of the knob and one tooth on the chrome part.
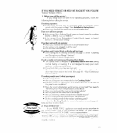
To set your oven about lO”F(5”C)
cooler.
remove the locking
screw and move the row of notches
one notch
closer-to “LO.” To set your
oven about lO”F(5’C)
warmer,
move the row of notches
one notch
closer to “HI.” Each notch equals about lO”F(5”C).
Replace the locking screw.
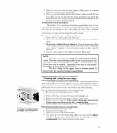
Setting the clock to the correct time of day
1. Push in the Minute Timer Knob and turn it clockwise until the digits
show the correct time of day.
2. The Minute Timer dial will turn as you set the clock. When clock is set.
let the knob pop out. Then. while it is out. turn the Minute Timer hand
counter-clockwise
to “OFF.” If you push in on the knob when setting
the Minute Timer. you will change the setting of the clock
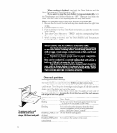
Usinq the Minute Timer
Turn the knob until the minutes you want to time show in the
window.
When the time you set is up. a buzzer will sound. Turn the dial to
“OFF” to stop the buzzer.
The Minute Timer does not start or stop cooking. It only buzzes
when the time you set is up. It can be used to time almost any cooking
operation. It can even remind you of other things (like when to add
softener to the washer).
For the most accurate timing. turn the knob past the time you
want. Then turn it back to the setting.
Minute Timer
6