


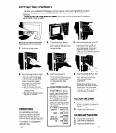


SETTING THE CONTROLS
Be sure You understand the basics of microwave oven cooking before You start.
Start with recipes from Your MICRO MENUS- Cookbook. Follow the directions
carefully.
NEVER START THE OVEN WHEN IT’S EMPTY. The oven can be damaged. For testing,
use at least a cup of water
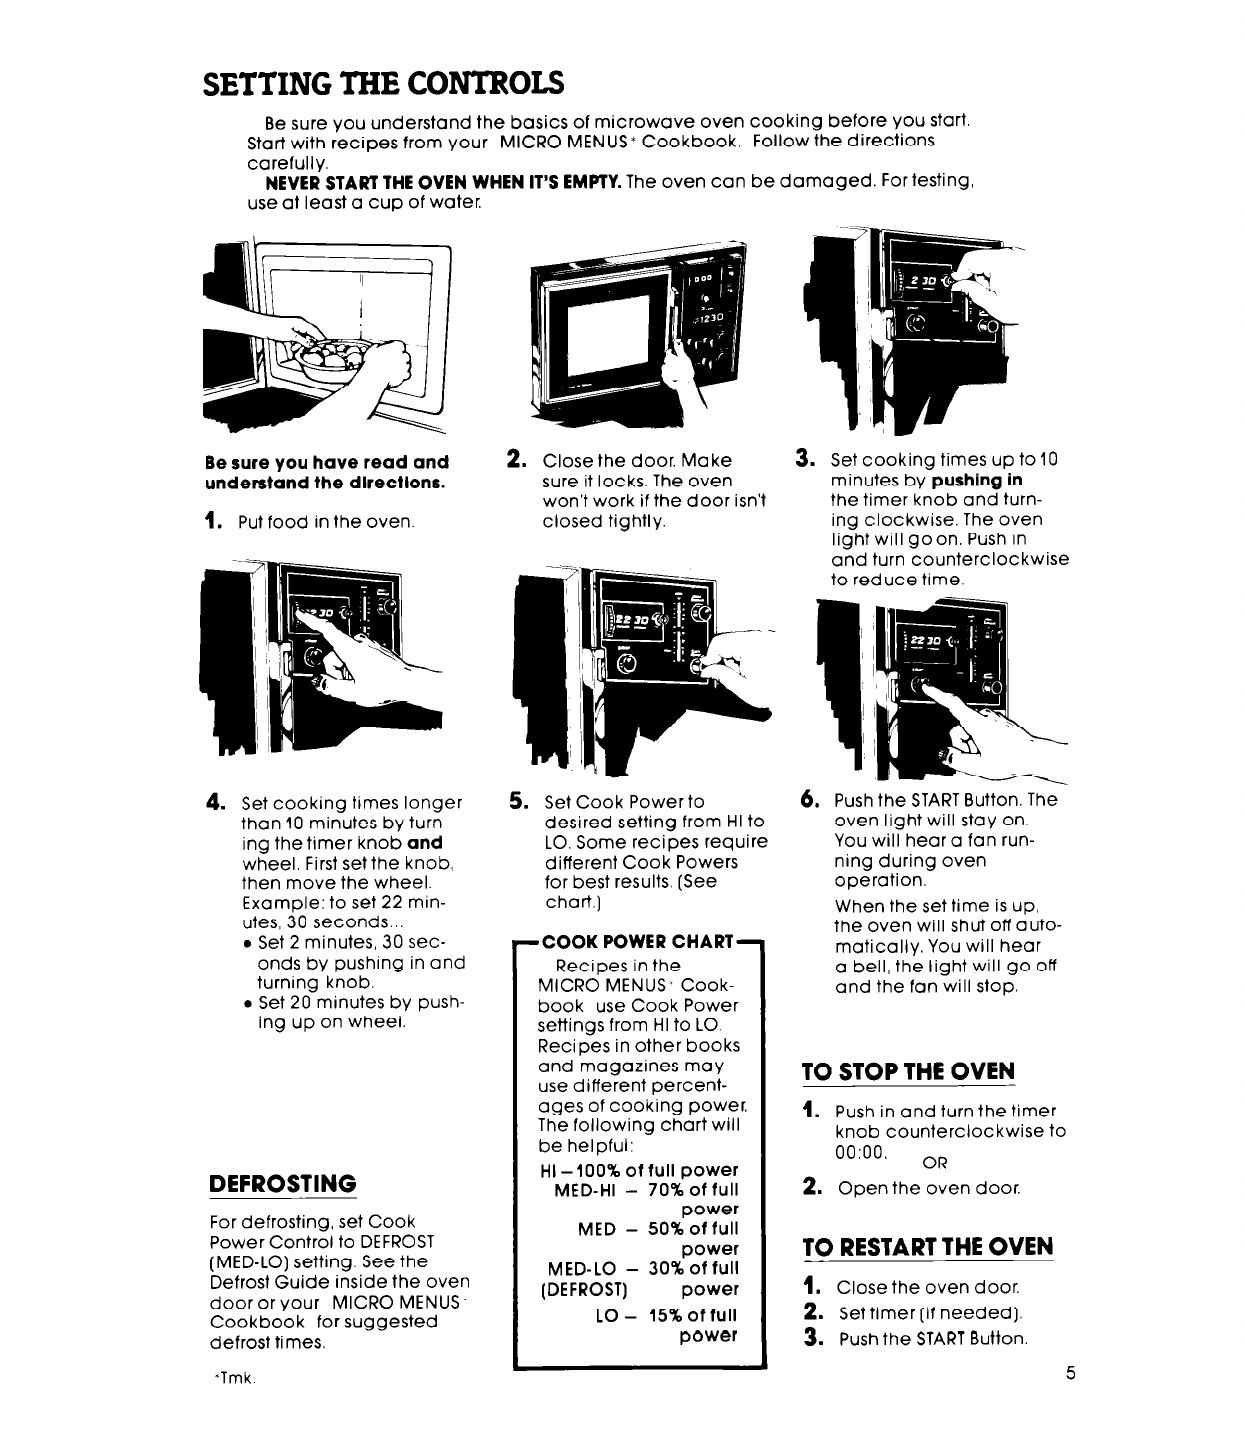
Be sure you have read and
understand the dlrectlons.
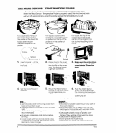
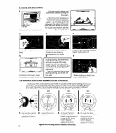
1.
Put food in the oven
4. Set cooking times longer
than 10 minutes by turn-
ing the timer knob and
wheel. First set the knob,
then move the wheel.
Example: to set 22 min-
utes, 30 seconds.,.
0 Set 2 minutes, 30 sec-
onds by pushing in and
turning knob.
l
Set 20 minutes by push-
ing up on wheel.
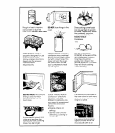
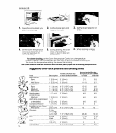
DEFROSTING
For defrosting, set Cook
Power Control to DEFROST
(MED-LO) setting. See the
Defrost Guide inside the oven
door or Your MICRO MENUS.
Cookbook for suggested
defrost times,
-Tmk
2. Close the door. Make
sure it locks. The oven
won’t work if the door isn’t
closed tightly.
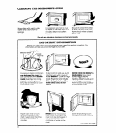
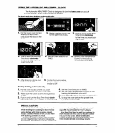
5. Set Cook Power to
desired setting from HI to
LO. Some recipes require
different Cook Powers
for best results, (See
chart]
-COOK POWER CHART-
Recipes in the
MICRO MENUS- Cook-
book use Cook Power
settings from HI to LO.
Recipes in other books
and magazines may
use different percent-
ages of cooking power.
The following chart will
be helpful:
HI - 100% of full power
MED-HI - 70% of full
power
MED - 50%of full
power
MED-LO - 30% of full
(DEFROST)
power
LO - 15% of full
power
3. Set cooking times up to 10
minutes by pushing in
the timer knob and turn-
ing clockwise. The oven
light will goon. Push in
and turn counterclockwise
to reduce time.
i
‘1;
I i
I
’
6.
Push the START Button. The
oven light will stay on.
You will hear a fan run-
ning during oven
operation.
When the set time is up,
the oven will shut off auto-
matically. You will hear
a bell, the light will go off
and the fan will stop.
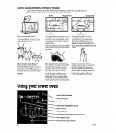
TO STOP THE OVEN
1.
Push in and turn the timer
knob counterclockwise to
0o:oo. OR
2.
Open the oven door.
TO RESTART THE OVEN
1.
Close the oven door.
2. Set timer [if needed).
3. Push the START Button
5