


16
Using Your Breadmaker
15
Using Your Breadmaker
These are instructions for bread baking only-not dough, jam or bake
cycles. The bread settings in this unit will combine ingredients, knead,
and make bread from start to finish automatically. The DOUGH setting
makes dough for a variety of recipes that can be shaped and baked in
an oven. To delay completion, the automatic TIME may be programmed
to make bread or dough while you are at work or asleep. (See Setting
the Delay Time Function, page 12.)
The recipes included with this booklet have been thoroughly tested
to ensure best results. Recipes have been created specially for this
breadmaker and may not produce acceptable results in other
similar Breadmaking machines.
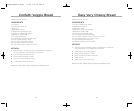
1 Open the lid and remove the
baking pan by pulling slightly forward
on the handle, then up and out (see
Figure 1). It is important to remove the
baking pan from the unit when putting
ingredients into the pan. This will prevent
accidentally spilling ingredients into the
baking chamber.
WARNING
• Place your Breadmaker where
it is level, stable, and secure.
• Ingredients spilled in baking chamber
can cause fire when ignited by the
heating element.
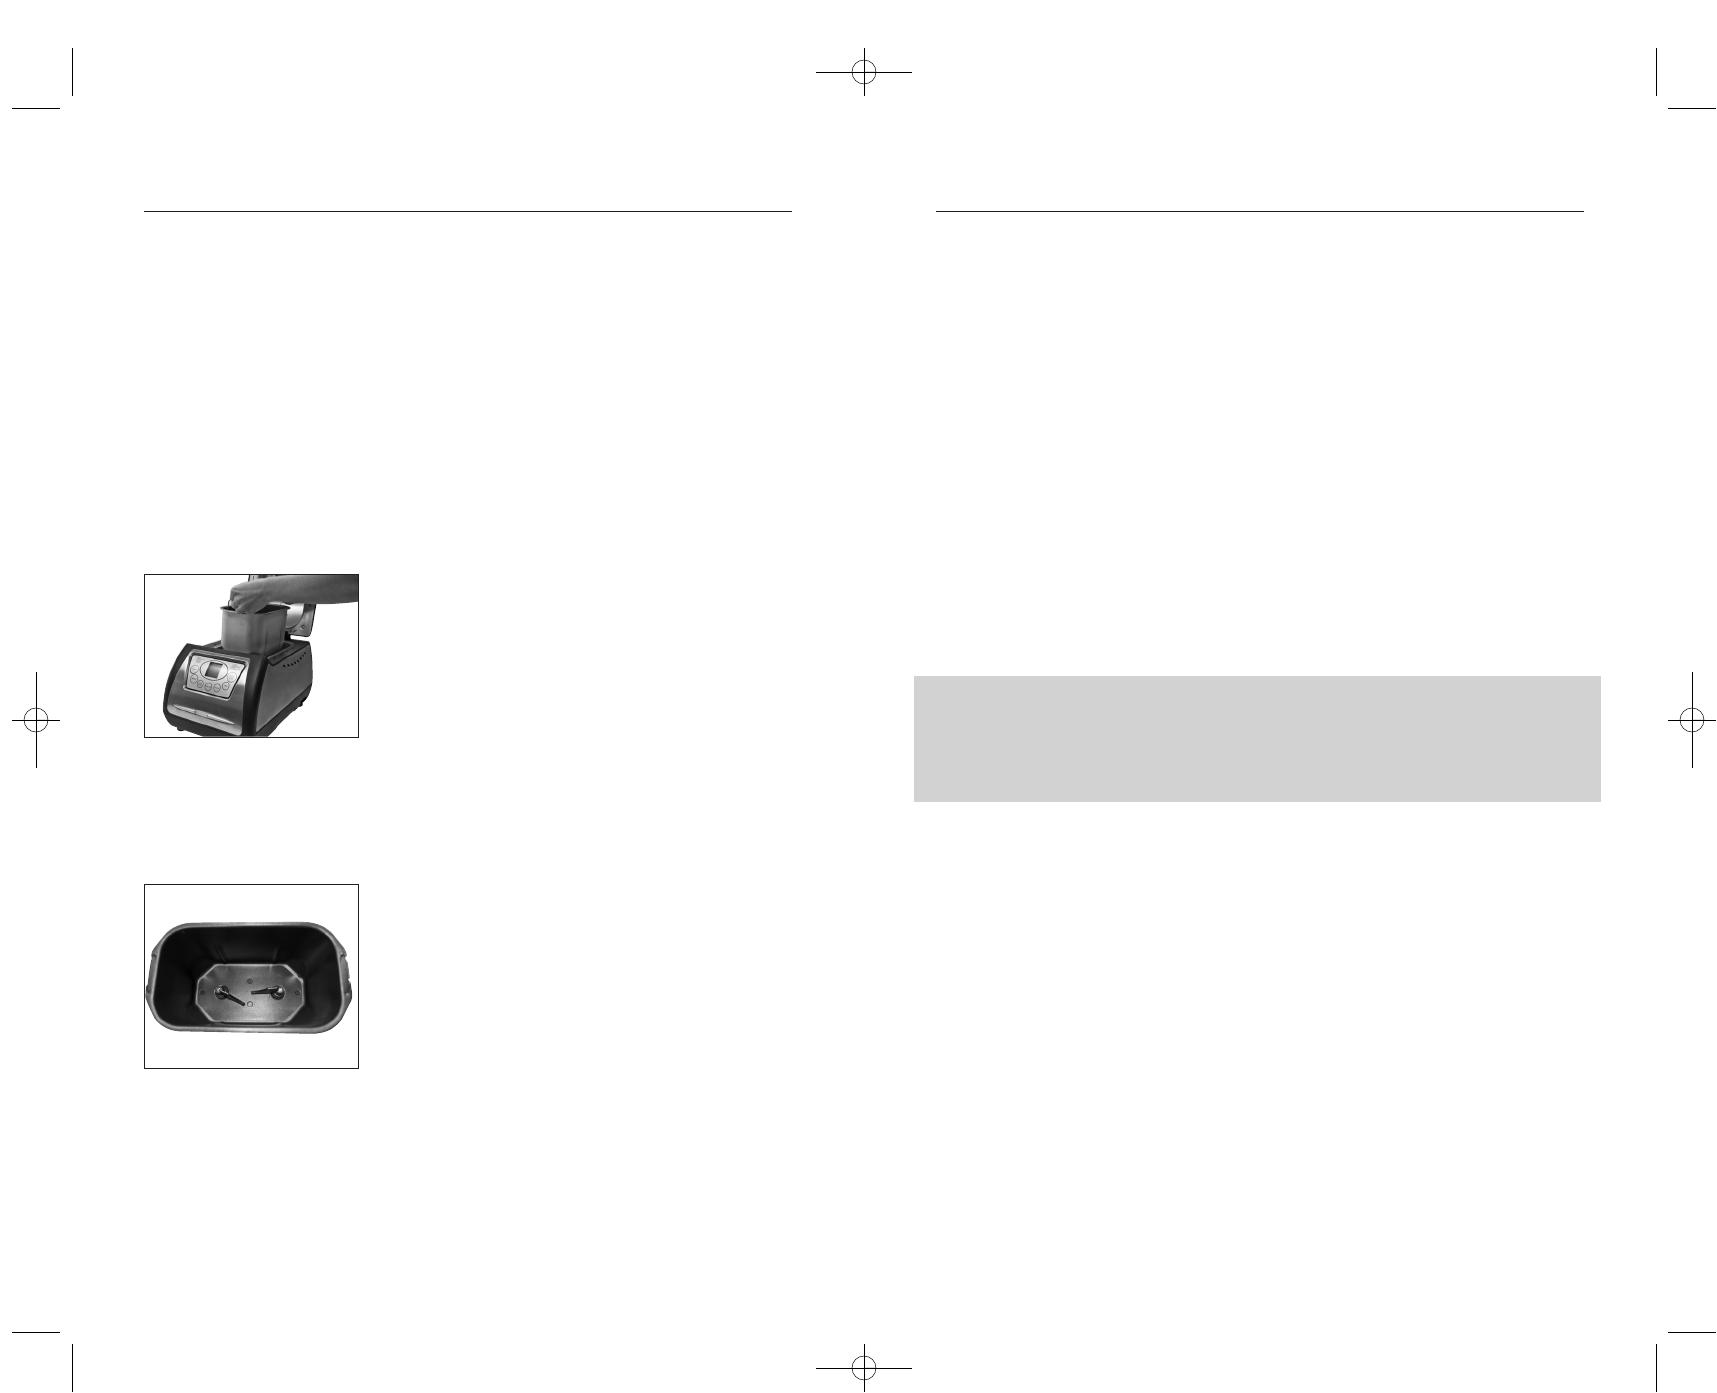
2 Attach the kneading blades onto the
shafts inside the baking pan by lining up
the flat side of the blade with the flat
side of the shaft. Push the blades firmly
onto the shafts (see Figure 2).
WARNING
• Be sure to set the kneading blades
firmly in place to prevent blades from
coming off during operation, which
may affect the kneading or mixing.
• Be sure the shafts are clean of any
residue (i.e. dough). This will ensure
the kneading blades will fully fit into
place and prevent blades from sticking
to shafts.
FOR ALL BREAD BAKING SETTINGS, FOLLOW THESE INSTRUCTIONS:
3 Select a recipe from the recipe section of this booklet. When
following the recipes:
Measure ingredients carefully and accurately. To measure liquids,
use a see-through liquid measuring cup and check the measurement
at eye level. When measuring dry ingredients, use a standard dry
measuring cup and level the ingredients with a straightedge knife.
Slightly inaccurate measurement can make a difference in results.
Use standard measuring spoons and level off with a straightedge
knife.
• Always add ingredients into the baking pan in the order listed.
• Always add yeast last. Be sure the yeast does not touch the
liquid ingredients.
WARNING
• Be careful not to mix the yeast with any of the wet ingredients,
especially when using the delay time function feature. Otherwise,
the bread may not rise properly.
Breadmaker Tip
After 5 minutes of kneading, open the lid of the breadmaker and
check the dough consistency. The dough should form a soft, tacky
ball. If too dry, add liquid. If too wet, add flour. Additional liquid or
flour should be added in 1/2 - 1 tablespoon increments.
4 Place the baking pan back into the unit in a slightly forward, angled
position. Push down and back on the pan until you hear it click firmly
into place. Push the side handles down into the pan.
Special Note: If the baking pan is not installed properly or firmly clicked
into place, the kneading blades will not operate.
5 Close the lid. Connect the plug to a 120-volt AC-only outlet. You
will hear a beep and the display will show the time of day.
6 Choose the correct setting for your recipe by pressing the MENU
button. Each time MENU is pressed, you will hear a beep and the
number in the display window will advance to the next cycle.
Special Note: The Whole Wheat settings begin with a rest period during
which the flours or grains absorb the liquid ingredients. Soaking causes
the flour or grain to soften and helps ingredients to combine well. There
is no blade action during this period.
Figure 1
Figure 2
BreadmakingMachine manual 7/13/08 9:40 PM Page 15