Quick Start 9
E-EQ-MX7RG-B MX7 Reference Guide
Quick Start
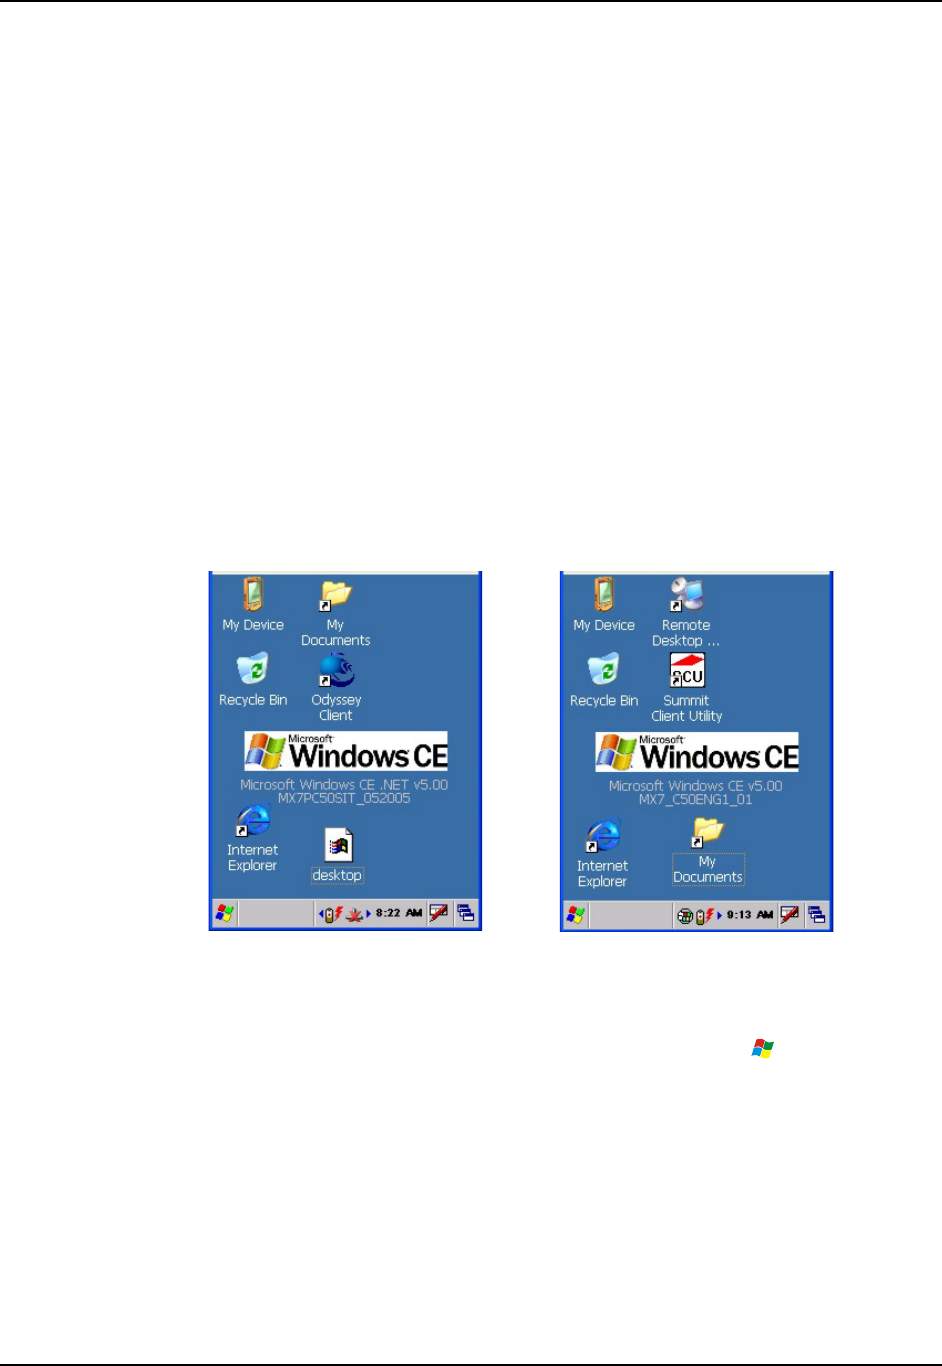
Note: When your mobile device is pre-configured, the radio, keypad and scan aperture
configurations are assembled by LXE to your specifications. The desktop will display an
Odyssey Client Utility icon or it will display a Summit Client Utility icon.
This section’s instructions are based on the assumption that your new system is pre-configured
and requires only accessory installation (e.g. handstrap) and a power source. LXE recommends
that installation or removal of accessories be performed on a clean, well-lit surface. When
necessary, protect the work surface, MX7, and components from electrostatic discharge.
In general, the sequence of events is:
1. Insert a fully charged battery. (Always put a fully charged battery in the MX7 at the
beginning of the shift or workday.)
2. Connect an external power source to the unit (if available).
3. If the screen does not automatically display, tap the Power key.
4. Calibrate the touchscreen.
5. A white screen will appear during the boot process until all CAB files and applications are
loaded and installed. Radio setup screens may appear and disappear while files are loading.
6. After all files are loaded and the Microsoft Windows CE Desktop is displayed, adjust audio
volume and other parameters if desired.
MX7 with Odyssey Client MX7 with Summit Client
Figure 1-7 MX7 Desktop
If needed, change the Time and Date from its default value by tapping the
| Settings | Control
Panel | Date/Time icon.
Related Manuals
Instructions for setting up the integrated SE824, SE955 or SE1524 scanner barcode reading
parameters, are contained in Chapter 2 in the “Integrated Scanner Programming Guide” on the
LXE Manuals CD or the LXE ServicePass website. Note: The SE 955 scanner replaced the SE
824 scanner on all MX7’s manufactured after July 2006.
For instructions on setting up the Intermec EV15 linear imager, please refer to Chapter 3 in the
“Integrated Scanner Programming Guide”.
