


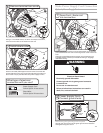

15
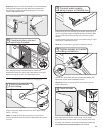
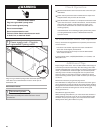
Helpful Tip: Push up on front of dishwasher to raise dishwasher
off the ground to adjust front legs. With some installations, it
may be easier to adjust the front leg using the ³⁄₁₆” hex head
socket or adjustable wrench.
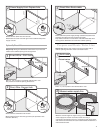
Preferred method Optional method
Check level side to side and
adjust legs if needed
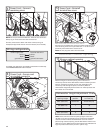
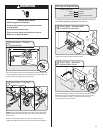
10
Place level against top front opening of tub. Check that
dishwasher is level from side to side. If dishwasher is not level,
adjust front legs up or down until dishwasher is level.
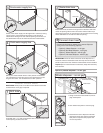
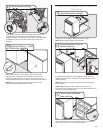
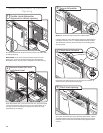
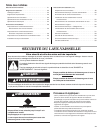
Slide nut and ferrule
onto tubing
1
Ferrule
Nut
Connect to Water Supply
Copper tubing only: Slide nut then ferrule onto copper tubing
about 1” (2.5 cm).
NOTE: To avoid vibration during operation, route the water
supply line so that it does not touch the dishwasher base, frame
or motor.
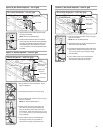
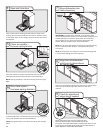
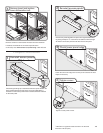
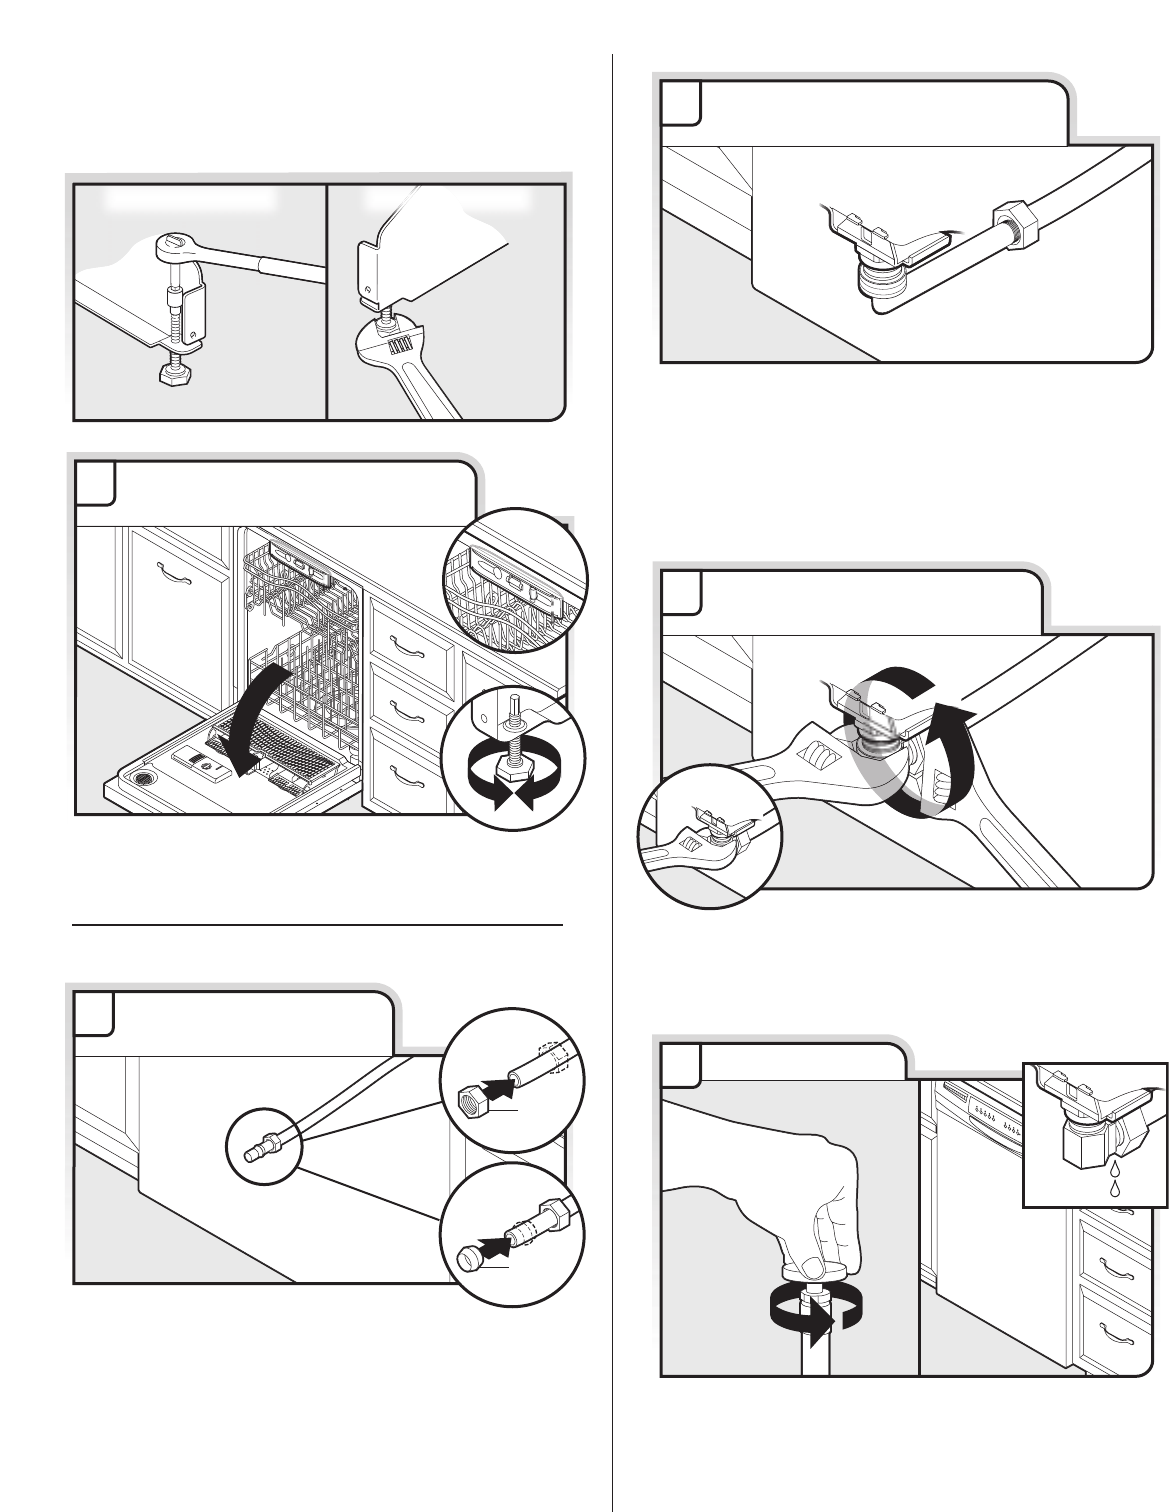
Tighten copper or braided
tubing connection
3
Hold the 90° elbow fitting still with one adjustable wrench and
tighten the nut with second adjustable wrench.
Helpful Tip: Use a ⁵⁄₈” open-end wrench for easier access to
tighten connection.
Place paper towel under 90° elbow fitting. Turn on water
supply and check for leaks. If leak occurs, repeat previous step.
If needed, see website for animated representation of this step.
Visit www.amana.com/watersupply under FAQ tab.
4
Check for leaks
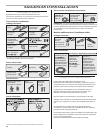
Connect water supply
using copper or flexible line
2
Copper tubing only: Put the tubing into the 90° elbow fitting as
far as it will go (the copper tubing bends and kinks easily). Slide
the nut and ferrule forward and start the nut onto the elbow
threads.
Flexible braided connection: Secure nut to elbow using ⁵⁄₈” open-
end wrench or adjustable wrench.
NOTE: Do not use Teflon
tape with compression fittings.