


OPERATION (continued)
9
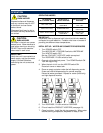
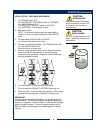
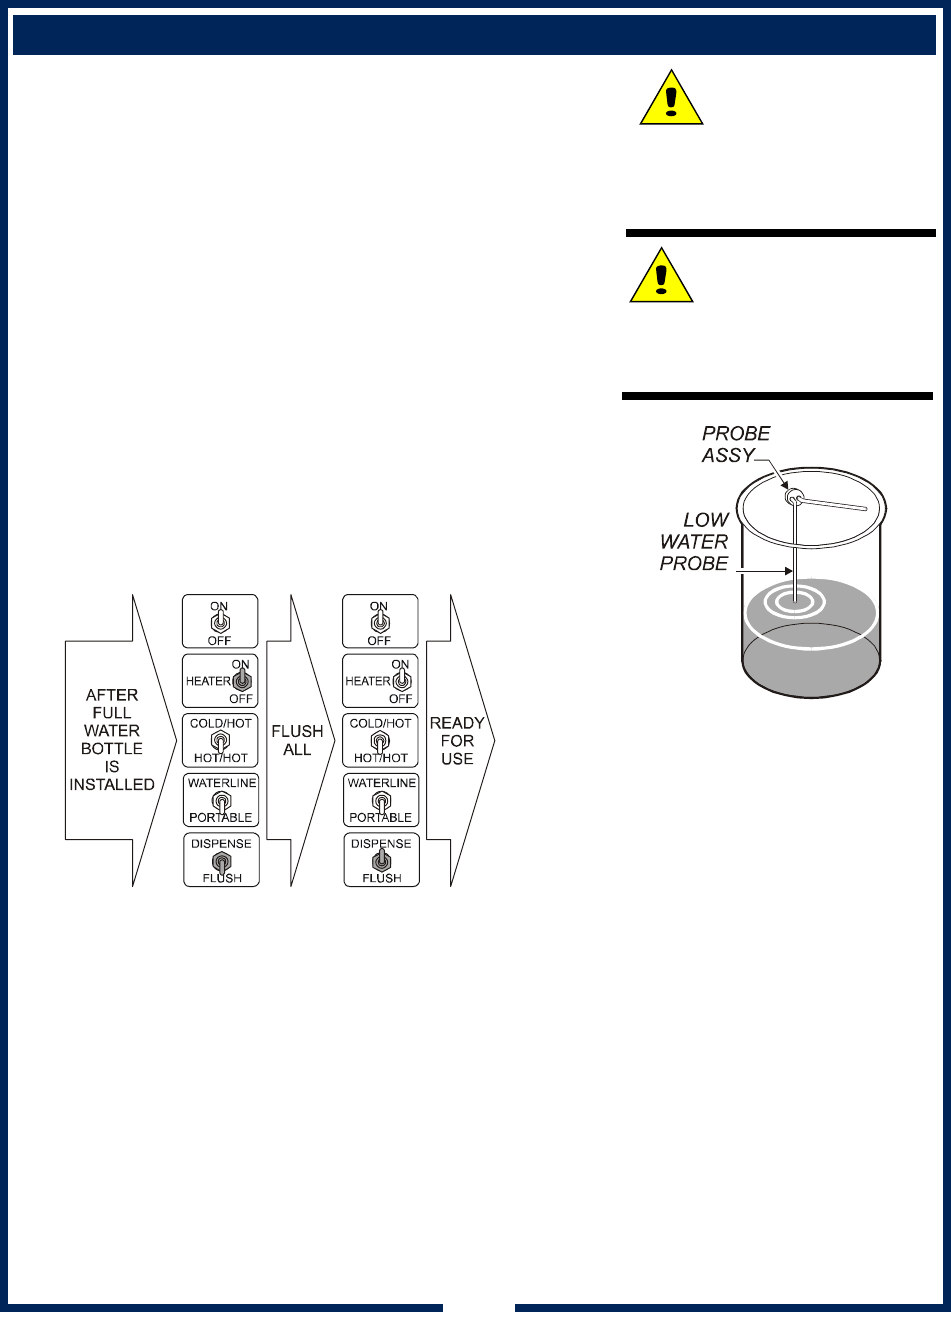
INITIAL SET-UP: PORTABLE DISPENSERS
1. Turn POWER switch OFF.
Turn WATERLINE / PORTABLE switch to PORTABLE
Turn HEATER switch OFF.
Turn COLD/HOT / HOT/HOT switch to HOT/HOT
Turn DISPENSE / FLUSH switch to flush
2. Add water to tank.
NOTE: To avoid an overflow when the water bottle is
installed, fill only until water touches the LOW WATER
probe.
3. Fill water bottle (SUPPLIED BY OTHERS).
Invert water bottle and insert in tank.
4. Connect unit to electrical power. Turn POWER switch ON.
Turn the HEATER switch ON.
Place tank cover on water tank.
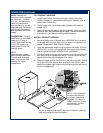
5. Place an empty container under the left dispensing nozzle.
Press and hold left dispense key for several seconds.
Discard all water generated. Repeat for center (9456 only)
and right dispense nozzles.
6. Turn DISPENSE / FLUSH switch to DISPENSE.
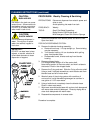
7. Fill and install the PRODUCT HOPPERS (see page 10).
8. Close front door. Install the drip tray assembly. When water
reaches serving temperature, dispenser is ready to use.
IMPORTANT:
The heating element will be damaged if it is energized without
sufficient water. The element must be covered with water at all
times it is in operation. When the REFILL TANK WHEN ON light
glows, the bottle is empty. The tank is approximately half-full.
Refill the water bottle promptly to avoid damaging the heating
element.
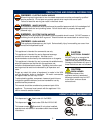
CAUTION:
BURN HAZARD
Exposed surfaces of dispenser
and any container may be HOT
to the touch, and can cause
serious burns.
CAUTION:
BURN HAZARD
DO NOT fill water bottle with hot
water. Splashing hot water can
cause burns.