


18
19
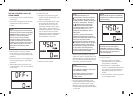
NOTE:
The count-down timer can be
stopped or paused at any time
by pressing the button within the
Timer Dial a second time. The LCD
screen will no longer display the
count-down indicator. However, the
grill will not turn off, it will remain
heating.
To reset or clear the timer either:
- Rotate the Timer Dial clockwise
to increase the time, or counter-
clockwise to reduce the time. Or,
- Press the button within the Timer
Dial and hold for 3 seconds until
the time on the LCD screen
displays ‘0’ zero. Rotate the Timer
Dial clockwise to increase the
time, or counter-clockwise to
reduce the time.
Once the selected time has elapsed, 13.
the grill alert will sound. The LCD screen
will display a blinking '00' then the
default '0' zero time. However, the grill
will not turn off. It will remain heating,
maintaining the selected temperature,
ready for the next cooking cycle.
NOTE:
The cooking and heating cycle can
be stopped at any time by turning
the Temperature Dial to the ‘OFF’
position. The LCD screen will
display ‘OFF’, the default ‘0’ zero
time and cease to illuminate after
3 minutes. Allow the grill to cool
completely and disconnect from
the wall outlet.
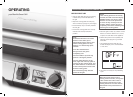
Control, use the handle to lift the
top plate and simultaneously move
the Adjustable Height Control clip
to the desired height. Then slowly
lower the top plate until it rests on the
Adjustable Height Control clip.
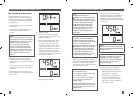
The Smart Grill features an optional 12.
count-down timer which monitors the
time elapsed during cooking. To activate
the count-down timer:
a) Ensure the grill has completely
preheated, the LCD screen no
longer displays 'HEATING' and food
has been placed on the bottom
cooking plate.
b) Turn the Timer Dial to adjust the time
in one minute increments up to 30
minutes. Rotate the dial clockwise
to increase the time, or counter-
clockwise to reduce the time. The
LCD screen will display the selected
time.
c) Press the button within the Timer
Dial once, to activate the setting. The
LCD screen will display a count-down
indicator and the time will begin to
count down.
OPERATING YOUR BREVILLE SMART GRILL OPERATING YOUR BREVILLE SMART GRILL
Place food on the bottom cooking plate. 10.
NOTE:
Do not use spray-on, non-stick
coatings as these will affect the
performance of the non-stick
cooking plates.
NOTE:
For best cooking results when
toasting paninis:
- Always place paninis on the center
of the bottom plate.
- Toasting should take
approximately 5-8 minutes. Exact
toasting time will be a matter of
preference and the type of bread
and fillings used. For more tips and
tricks, refer to Grilling Tips (page
20), Grilling Guide (page 23) and
Recipes (page 28).
NOTE:
The LCD screen may display
'HEATING' during the cooking
process. This is normal, indicating
that the correct temperature is
being maintained.
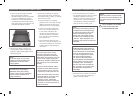
Use the handle to close the top cooking 11.
plate. The top cooking plate has two
features designed to produce optimum
cooking results:
a) Floating Top Plate. The top cooking
plate is hinged, allowing the top
plate to be positioned horizontally
on the food surface. This ensures
the front of the food is as evenly
cooked as the back. It also allows
the top plate to float above the food
surface, radiating heat to create open
sandwich style ‘melts’.
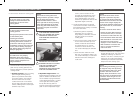
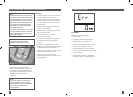
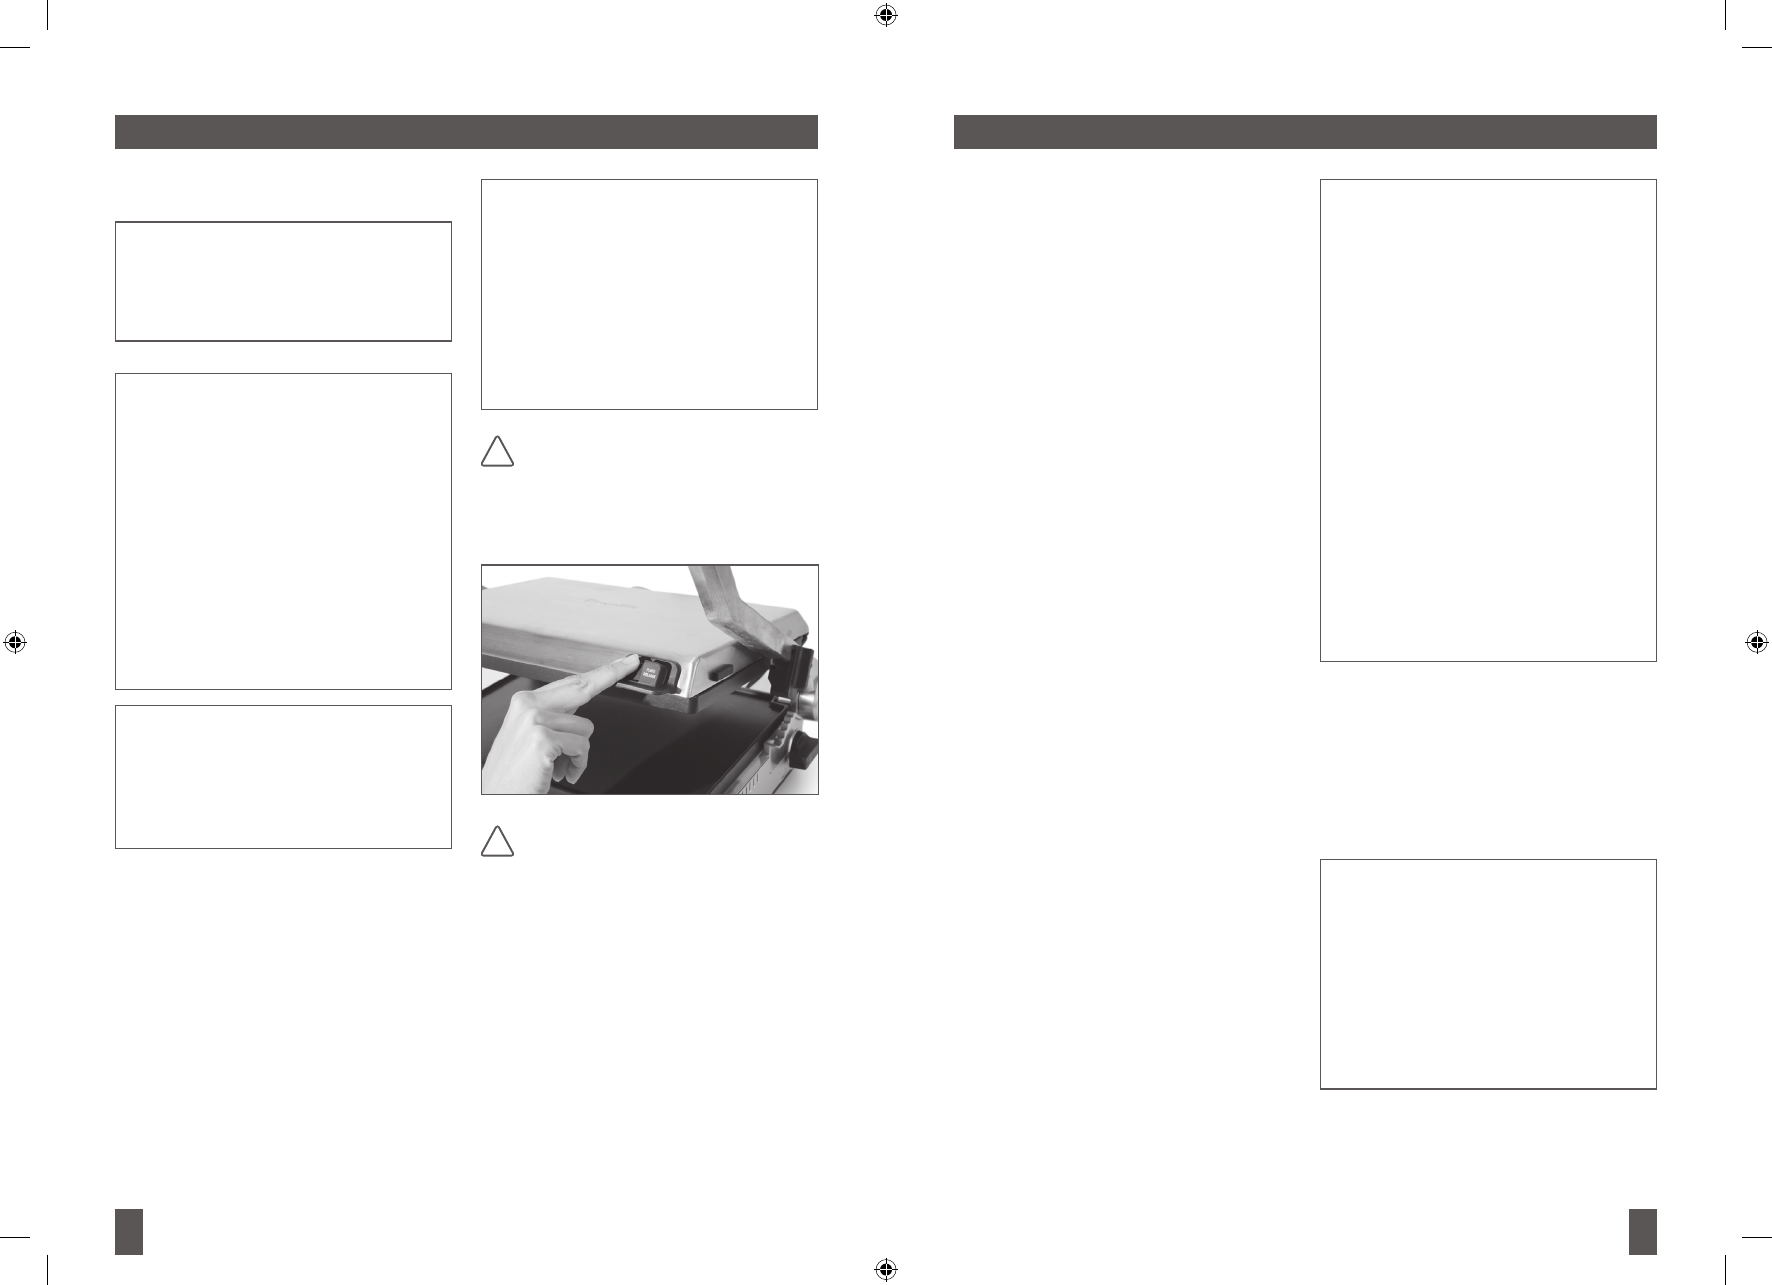
NOTE:
The surfaces of the grill are hot
during and after operation. Always
use the integrated Leveling
Support/‘Plate Release’ on the
front, right side of the top cooking
plate when adjusting the position
of the top plate. Alternatively, use
protective hot pads or insulated
oven mitts.
THE LEVELING SUPPORT MAY
GET HOT DURING AND AFTER
OPERATION. ALWAYS USE
THE LEVELING SUPPORT AS
PICTURED.
NEVER GRIP THE LEVELING
SUPPORT OR USE IT TO OPEN
THE TOP COOKING PLATE.
ALWAYS USE THE GRILL
HANDLE TO OPEN AND CLOSE
THE TOP COOKING PLATE.
b) Adjustable Height Control. This
feature reduces the weight of the top
plate on delicate foods like fish and
accommodates varying thicknesses
of food like artisan breads. Located
on the right side of the top plate,
the clip fixes the top plate to a
range of positions above the bottom
plate. To set the Adjustable Height
!
!