123
8
8
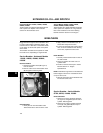
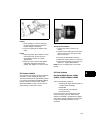
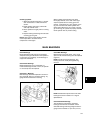
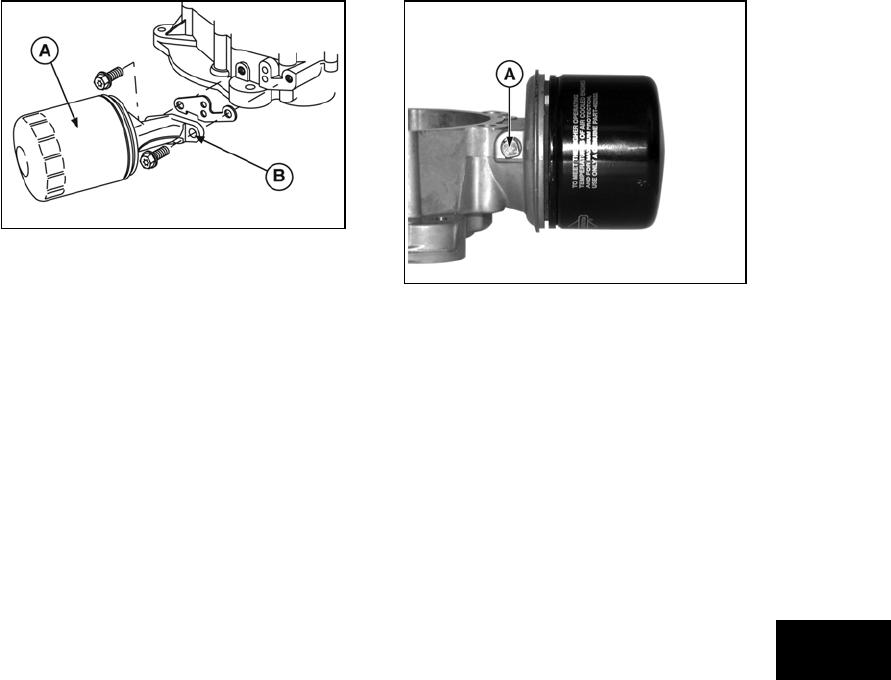
Figure 24
Inspect
1. Check adapter for cracks or damage to
the sump and filter mounting surfaces.
Replace adapter if necessary.
2. Clean all oil passages in adapter and in
sump.
Install
1. Using new gasket, place adapter on sump
and install screws. Torque screws to
values listed in Section 12 - Engine
Specifications.
2. Apply a thin film of clear oil filter gasket.
Install filter until gasket contacts the
adapter, then tighten 1/2 to 2/3 turn more.
Oil Pressure Switch
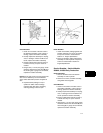
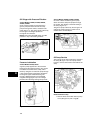
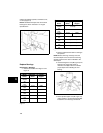
The optional low oil pressure switch is located on
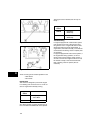
the sump or oil filter adapter (A, Figure 25).
The switch should open at approximately 4-5 PSI
(.27-.34 bar) for Model Series 28N700, 28P700,
287700, 310700, 312700, 313700, 330700.
Model Series 28N777 Type 1194-E1 opens at
approximately 9-13 PSI (.62 -.90 bar).
Figure 25
Test Oil Pressure Switch
1. Unscrew the switch to remove it for
testing.
2. Connect one test meter lead to the switch
terminal and the other lead to the metal
body of the switch.
3. The meter should indicate continuity.
4. Replace the switch if there is no continuity.
5. Install switch and tighten to values given in
Section 12 - Engine Specifications.
NOTE: Do not use sealing tape on the switch
threads.
Oil Gard Systems
Horizontal Model Series 110000,
120000, 150000, 200000, 210000
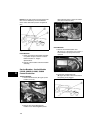
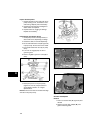
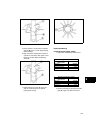
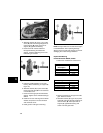
The Oil Gard System consists of:
• Oil Sensor (A, Figure 26 and Figure 27)
(located inside crankcase)
• Module (B)
• Three-terminal stop switch (C)
• Connecting wires
If the oil level is low, the Oil Gard sensor will
close. The engine cannot be restarted until
sufficient oil is added. If equipped with a lighted
rocker switch, the light will flash when the starter
is actuated, indicating insufficient oil in the
crankcase.


