131
9
9
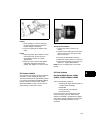
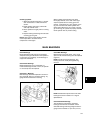
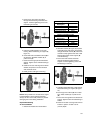
4. Insert screw, with washer and driver
through the ball bearing and thread into
support. Continue tightening screw until
ball bearing is removed.
Figure 16
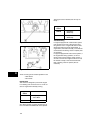
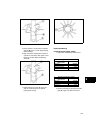
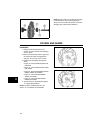
5. Lubricate outside diameter of new ball
bearing. Place ball bearing on support (A,
Figure 17).
6. Insert small end of installation driver (B) in
oil seal bore. Assemble washer (C) to
puller screw (D).
7. Insert screw through pilot and thread into
support. Tighten screw until ball bearing is
seated.
8. Install new oil seal. Use large end of Driver
#19320, and press in oil seal until flush
with crankcase cover.
9. Install governor idler gear and E-ring.
Figure 17
NOTE: Always install new oil seals when engine
is reassembled or when replacing bearings.
Always use the correct seal protector to prevent
damaging the oil seal during installation.
Replace Ball Bearing
All Vertical Models
1. Select tools needed from charts below.
2. Remove oil seal.
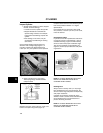
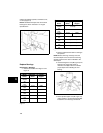
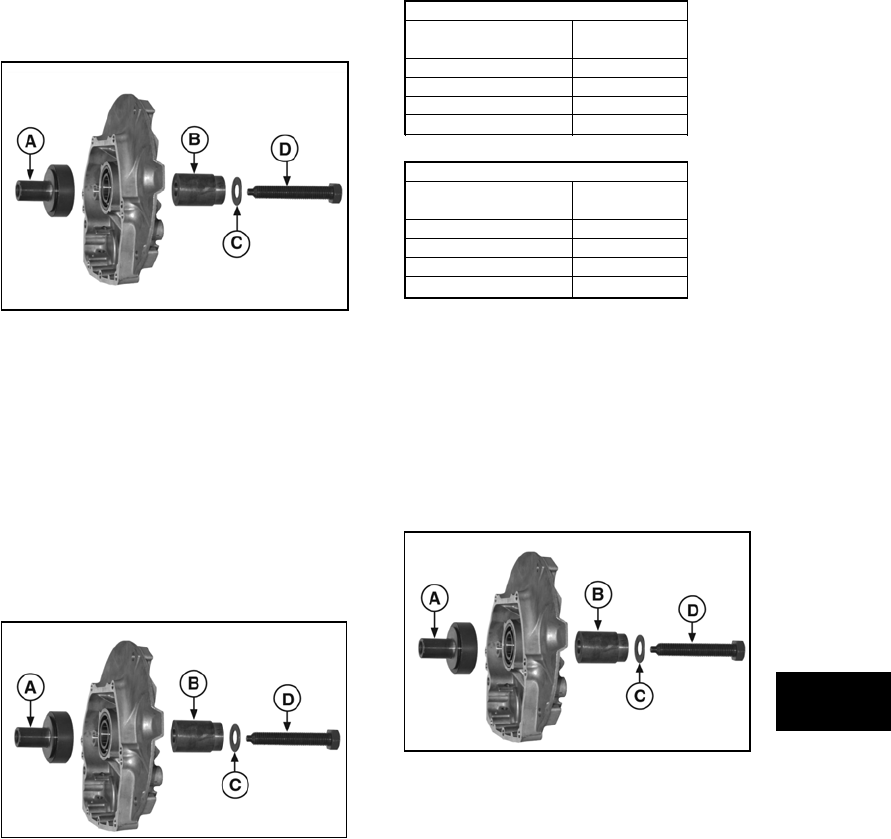
3. Assemble washer (C, Figure 18) to puller
screw (D).Insert puller screw and washer
through small end of driver (B). Insert from
outside of sump against inner race of ball
bearing.Place large end of support (A)
over ball bearing.
4. Insert screw with washer and driver
through ball bearing and thread into
support. Continue tightening screw until
ball bearing is removed.
Figure 18
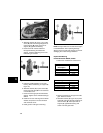
5. Lubricate outside diameter of ball bearing.
Place ball bearing on support (A, Figure
19).
6. Insert large end of driver (B) into oil seal
bore. Place washer (C) on puller screw
(D).
7. Insert screw through drive and thread into
support. Tighten screw until ball bearing is
seated.
8. Install new oil seal. Use large end of Driver
#19401 to press in oil seal to 3/16”
(4.7mm) depth.
Bearing Removal Tools
Tool/Part
Description
Tool/Part #
Washer 690582
Puller Screw 19318
Removal Driver 19401
Removal Support 19454
Bearing Installation Tools
Tool/Part
Description
Tool/Part #
Washer 690582
Puller Screw 19318
Installation Driver 19396
Installation Support 19454


