58
3
3
7. Install blower housing and rewind starter.
8. Install oil fill tube and dipstick.
9. Lightly coat muffler guard mounting
screws with Valve Guide Lubricant
#93963.
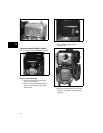
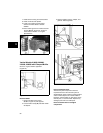
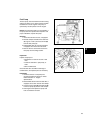
10. Place muffler guard over muffler and start
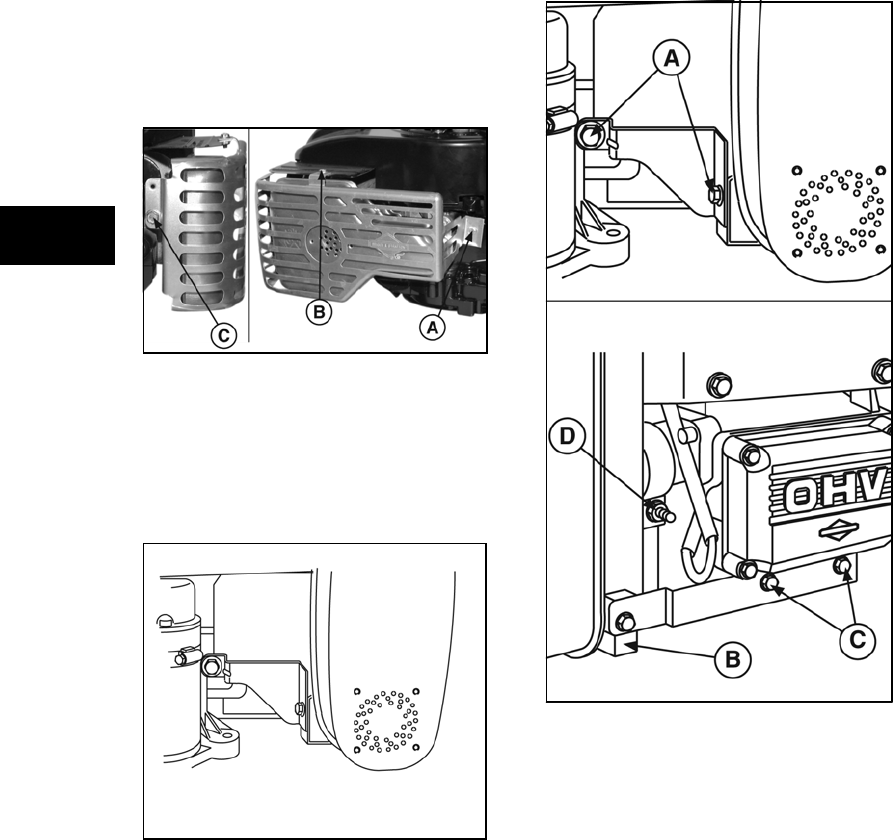
screws (A, B, C, Figure 22). Torque to
values listed in Section 12 - Engine
Specifications.
Figure 22
Vertical Models 210000, 280000,
310000, 330000 with Clamped Muffler
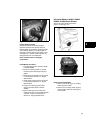
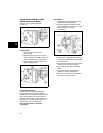
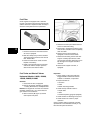
Shown is a typical muffler application
(Figure 23).
Figure 23
Remove Muffler
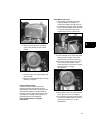
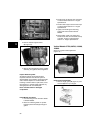
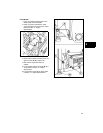
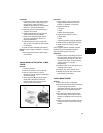
1. Remove muffler brace screws
(A, B, C, Figure 24) and supports.
2. Loosen muffler clamp (D) and slide muffler
off adapter.
3. Remove adapter screws, adapter, and
gaskets. Discard gaskets.
Figure 24
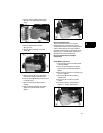
Inspect Exhaust System
All exhaust system components must be
inspected whenever the exhaust system is
disassembled. Check muffler mounting bracket
and/or muffler adapters for cracked welds or
breakage. Check muffler for split seams, loose
internal parts, or cracked welds. Replace any
damaged parts with new OEM parts.
Never reinstall broken or damaged
components.


