


8
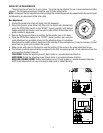
Use only on a properly protected circuit
capable of the rated load.
Electrically ground the chassis.
Follow national/local electrical codes.
Do not use near combustibles.
An extension cord, when used, must be shorter
than 20 feet if 16-gage 3-conductor wire, or
shorter than 10 feet if 18-gage 3-conductor wire.
FAILURE TO COMPLY RISKS EQUIPMENT
DAMAGE, FIRE, OR SHOCK HAZARD
READ THE ENTIRE OPERATING MANUAL
INCLUDING THE LIMIT OF WARRANTY AND
LIABILITY BEFORE BUYING OR USING THIS PRODUCT
20545-0000 7/90 © 1990 Bunn-O-Matic Corporation
WARNING
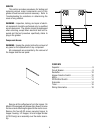
CONTENTS
Capacitor ................................................................9
Circuit Breaker ........................................................9
Dechaffer ..............................................................10
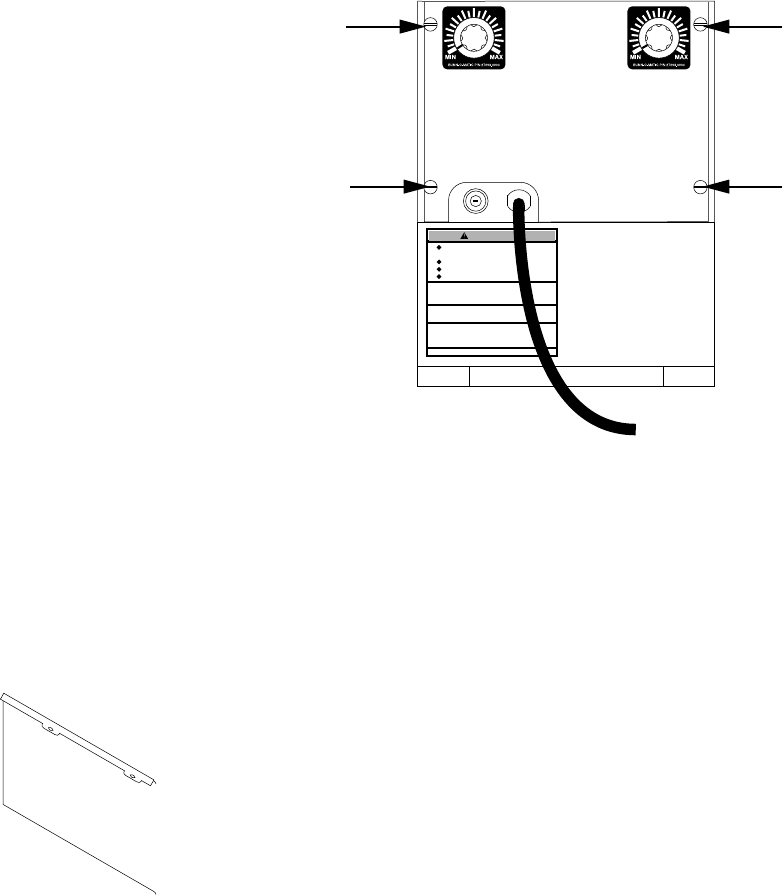
Hopper Selector Switch ........................................10
Motor.................................................................... 11
Off/On/Start Switch............................................... 14
Solenoids.............................................................. 14
Timer ....................................................................16
Wiring Schematics................................................18
SERVICE
This section provides procedures for testing and
replacing various major components used in this
grinder should service become necessary. Refer to
Troubleshooting
for assistance in determining the
cause of any problem.
WARNING - Inspection, testing, and repair of electri-
cal equipment should be performed only by qualified
service personnel. The grinder should be unplugged
when servicing, except when electrical tests are re-
quired and the test procedure specifically states to
plug-in the grinder.
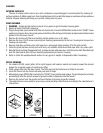
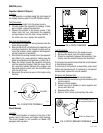
Component Access
WARNING - Unplug the grinder before the removal of
any panel or the replacement of any component.
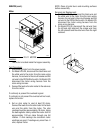
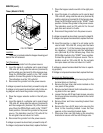
All components are accessible by the removal of
the hopper and the rear panel.
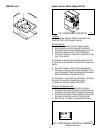
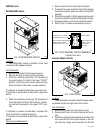
Remove all the coffee beans from the hopper. On
Model LPG equipped with Hopper Burr Guard, remove
the two screws attaching the guard to the motor cover.
Remove the four #8-32 screws securing hopper to
hopper housing. Lift hopper, lid and hopper divider
(LPG-2E only) as an assembly over the motor assem-
bly.