


Page 33
CAUTION :CAUTION :
CAUTION :
C
A
U
T
IO
N
D
I
S
C
A
R
D
D
E
C
A
N
T
E
R
I
F
:
. CRA
CKE
D
. SCRATC
HE
D
. BOILE
D DRY
. HEATE
D WHE
N E
MP
TY
. USE
D ON
HIGH FL
AME
. OR EXP
OSED ELECTRIC
ELE
ME
NTS
F
A
I
L
U
R
E
T
O
C
O
M
P
L
Y
R
I
S
K
S
I
N
J
U
R
Y
PN
:
6
58
1
9
8
5 BU
N
N-O
-M
ATIC
CO
R
PO
RAT
I
O
N
F
U
N
N
E
L
C
O
N
T
E
N
T
S
A
R
E
H
O
T
!
SERVICE (cont.)
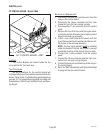
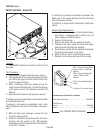
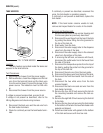
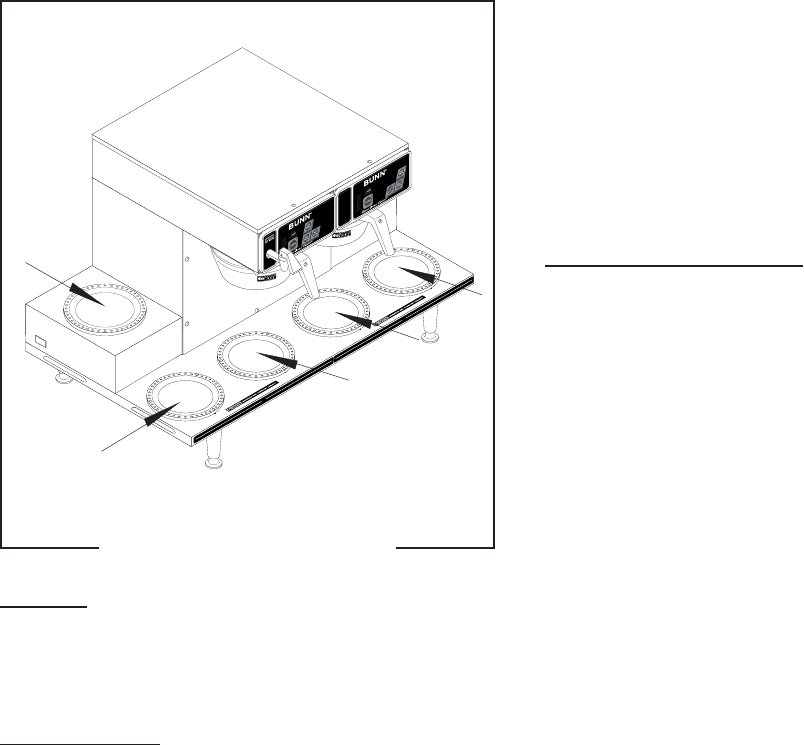
WARMER ELEMENT(S)
Location:
The warmer elements are located under the warmer
plates.
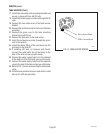
Test Procedures:
1. Disconnect the brewer from the power source.
2. Use the white wire from the terminal block and the
other bottom wire on the "ON/OFF" switch.
3. With a voltmeter, check voltage across the two
wires with the "ON/OFF" switch in the "ON" posi-
tion. Connect the brewer to the power source.The
indication must be 120 volts ac.
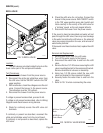
4. Disconnect the brewer from the power source.
If voltage is present as described, proceed to #5.
If voltage is not present as described, refer to
Wiring
Diagrams
and check brewer wiring harness.
5. Check the continuity across the two terminals on
the warmer element.
If continuity is present as described, reconnect the two
wires to the warmer element.
If continuity is not present as described, replace the
warmer element.
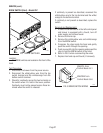
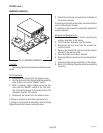
Removal and Replacement:
1. Remove the three #4-40 screws securing the
warmer assembly to the brewer.
2. Lift the warmer assembly from the brewer.
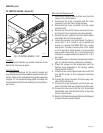
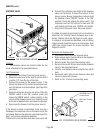
3. Disconnect the two wires from the warmer ele-
ment terminals.
4. Remove the two #8-32 nuts securing the warmer
element to the warmer plate.
5. Securely install new warmer element.
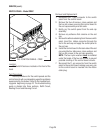
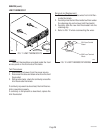
6. Reconnect the two wires to warmer element termi-
nals.
7. Securely install warmer assembly on the brewer.
8. Refer to the
Wiring Diagrams
when reconnecting
the wires.
P1875
FIG. 15 WARMER ELEMENTS
29319 091203