OPERATING THE BEVERAGE DISPENSER
Switching On The Power
CAUTION: Switch on the beverage dispenser only when the mini keg or the
container
is properly connected (See “
Connecting the Beverage Disenser
” on
pages 10-14).
Ma
ke sure to clean up any liquids that have spilled in and around the
beverage dispenser.
1. Make sure the beverage dispenser is properly connected to a mini keg or
to
the container.
2. Close the lid.
3. Insert the Power cable into a properly grounded 3 prong outlet
(See
“
Important Safety Information
” on page 4).
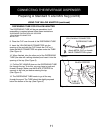
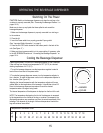
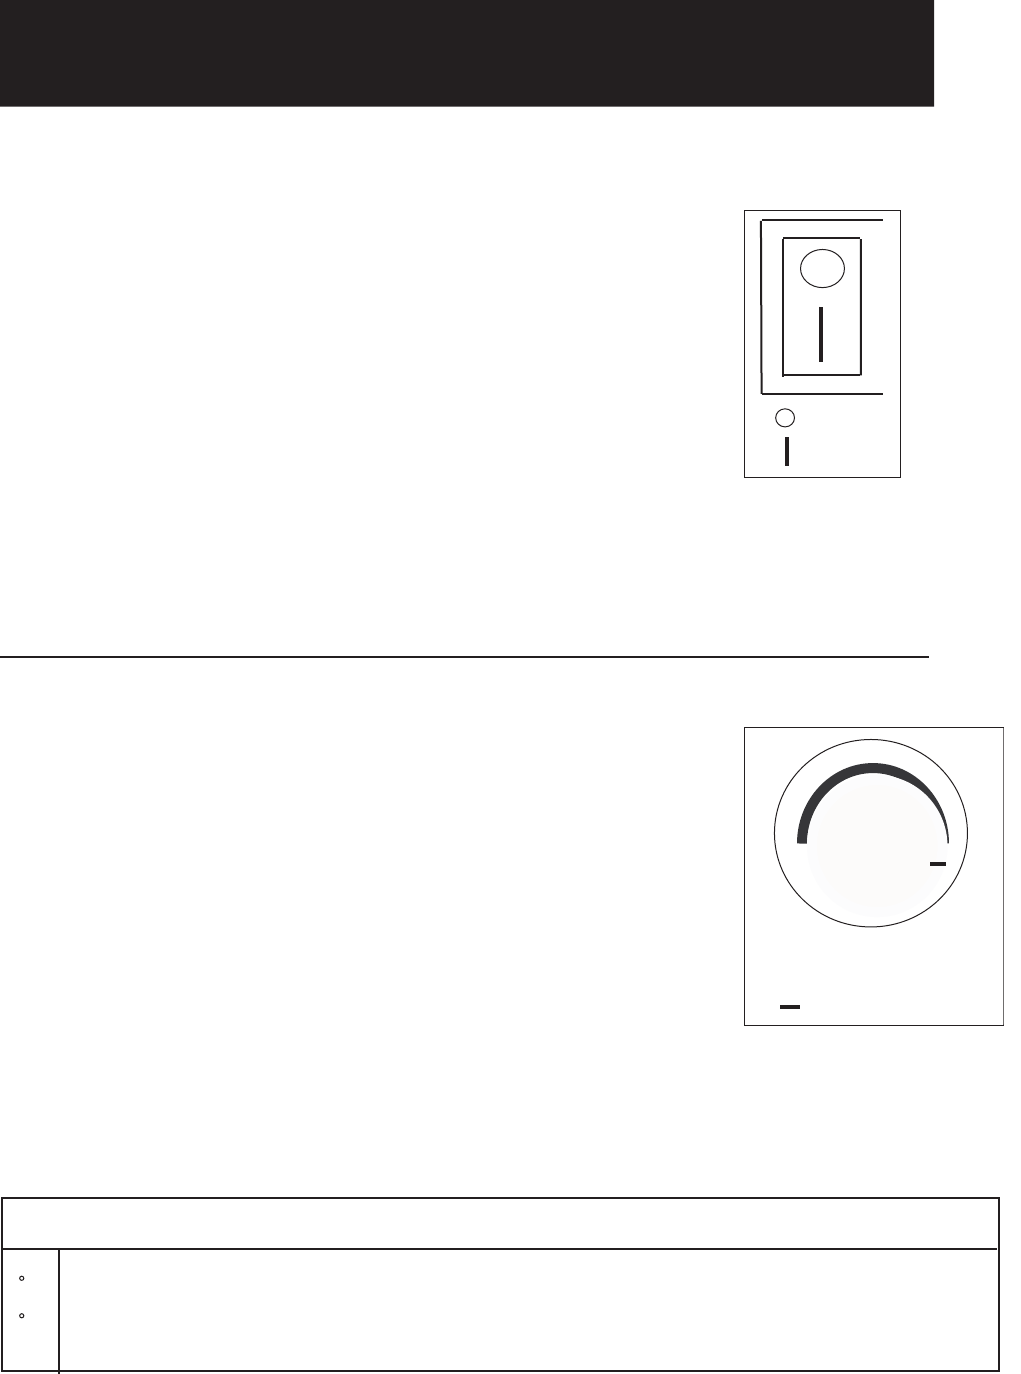
4. Press the ON /OFF switch located on the bottom panel in the back of the
unit
(See
Figure 17
).
5. Make sure the air pressure switch is in its proper setting. If necessary, refer
to
the AIR PRESSURE sections in “
Connecting the Beverage Dispenser
” on
pages 10-14.
+ = WARMER
= COOLER
15
Cooling the Beverage Dispenser
It takes approximately 15 hours for the beverage dispenser to chill a standard
5 liter mini keg from normal room temperature of 72°F (22°C) to a desired
drinking temperature of 41°F (5°C).
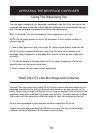
1. To cool the beverage dispenser, use the temperature regulator located in
back of the unit and next to the power switch.
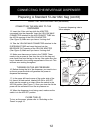
2. To make the beverage dispenser warmer, turn the temperature adjustor to
the
+ direction. To make the dispenser cooler, turn the temperature adjustor to
the
- direction (See
Figure 18
).
Adjusting
the internal temperature with the temperature adjustor will have a
gradual effect on the temperature of the beverage. It should take at least 2-3
hours
for the beverage dispenser temperature to reach the desired
tempe
rature when a change is being made.
The internal temperature of the dispenser is displayed on the front of the unit.
NOTE: The temperature displayed on the front of the dispenser is measured
by the temperature on the outside of the keg or container. Consequently, the
displ
ayed temperature may sometimes vary from the actual temperature of the
beverage. This depends on the length of time and temperature at which the
keg and container were chilled.
Figure 17
Figure 18
= OFF
= ON
Temperature Conversion Chart
c
F
1 2 3 4 5 6 7 8 9 10 11 12 13 14 15 16 17 18
34 36 37 39 41 43 44 46 48 50 52 54 55 57 59 61 63 64
+


