INSTALLATION INSTRUCTIONS
8
CABINET PREPARATION
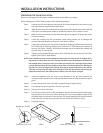
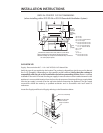
The Drop-In Cooktop was designed for easy installation. However, for the best appearance, to conceal
the raw cutout edges and to ensure a snug and secure fit, the cutouts must be precise. Use the
cutout dimension information in the figures below for your installation. When preparing for instal-
lation, it is critical that the cabinet cutout matches the cutout dimensions provided for the cooktop for
a good fit. See illustrations below for specifications.
For proper performance,the Drop-In Cooktop must be level.To achieve a flush fit of the cooktop,
it will be necessary to have a flat countertop (front to back and left to right).
Be sure to check local building codes for the proper method of installation. Local codes may
vary. Installation, electrical connections, and grounding must comply with all applicable codes.
NOTE: The cooktop must be completely removed from cut-out to service. The lower firebox is not
supported by the counter.
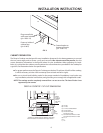
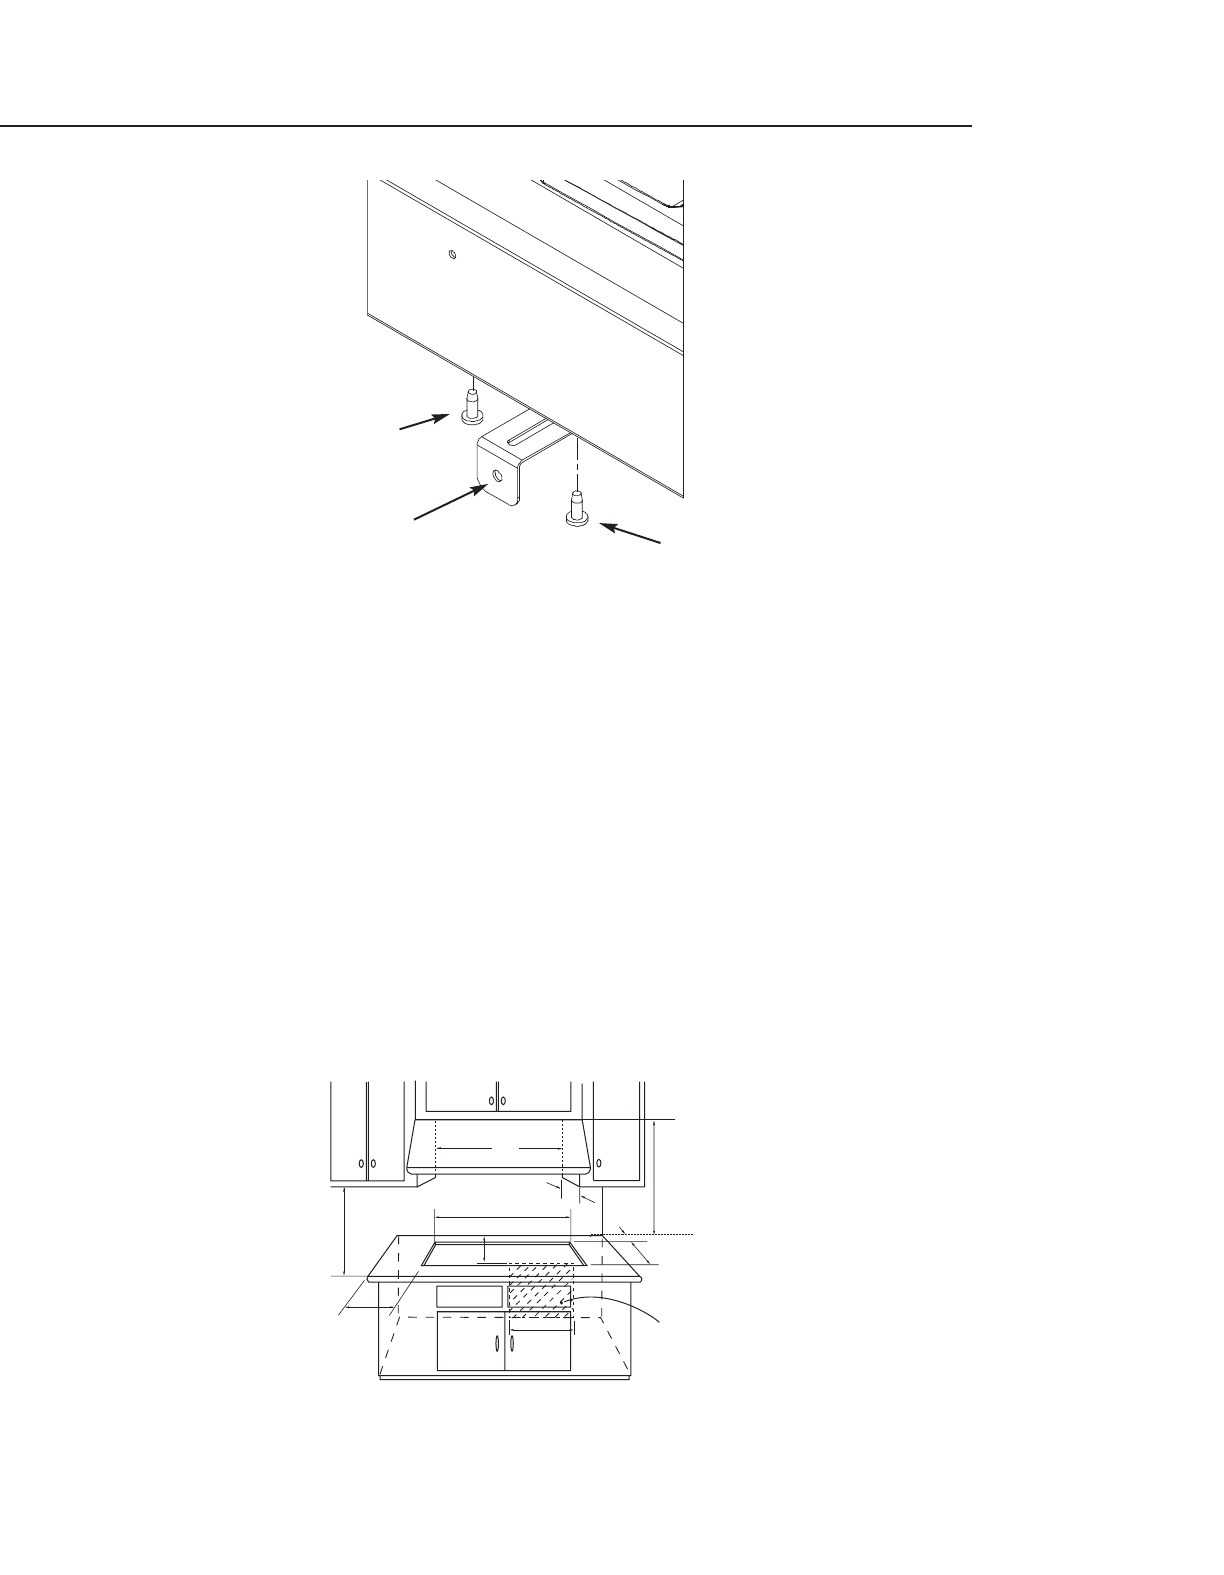
Plug unused hole
with screw included.
(p/n 15001-22)
Fasten to inside of
cabinet face.
(p/n 91807)
Fasten bracket to
bottom of chassis.
(p/n 15001-22)
FIG. 3
F
CAUTION:
36" min. to
combustible
material ,
from cooking
surface
B
A
C
D
E
As defined in the “National Fuel Gas Code” (ANSI Z223.1, latest edition).
NOTE: See manufacturer's recommendations for ducting specifications.
G
H
electrical
and
gas supply
I
A) 18”min.
B) 13”max.
C) 5”min.to combustibles∆
D) 19-3/4”depth
E) 34-3/4”for CT-365
28-5/8”for CT-304
F) 36”hood width min.for CT-365
30”hood width min.for CT-304
G) 2-1/2”
H) 5”
I) 18”
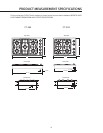
DROP-IN COOKTOP CUT-OUT DIMENSIONS


