


4
Unpacking and Examining Your Oven
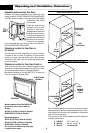
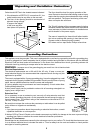
Remove: all packing materials from inside the oven
cavity; however, DO NOT REMOVE THE WAVEGUIDE
COVER, which is located on the right cavity wall. Read
enclosures and SAVE
this manual.
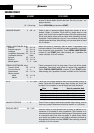
Check the oven for any
damage, such as mis-
aligned or bent door,
damaged door seals and
sealing surfaces, broken
or loose door hinges and
latches and dents inside
the cavity or on the door.
If there is any damage,
do not operate the oven and contact your dealer or
DCS AUTHORIZED SERVICER.
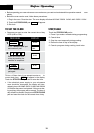
Choosing a Location for Your Oven on
the counter
You will use the oven frequently so plan its location
for ease of use. It’s wise, if possible, to have counter
space on at least one side of the oven. Allow at least
2 inches on the sides, top and at the rear of the oven
for air circulation.
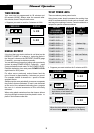
Choosing a Location for Your Oven if built-in
Your oven can be built into a cabinet or wall by itself
or above the models listed below using a DCS by Fisher
& Paykel branded or Fisher & Paykel branded
Microwave Accessory Trim Kit (MOTTK). To order the
Trim Kit, contact Customer Care.
See Trim Kit Installation Instructions for proper location
whenbuildinginabovethespeciedwallovens.Care-
fully follow both the wall oven installation instructions
and Trim Kit instructions.
The opening in the wall or cabinet must be within the
following dimensions:
A HEIGHT : 17" +
1
/16", -0
B WIDTH : 24
3
/4" +
1
/16", -0
C DEPTH : minimum 20"
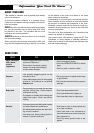
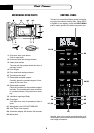
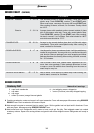
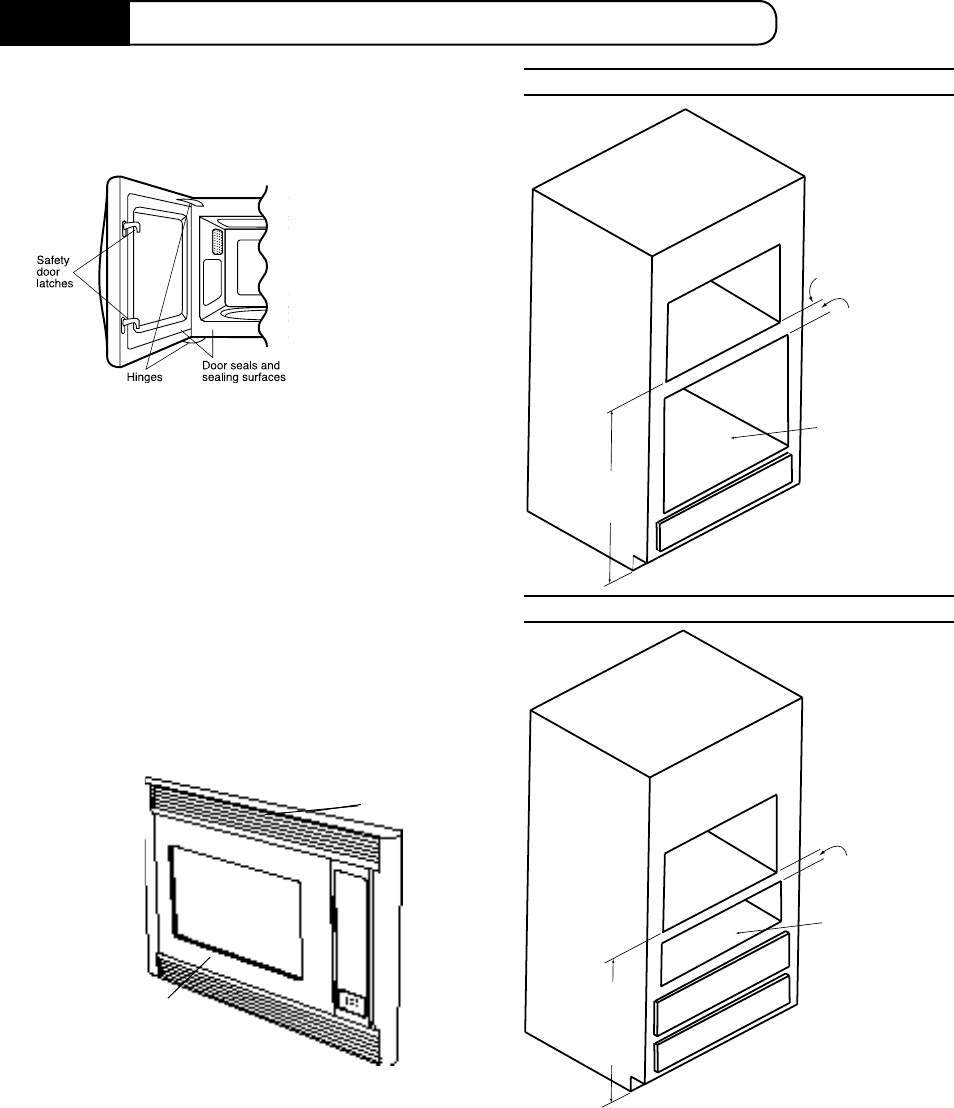
OVER OVEN INSTALLATION
MICROWAVE
CUTOUT
2"
(51MM)
WARMING
DRAWER
CUTOUT
RECOMMENDED
HEIGHT
36"
(914MM)
MICROWAVE
CUTOUT
1"
(25MM)
TOP OF MICRO-
WAVE SHELF
40 1/4"
(1022MM)
WALL
OVEN CUTOUT
OVER WARMING DRAWER INSTALLATION
Models above which the MO24-SS
microwave oven can be built in:
Ovens:
WOSU-30 (DCS by Fisher & Paykel)
OB30SDEPX (Fisher & Paykel)
Warming drawers:
WDU-30 (DCS by Fisher & Paykel)
WDUI-30 (DCS by Fisher & Paykel)
OD30WDX1 (Fisher & Paykel)
Do not build in above any other gas
or electric wall oven.
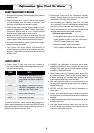
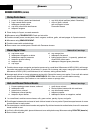
OVEN FRONT
TRIM KIT FRAME
ASSEMBLE
Unpacking and I nstallation I nstructions