


10
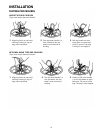
ASSEMBLE AND CONNECT PARTS
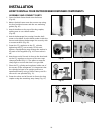
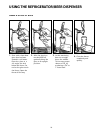
1 . Screw the black faucet knob onto the faucet
(Fig. 06).
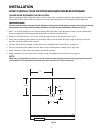
2. Mount the draft tower onto the counter top using
the four furnished screws and the one mounting
gasket (Fig. 07).
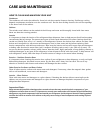
3. Attach the elbow to the top of the keg coupler,
making sure to use a black washer
(Fig. 08).
4. Attach the beverage line coming from the draft
tower to the elbow. Use the black washer inside the
hex nut and tighten the beverage line securely with
a crescent wrench (Fig. 09).
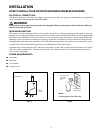
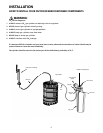
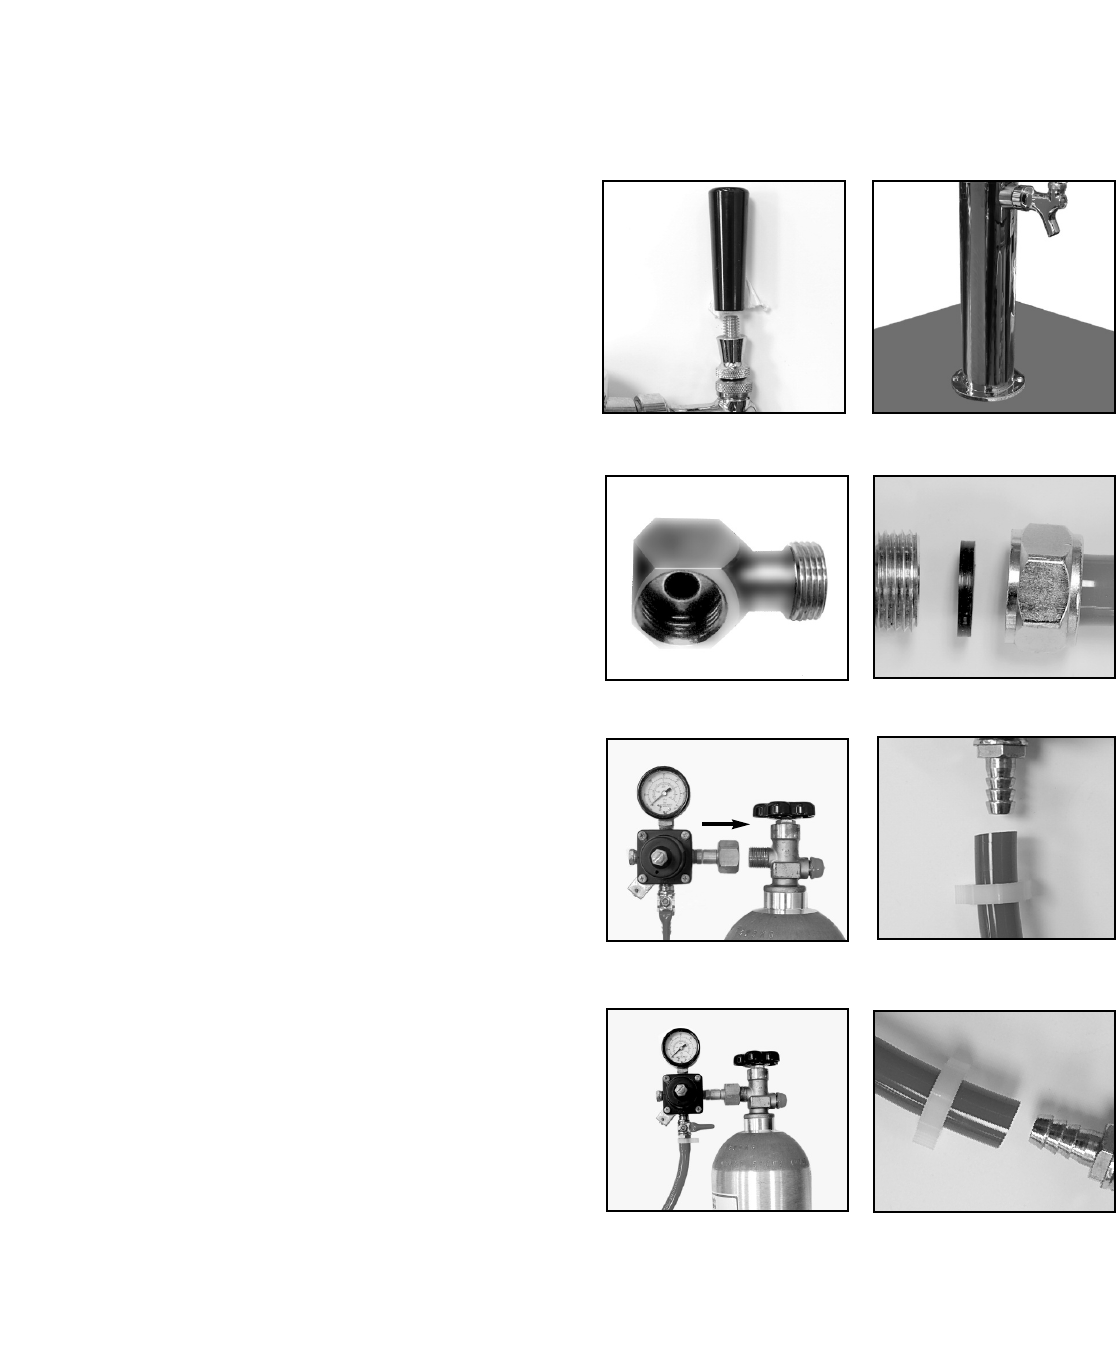
5. Fasten the CO
2
regulator to the CO
2
cylinder,
tightening the CO
2
nut securely. Do not over
tighten; overtightening may damage the washer in
the stem of the regulator (Fig. 10. Ensure valve is
off.
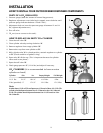
6. Attach one end of the red air hose to the hose barb
on the CO
2
regulator, using one of the two snap
clamps provided (Fig. 11). Use pliers to snap the
clamp tight to assure that there is no gas leak.
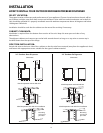
7. Place the CO
2
cylinder and regulator inside one of
the corners of the refrigerator. It is important that
the cylinder be kept in an upright position to
operate efficiently, using a clain or heavy cord if a
wire rack is not provided (Fig. 12).
8. Fasten the other end of the red air line to the keg
coupler using the remaining snap clamp (Fig. 13).
INSTALLATION
HOW TO INSTALL YOUR OUTDOOR BEER DISPENSER COMPONENTS
Fig. 06
Fig. 07
Fig. 08
Fig. 09
Fig. 10
Fig. 11
Fig. 12
Fig. 13