11
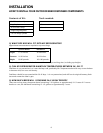
PARTS OF A CO
2
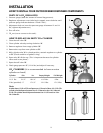
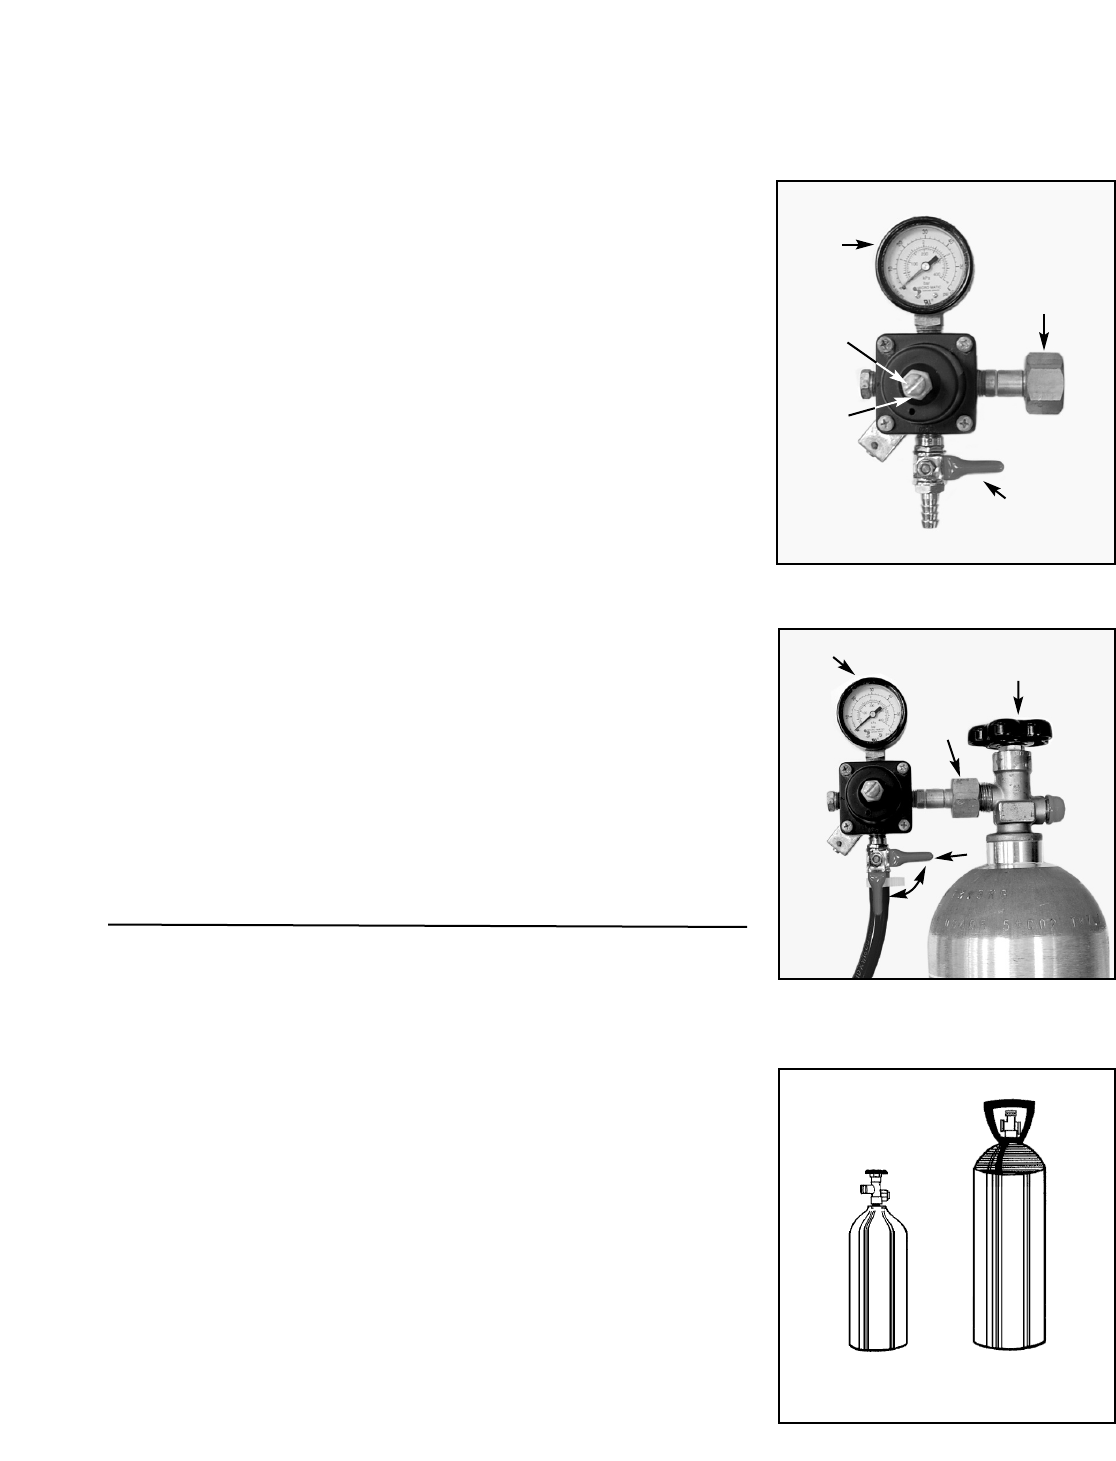
REGULATOR
1. Pressure gauge (reads the amount of internal keg pressure).
2. Regulator adjustment screw (after keg is tapped, screw clockwise until
pressure gauge indicates between 12 and 14 lbs.).
3. Adjustment lock nut (once the pressure gauge is between 12 and 14
lbs., tighten adjustment nut.)
4. Shut-off valve.
5. CO
2
nut (use to connect to the tank).
HOW TO REPLACE AN EMPTY CO
2
CYLINDER
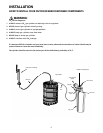
1. Close shut-off valve “B”.
2. Close cylinder valve by turning clockwise “A”.
3. Remo
ve regulator from empty cylinder “D”.
4. Remove dust cap from new cylinder at “D”.
5. With c
ylinder valve “A” in closed position, reattach regulator to cylinder
at “D”. (
Check condition of gasket/o-ring).
6. Open valve “A” all the way. (This is important because the cylinder
valve seals in two places.)
7. Open shut-off valve “B”.
8. Check gauge pressure “C” (12-14 lbs.) and adjust if necessary.
CO
2
CYLINDERS (It is recommended to have an extra
cylinder on hand)
Cylinder Dia. Ht. Empty Weight Full Weight
1-1/2 lbs. 3-1/2” 18-1/4” 6-1/2 lbs. 9 lbs.
5 lbs. (provided) 5” 17-1/2” 12-1/2 lbs. 17-1/2 lbs.
Note:
It takes about 1/2 lb. of CO
2
to dispense an 1/2 barrel of beer. A 2-1/2 lb. CO
2
cylinder should dispense between 4 to 5-1/2 barrels or 8 to 10-1/4 barrels.
A 5 lb. CO
2
cylinder should dispense between 8 to 10-1/2 barrels or 18 to
20-1/4 barrels.
Fig. 14
Fig. 15
INSTALLATION
HOW TO INSTALL YOUR OUTDOOR BEER DISPENSER COMPONENTS
1
4
2
3
5
C
A
D
B
CLOSED
OPEN
Fig. 16
2-1/2 lbs.
5 lbs.


