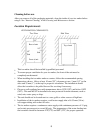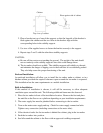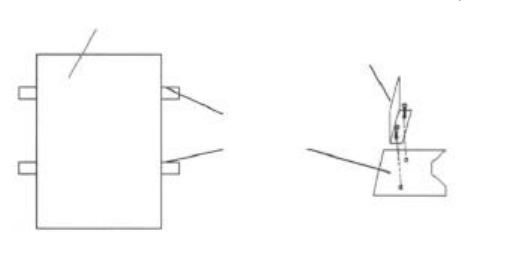
2. Place a bracket on top of one of the supports so that the longside of the bracket is
flush against the cabinet and the two holes in the bracket align with the
corresponding holes in the stability support.
3. Use two of the supplied screws to fasten the bracket securely to the support.
4. Repeat steps 2 and 3 with the other three stability supports.
CAUTION:
a) Be sure all four casters are touching the ground. The weight of the unit should
not rest entirely on the stability supports since this could damage them.
b) The ice maker should not wobble. The stability supports add stability to the unit
and minimize the danger of tipping over in the event that it is accidentally pushed.
They also help assure the proper functioning of the unit.
Enclosed Installation:
An enclosed installation will allow you to install the ice maker under a cabinet, or in a
kitchen cabinet provided the required clearance space around the ice maker is respected.
This installation has the same requirements as a mobile installation.
Built-in Installation:
If this method of installation is chosen, it will still be necessary to allow adequate
ventilation space around the unit. The following additional items must be observed.
1. Place the ice maker in front of the installation location. Remove the feet and place
the unit flat on the floor or on a platform depending on your installation requirements.
2. The water supply line must be plumbed before connecting to the ice maker.
3. Turn on the main water supply and tap. Check for water supply connection leaks.
Tighten every connection (including connections at the water inlet).
4. If the electrical outlet for the ice maker is behind the cabinet, plug in the ice maker.
5. Push the ice maker into position.
6. Seal all around the cabinet to the floor with an approved caulking compound.
13a
Top view of cabinet
Cabinet
Stability
support
Place against side of cabinet


