Time Cook I &II allows you to
microwave for a preset amount of
time using automatic power level
10
~igh),
or change power level
automatically.
Power level 10 (High) is
recommended for most cooking,
but you may change this for more
flexibility. See the cookbook.
To become better acquainted with
time cooking, make a cup of coffee
by following the steps below.
Step 1:
Fill a cup
2/3
full of
water, add 1 teaspoon of instant
coffee and stir to dissolve. Use a
cup that has no metal decoration
and is microwave-safe (refer to
Microwaving Tips on page 3).
Place cup in oven and close door.
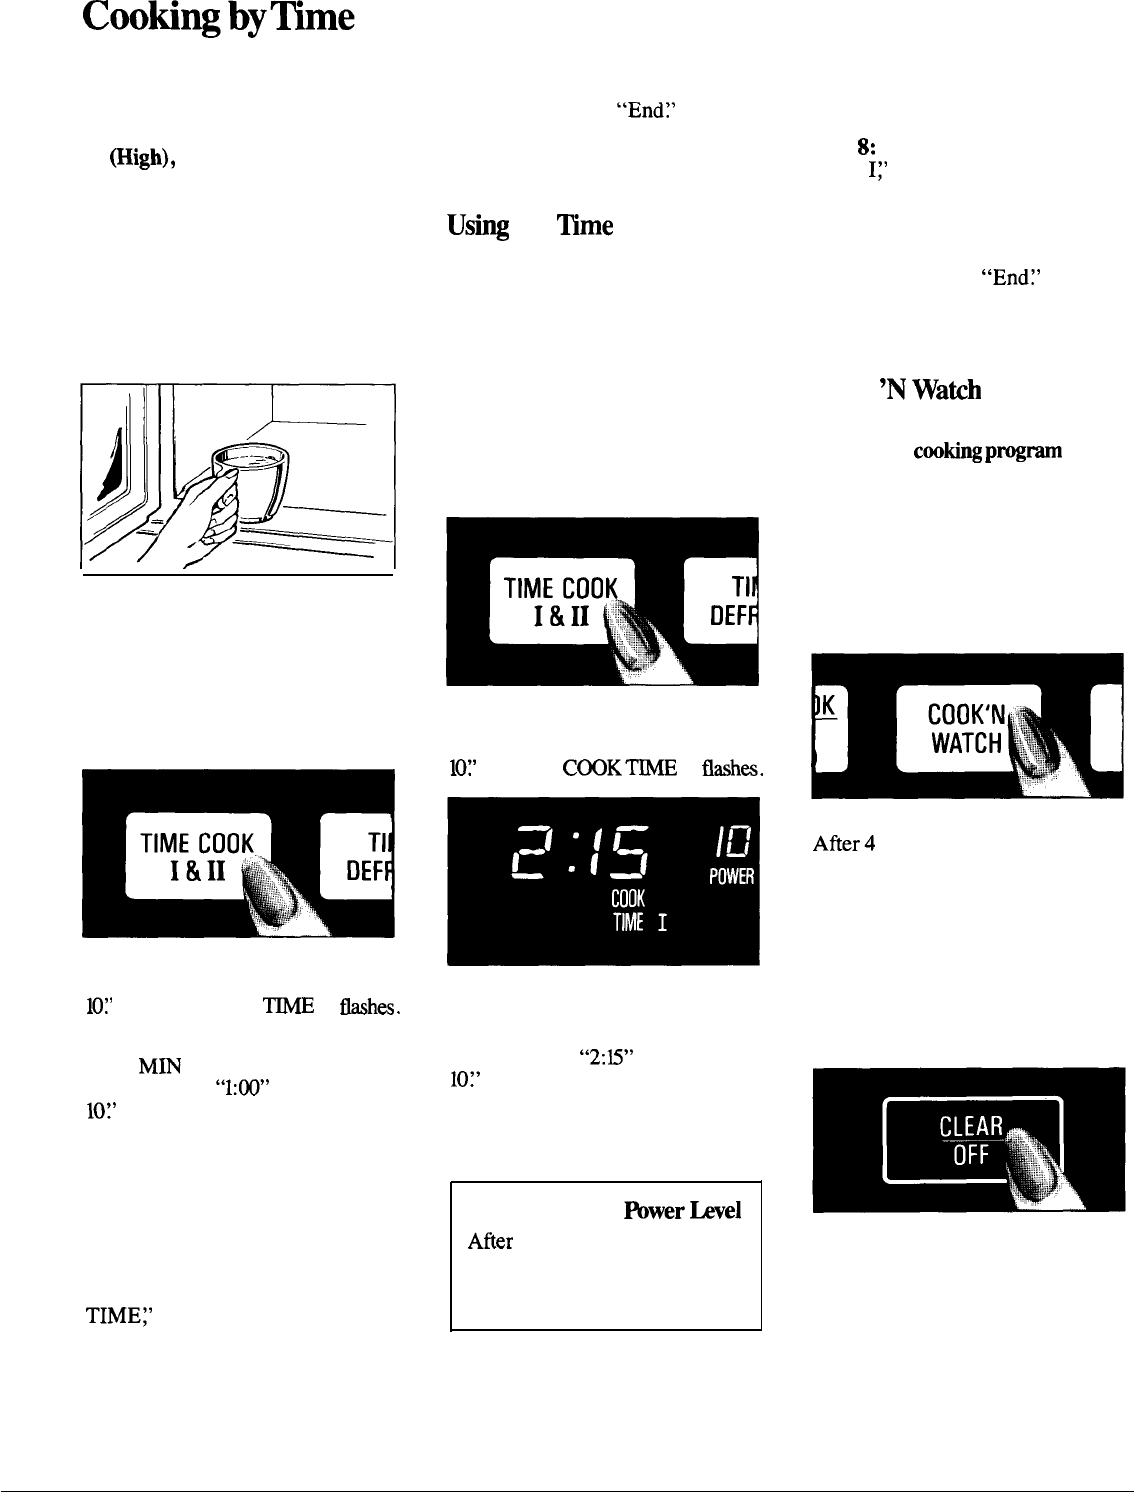
Step 2: Touch TIME COOK I & II.
Display shows “: O“ and “POWER
10?’
“ENTER COOK
~E
I“
tihes.
Step 3:
Select your time. Touch
1 and
MIN pad for one minute.
Display shows
“1:00”
and “POWER
10?’
“COOK TIME I“ flashes.
Because automatic power level 10
is recommended for this cup of
coffee, there is no need to change
the power level. (If power level 10
is not appropriate, see “How to
Change Power Level” at right.)
Step 4:
Touch START. “COOK
TIMEJ’
“POWER 10” and time
counting down show on display.
Step 5:
When time is up, the oven
signals and flashes
“End~’
Oven,
light and fan shut off.
Step
6: Open the door.
Usi~
the
~me
Cook II
Feature
The Time Cook II feature lets you
set two time cooking functions
within one program. This is ideal
if you want to change power levels
during your cooking operations.
Here’s how to do it.
Step 1:
Place food in oven in
microwave-safe container and close
the door.
Step 2: Touch TIME COOK I & II.
Display shows “:
O“ and “POWER
10:’
“ENTER
COOKM
I“
ties.
Step
3: Select your cooking time.
For example, touch 2, 1 and 5 for
two minutes and 15 seconds.
Display shows
“2:U”
and “POWER
10~’
“COOK TIME I“ flashes.
Step
4: Touch TIME COOK I & II.
Step
5: Set your cooking time.
How to Change Wwer
hvel
After setting cooking time,
touch POWER LEVEL pad,
then touch desired number for
new power level.
Step
6: Touch START.
Step
7: “POWER 10” is displayed
and “COOK TIME I“ counts down.
Step
8:
At the end of “COOK
TIME
I:’
the second power level is
displayed and “COOK TIME II”
is shown counting down.
Step
9: When time is up, the oven
signals and flashes
“End~’
The
oven, light and fan shut off.
Step 10:
Open the door.
Cook
‘N
Watih
The Cook ‘N Watch feature is a
short-term
COO~
p~~
which
automatically turns the oven off
after 3 minutes. It’s ideal for
melting cheese on food or other
quick cooking operations where
you want to stop cooking at just
the right time.
To Use Cook ‘N Watch
Step 1:
Touch COOK ‘N WATCH.
After4 seconds, “START” flashes
on display.
Step
2: Touch START. “COOK ‘N
WATCH” and time counting up to 3
minutes are displayed. Power level
10 is automatically set in oven but
another power level can be selected
either during programming or
during cooking.
Step
3: Open the door or touch the
CLEAR/OFF pad to stop cooking.
The oven will automatically signal,
flash “End” and shut off at the end
of 3 minutes.
10


